
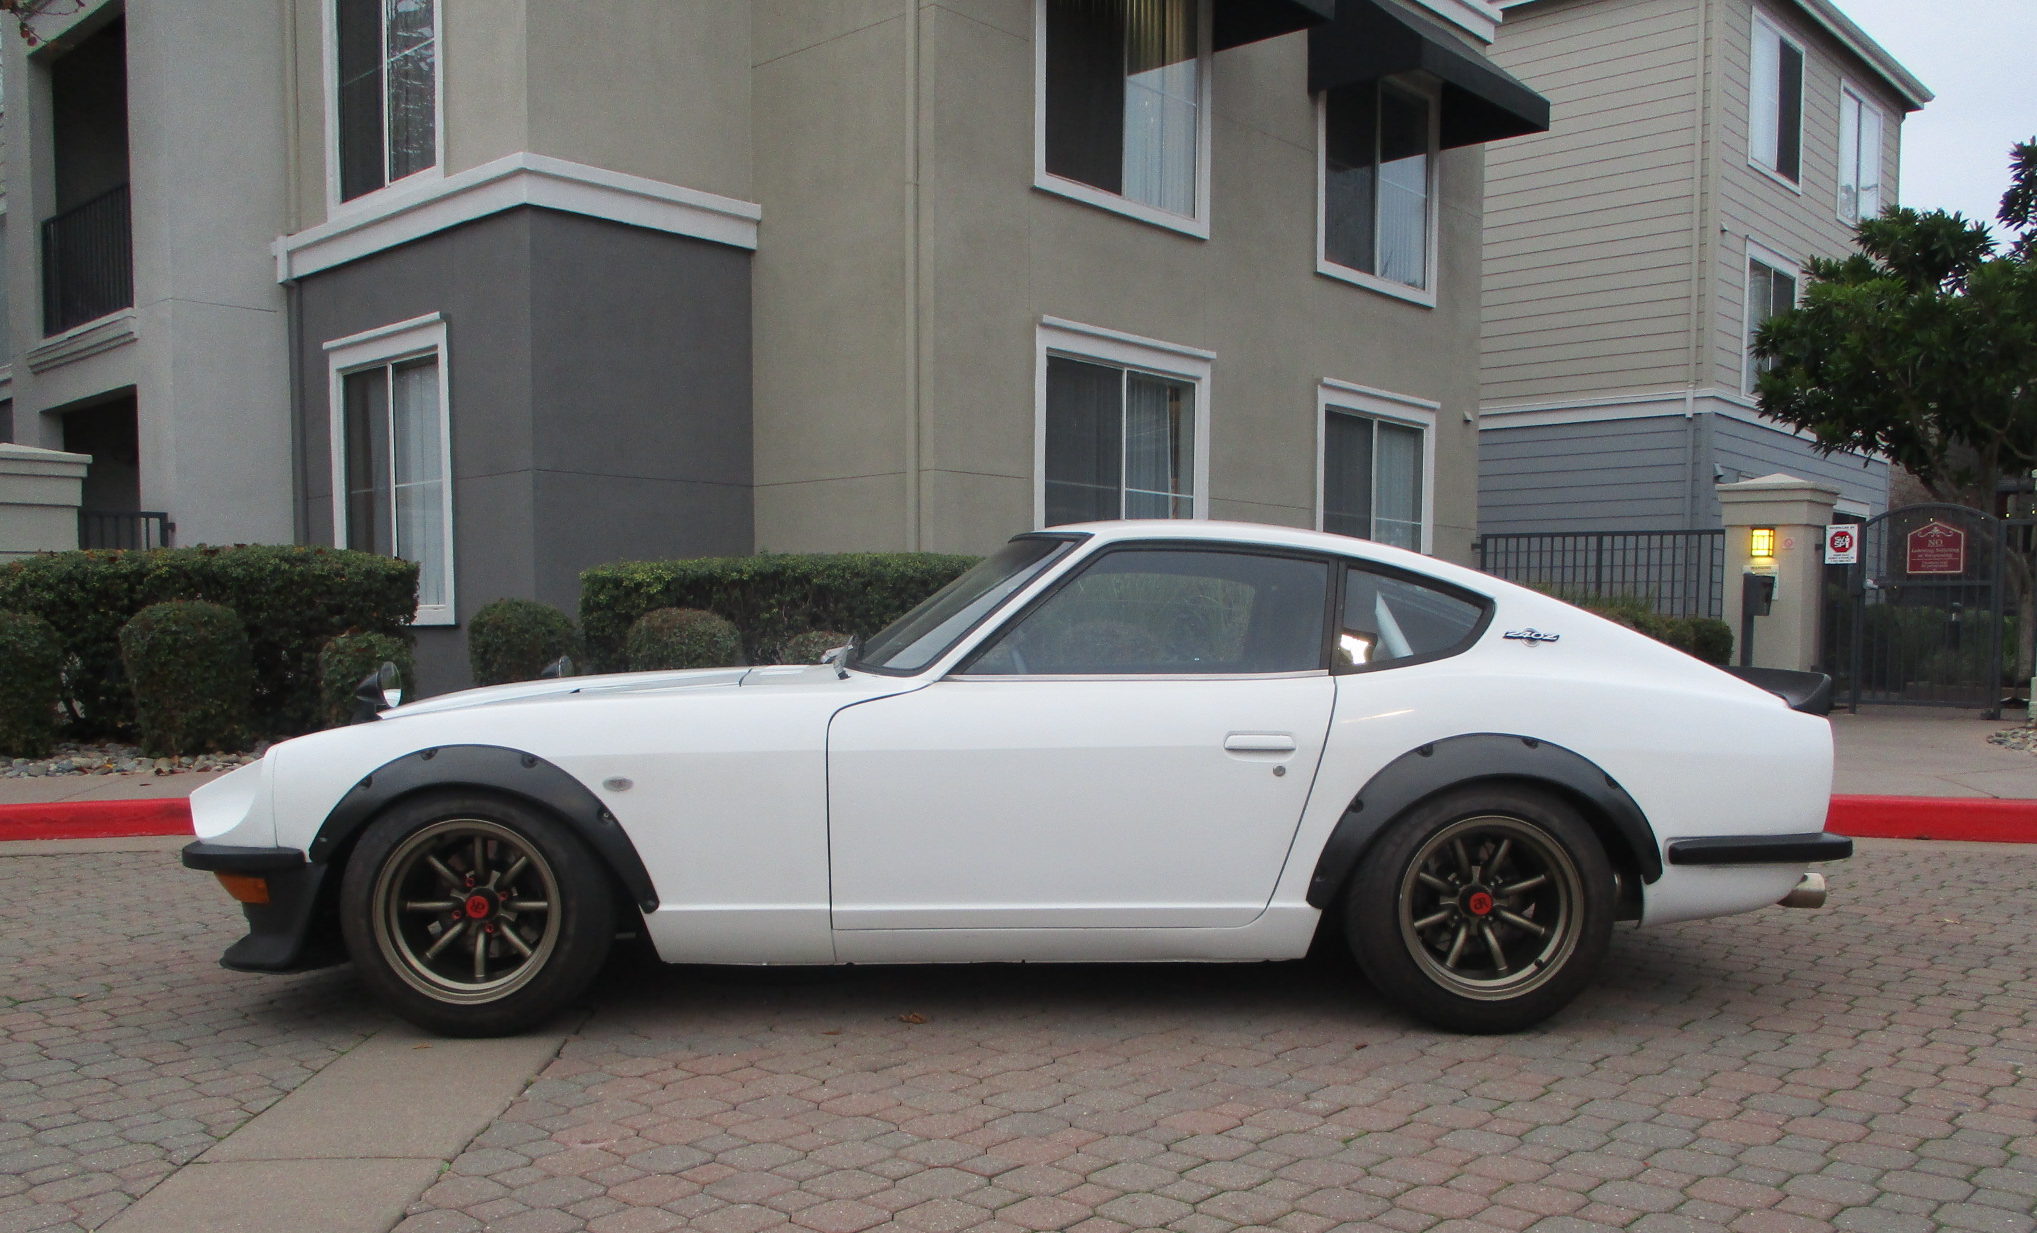
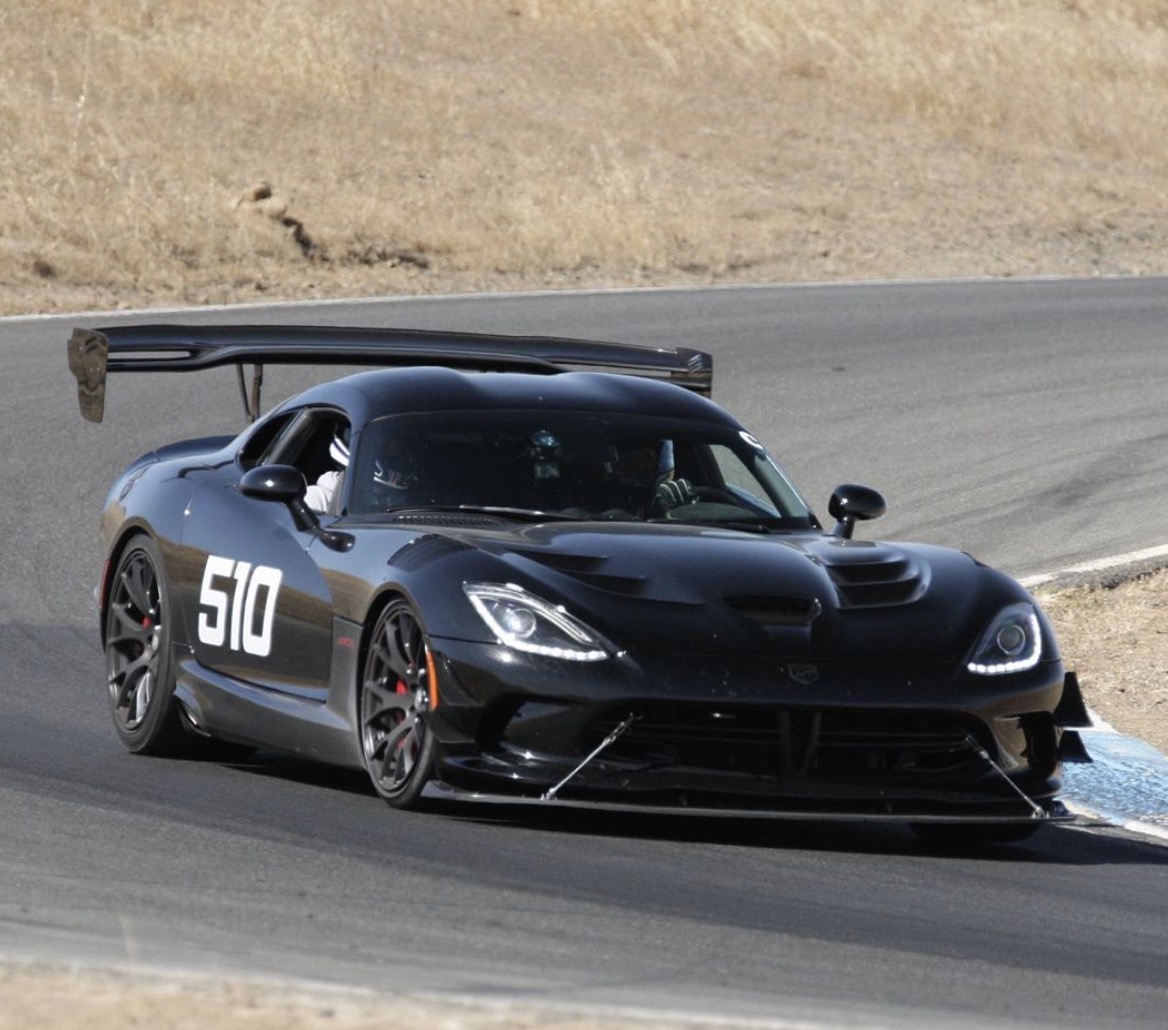
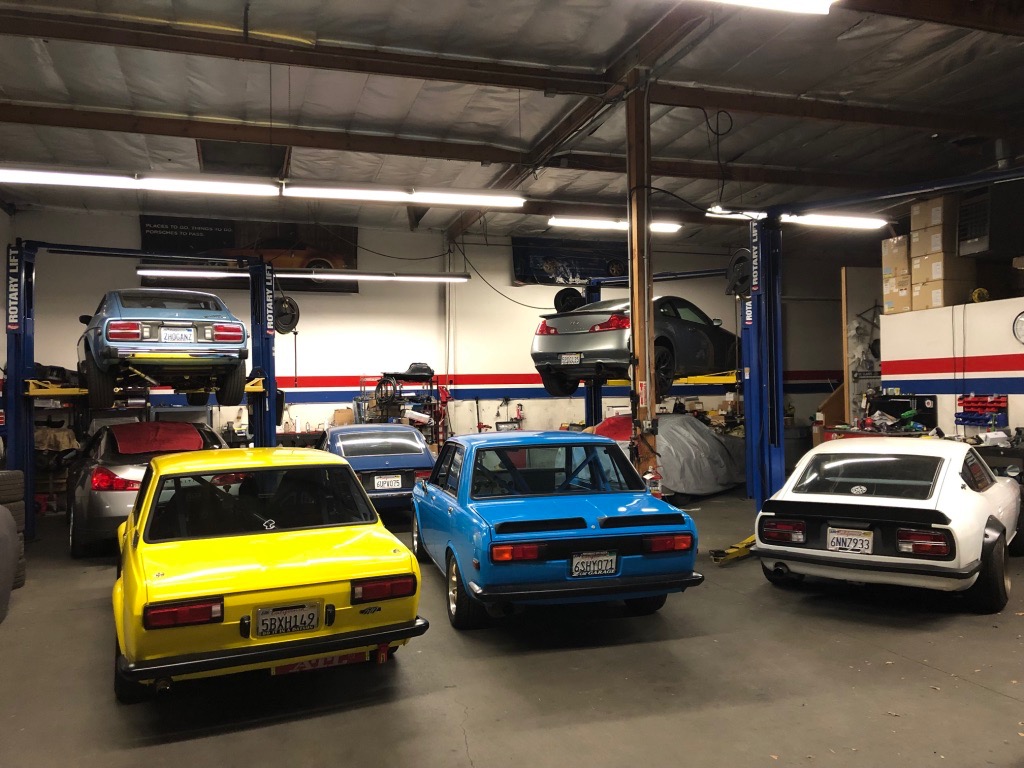
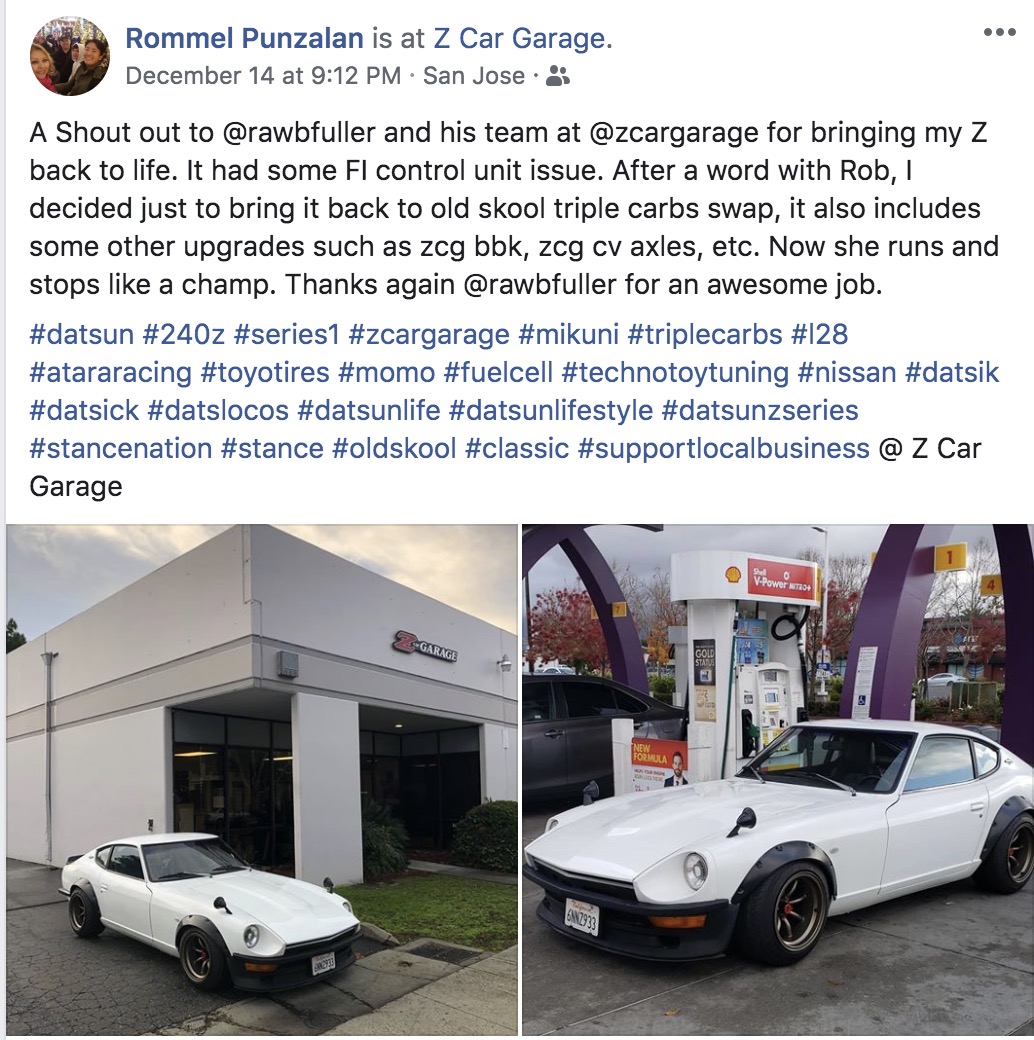
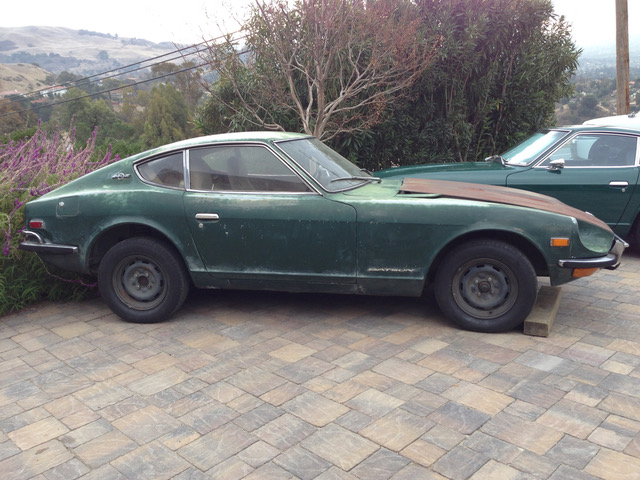
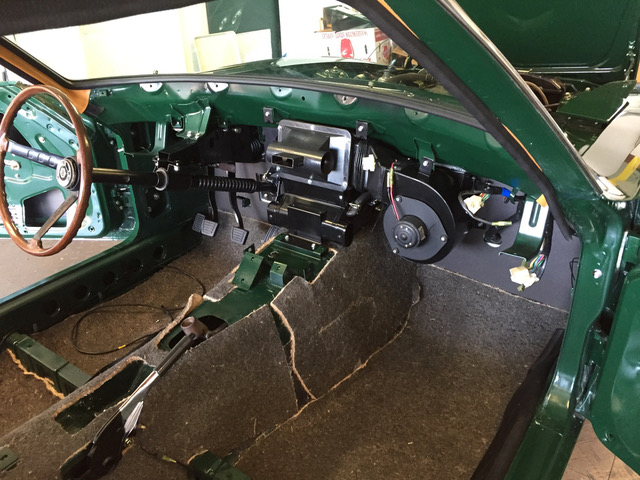
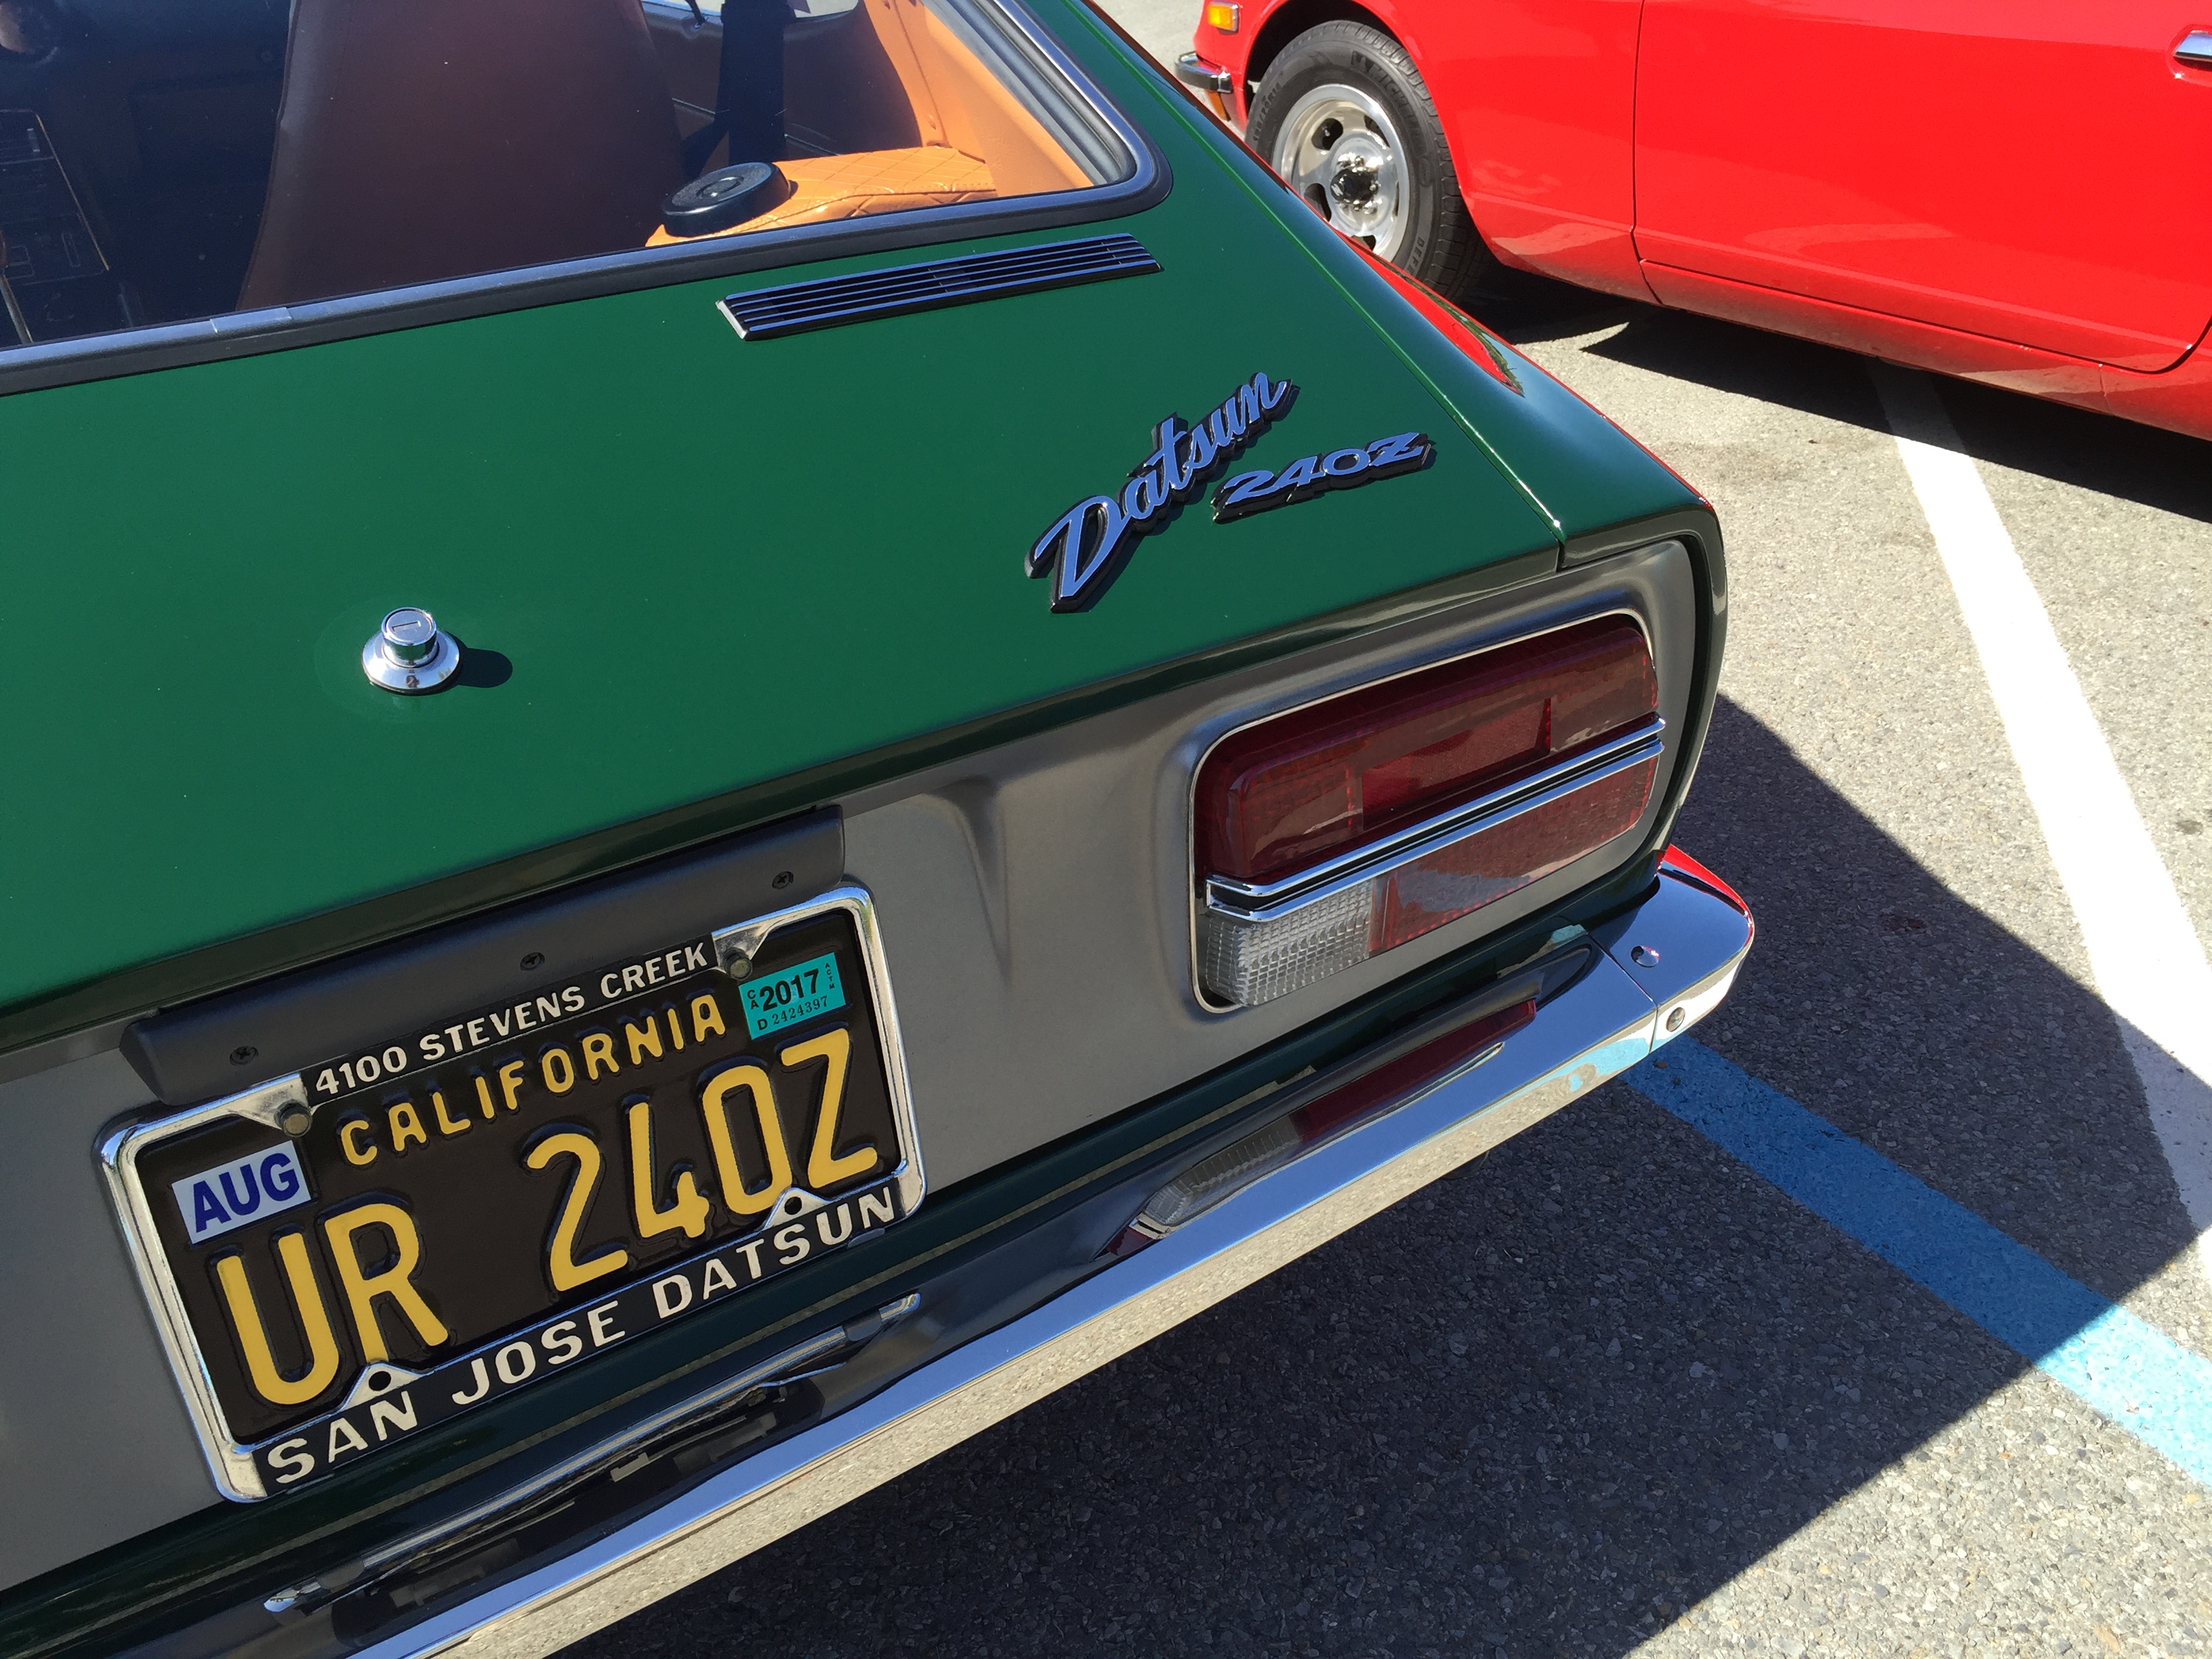
Rommel came to Z Car Garage in 2014 to have work done on his 2013 Nismo 370z. He’s a big car enthusiast with a Camaro ZL1 and Viper ACR and after a few years he reached out to us about his 1971 Datsun 240z.
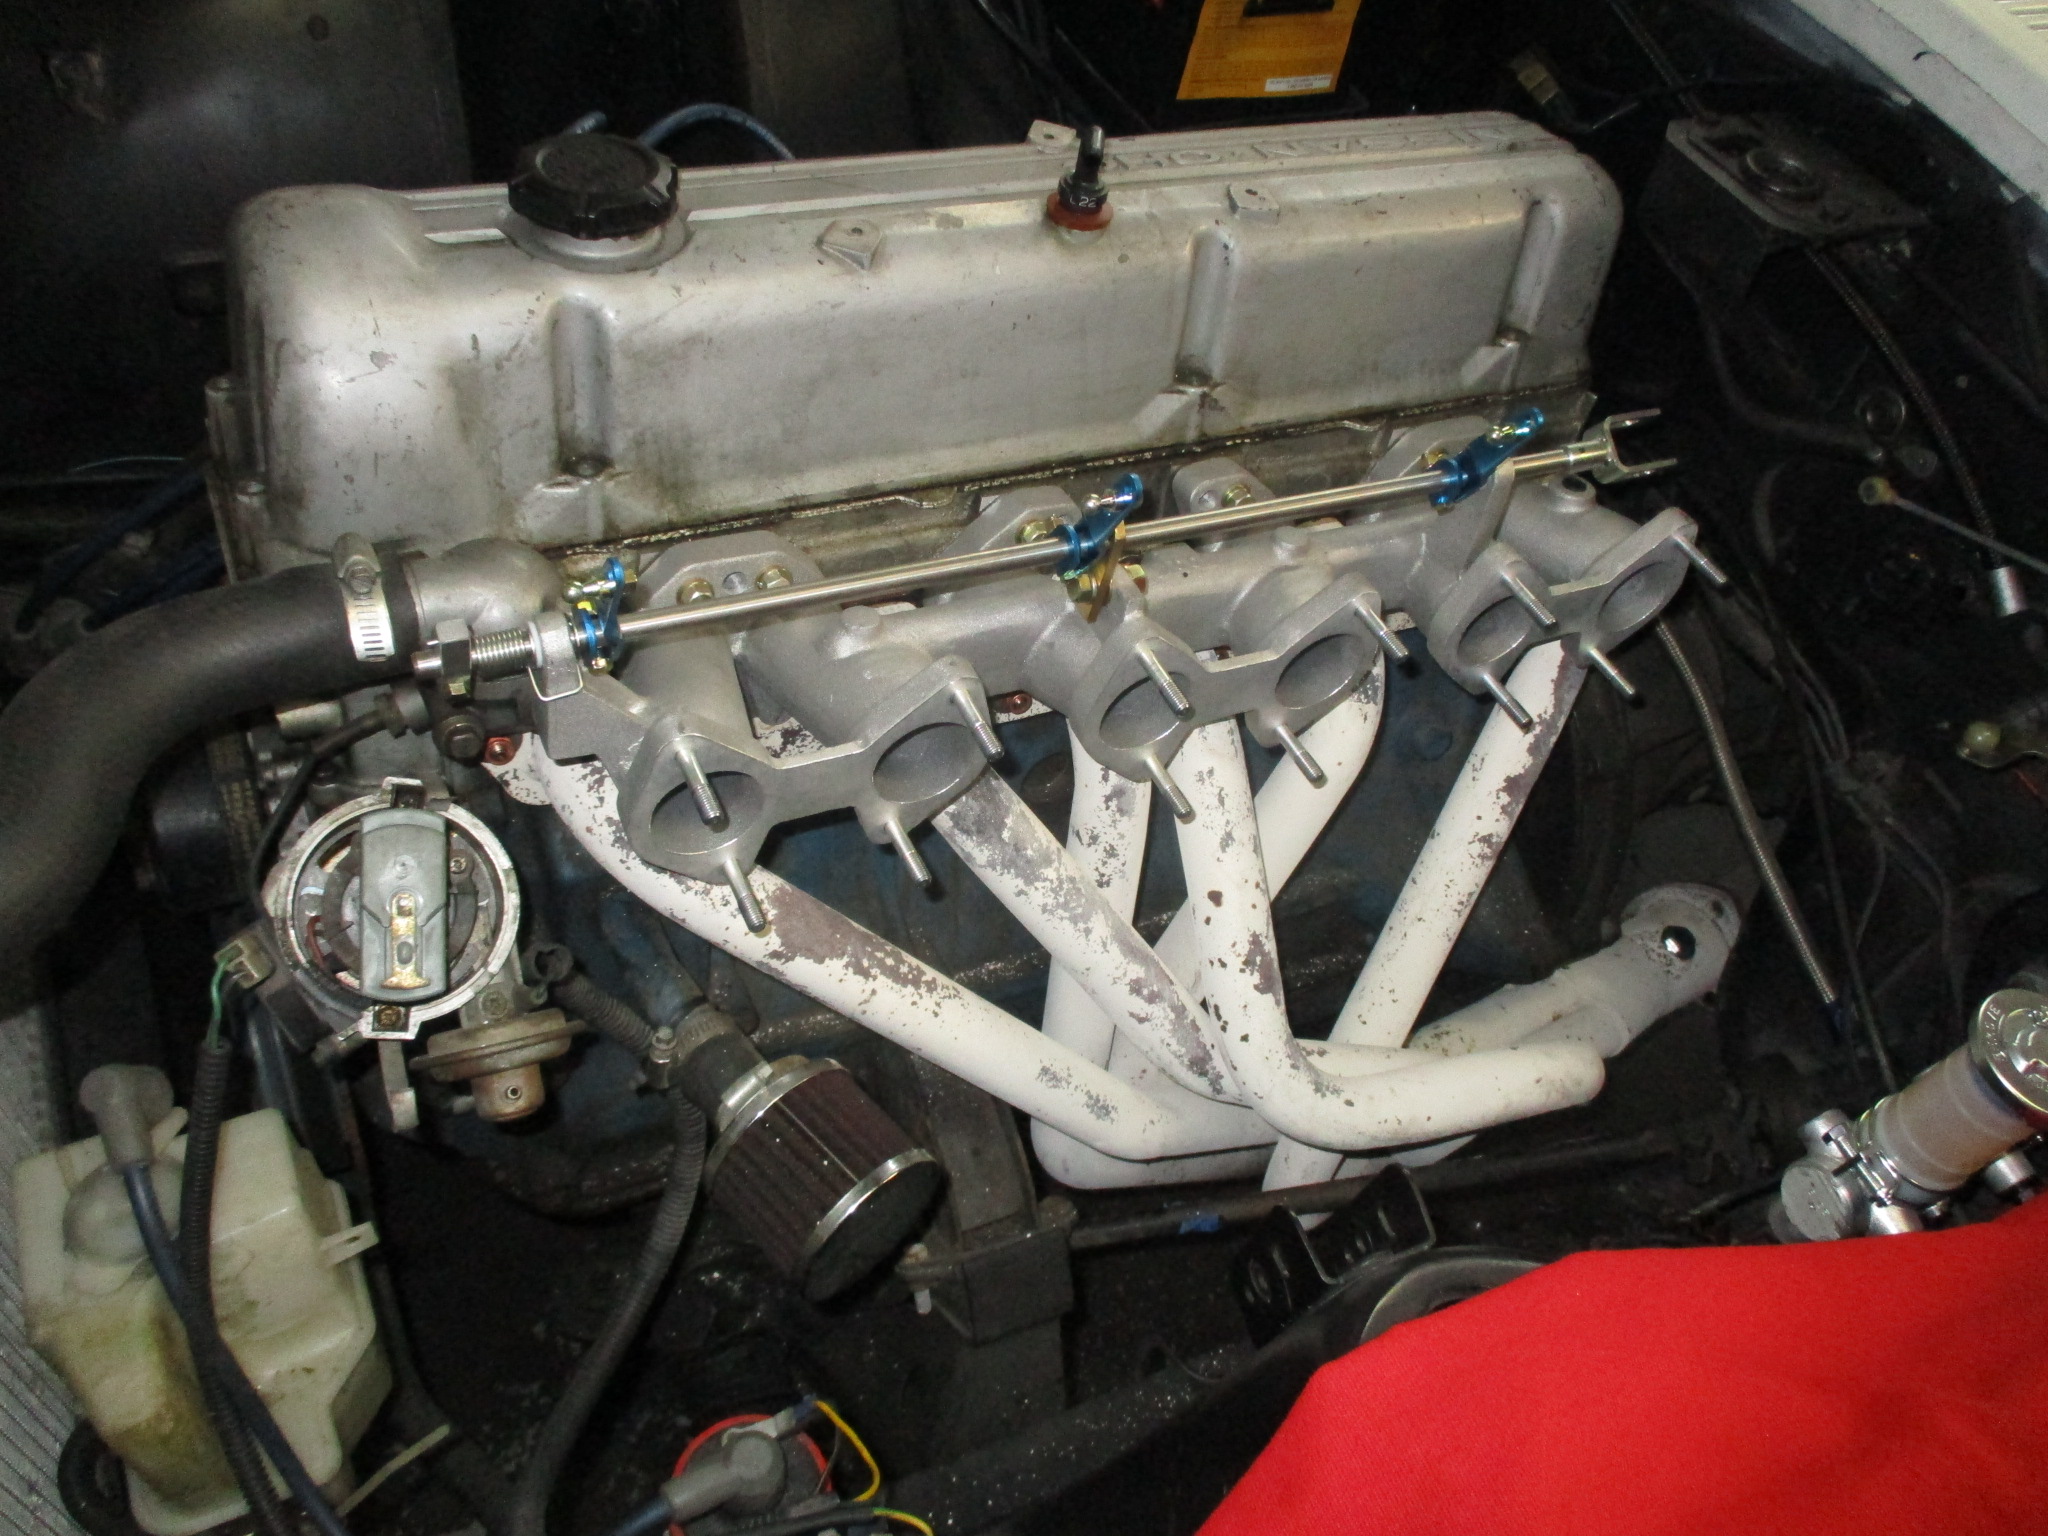
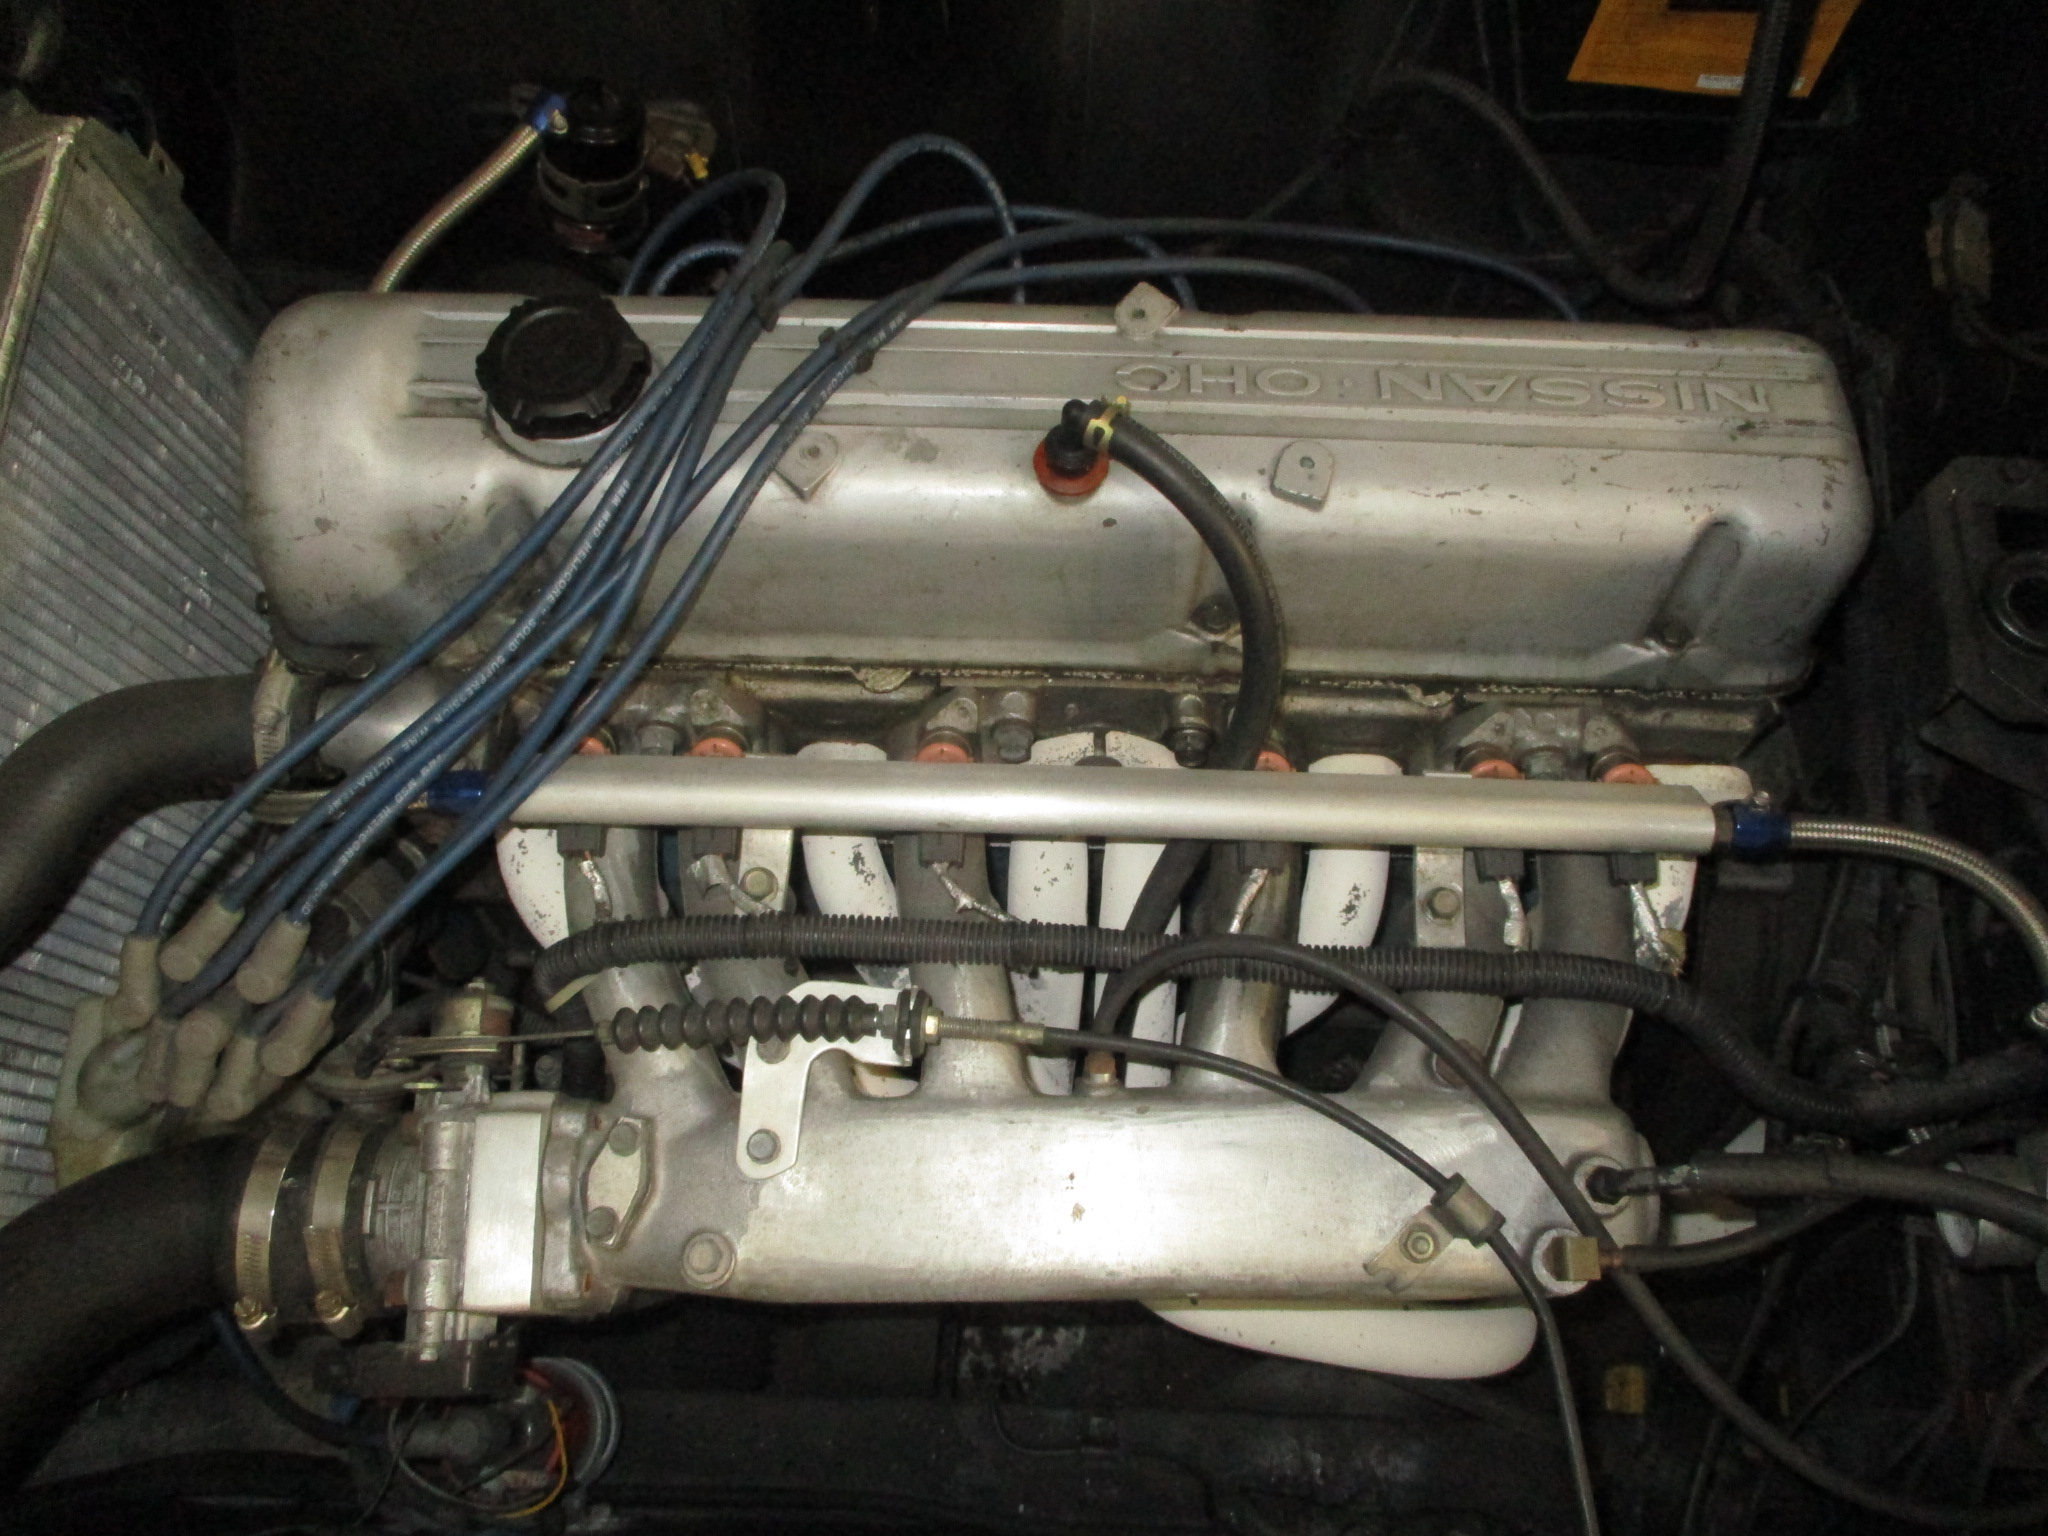
The Z had an EFI setup with Megasquirt and would not start. He made an appointment with us and got the car towed here where we found an ECU failure. Rob and Mel discussed doing an upgrade to Haltech and fixing all the things wrong with the car from sorting the suspension, better braking and engine bay cleanup.
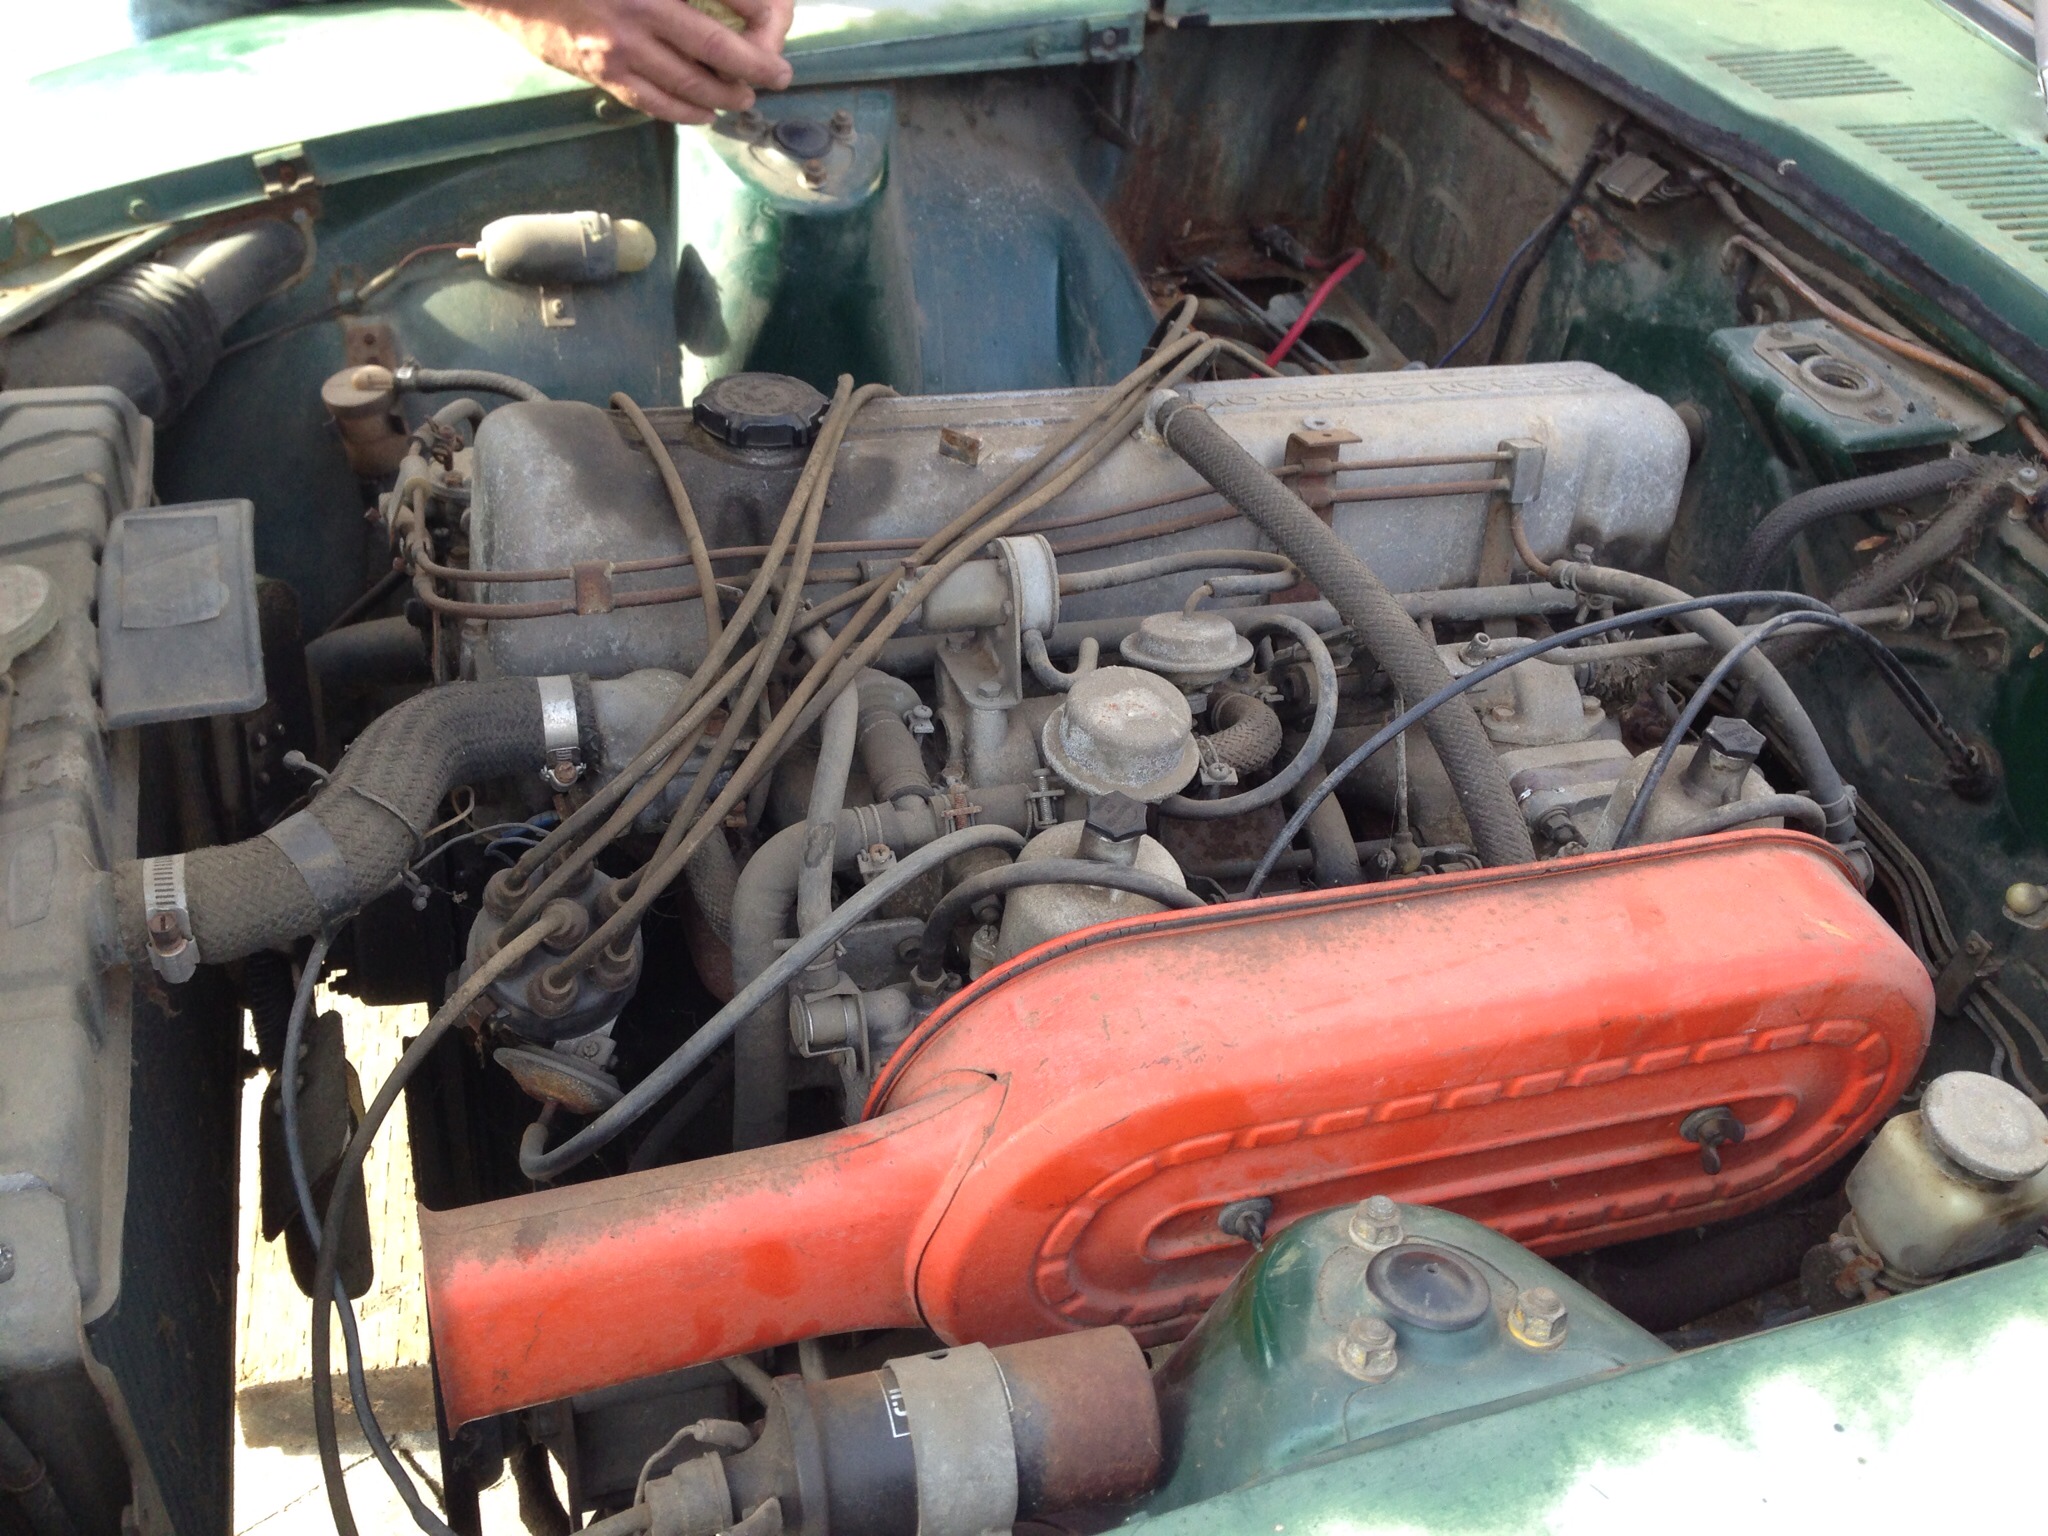
Mel was hesitant to do everything all at once, yet we wanted to avoid future trips back to the shop. Jokingly, Mel said what “I’d really like are some ph44 Mikuni’s.” Ask and you shall receive as Rob had a set ready to go. So we cancelled the tow truck and made a plan to go back to vintage.
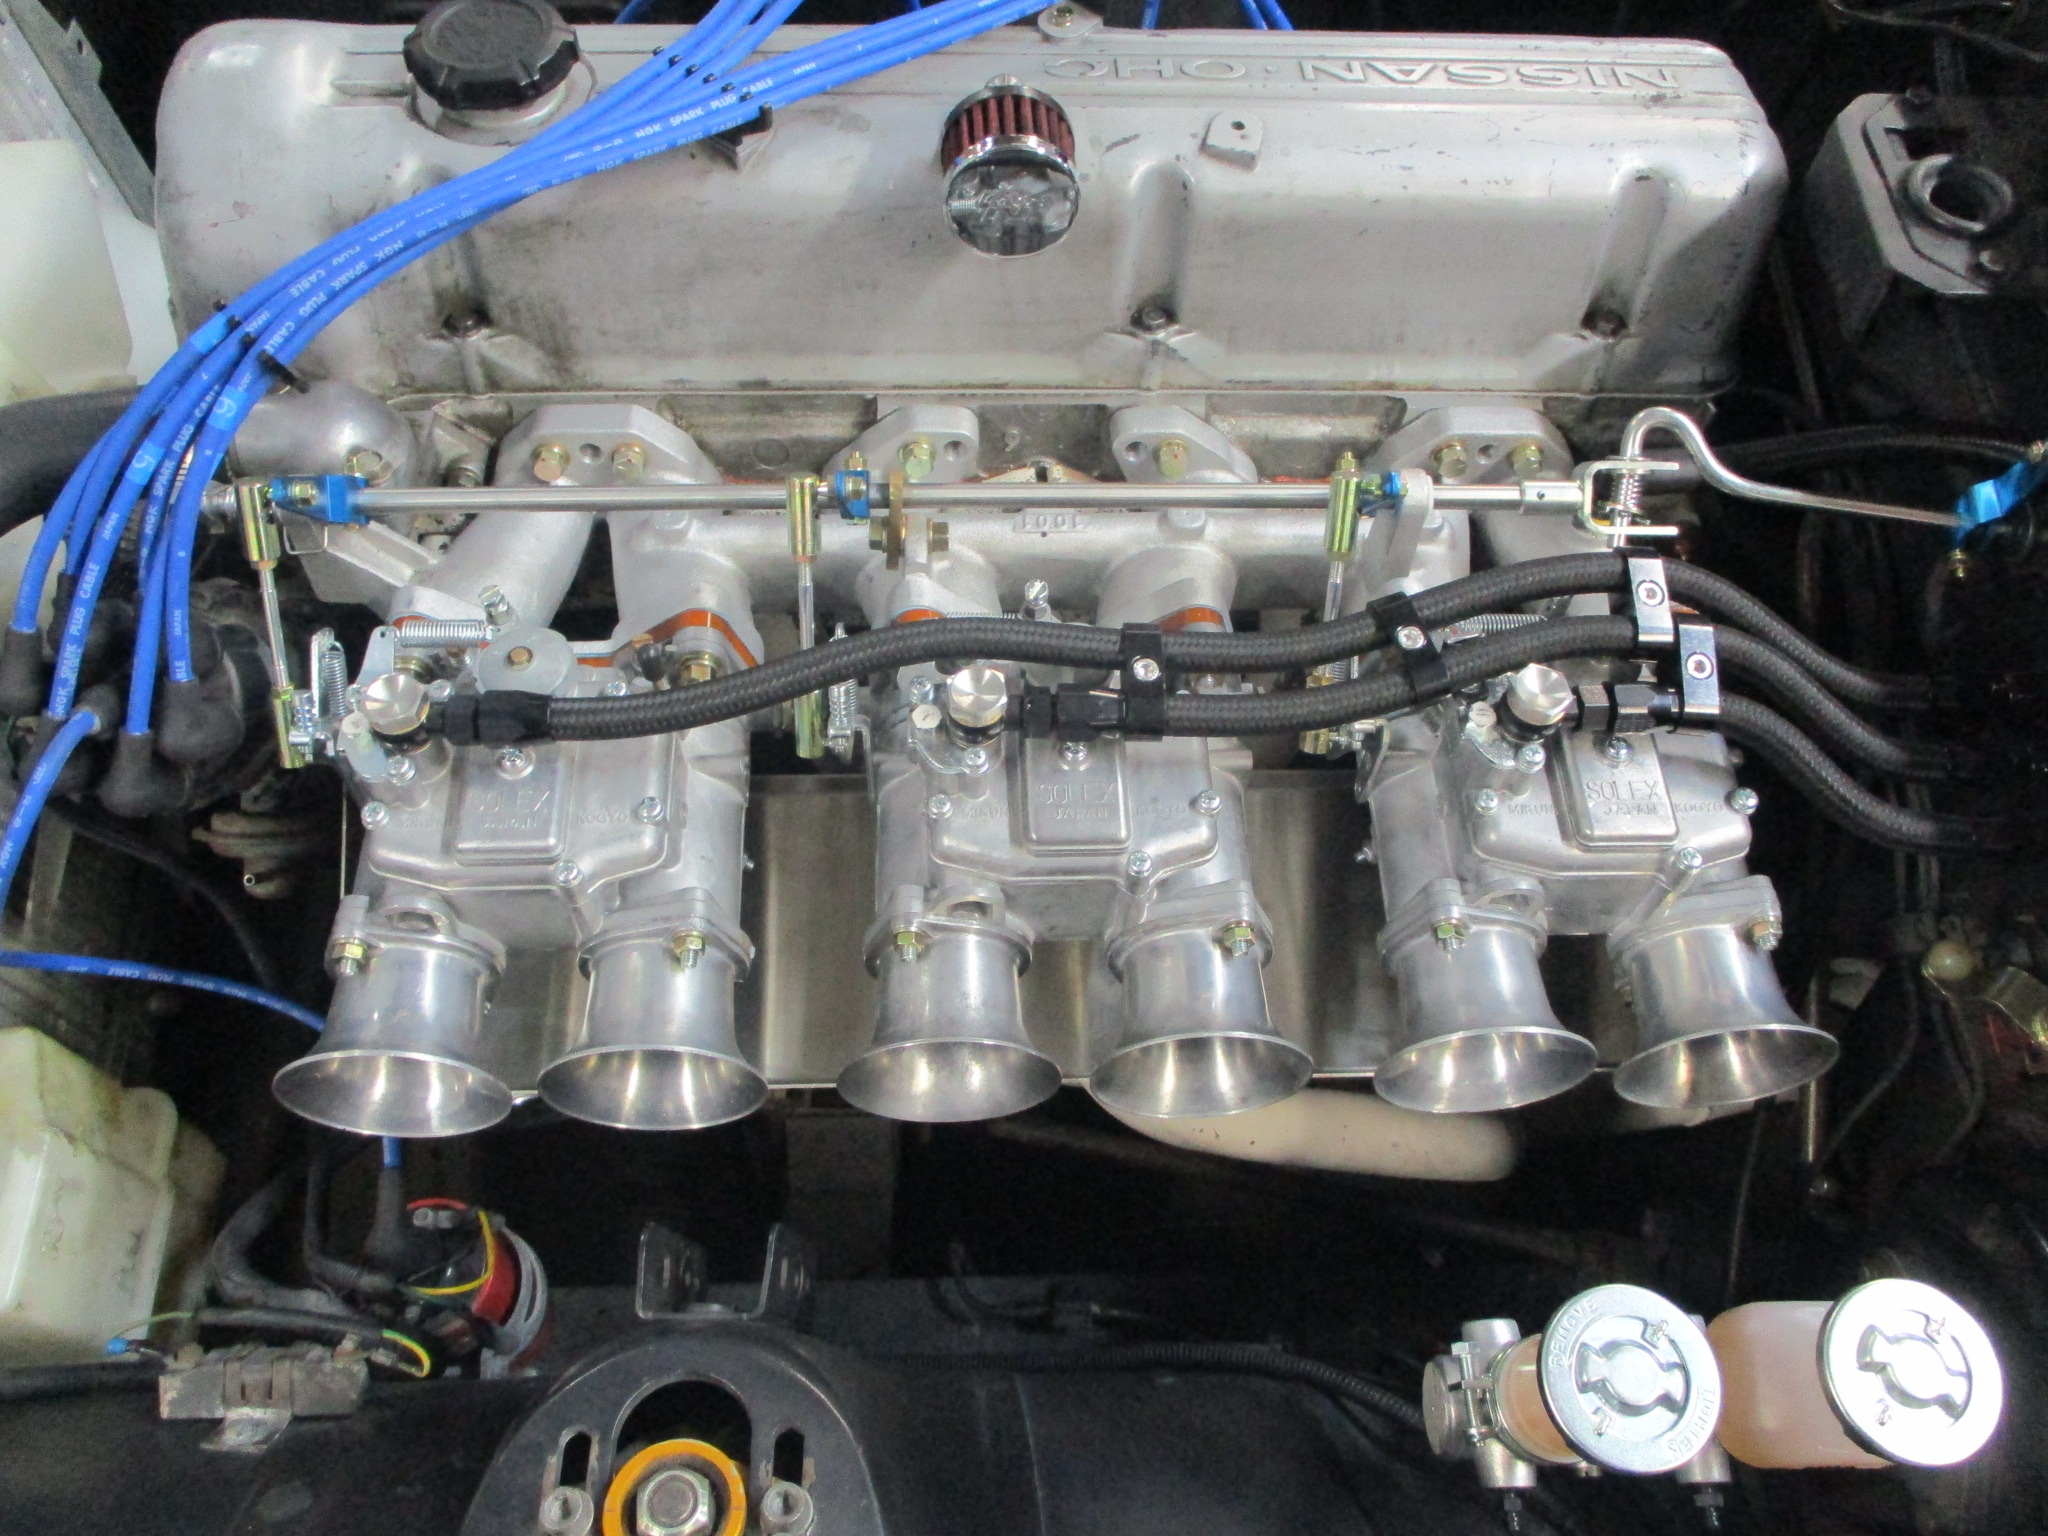
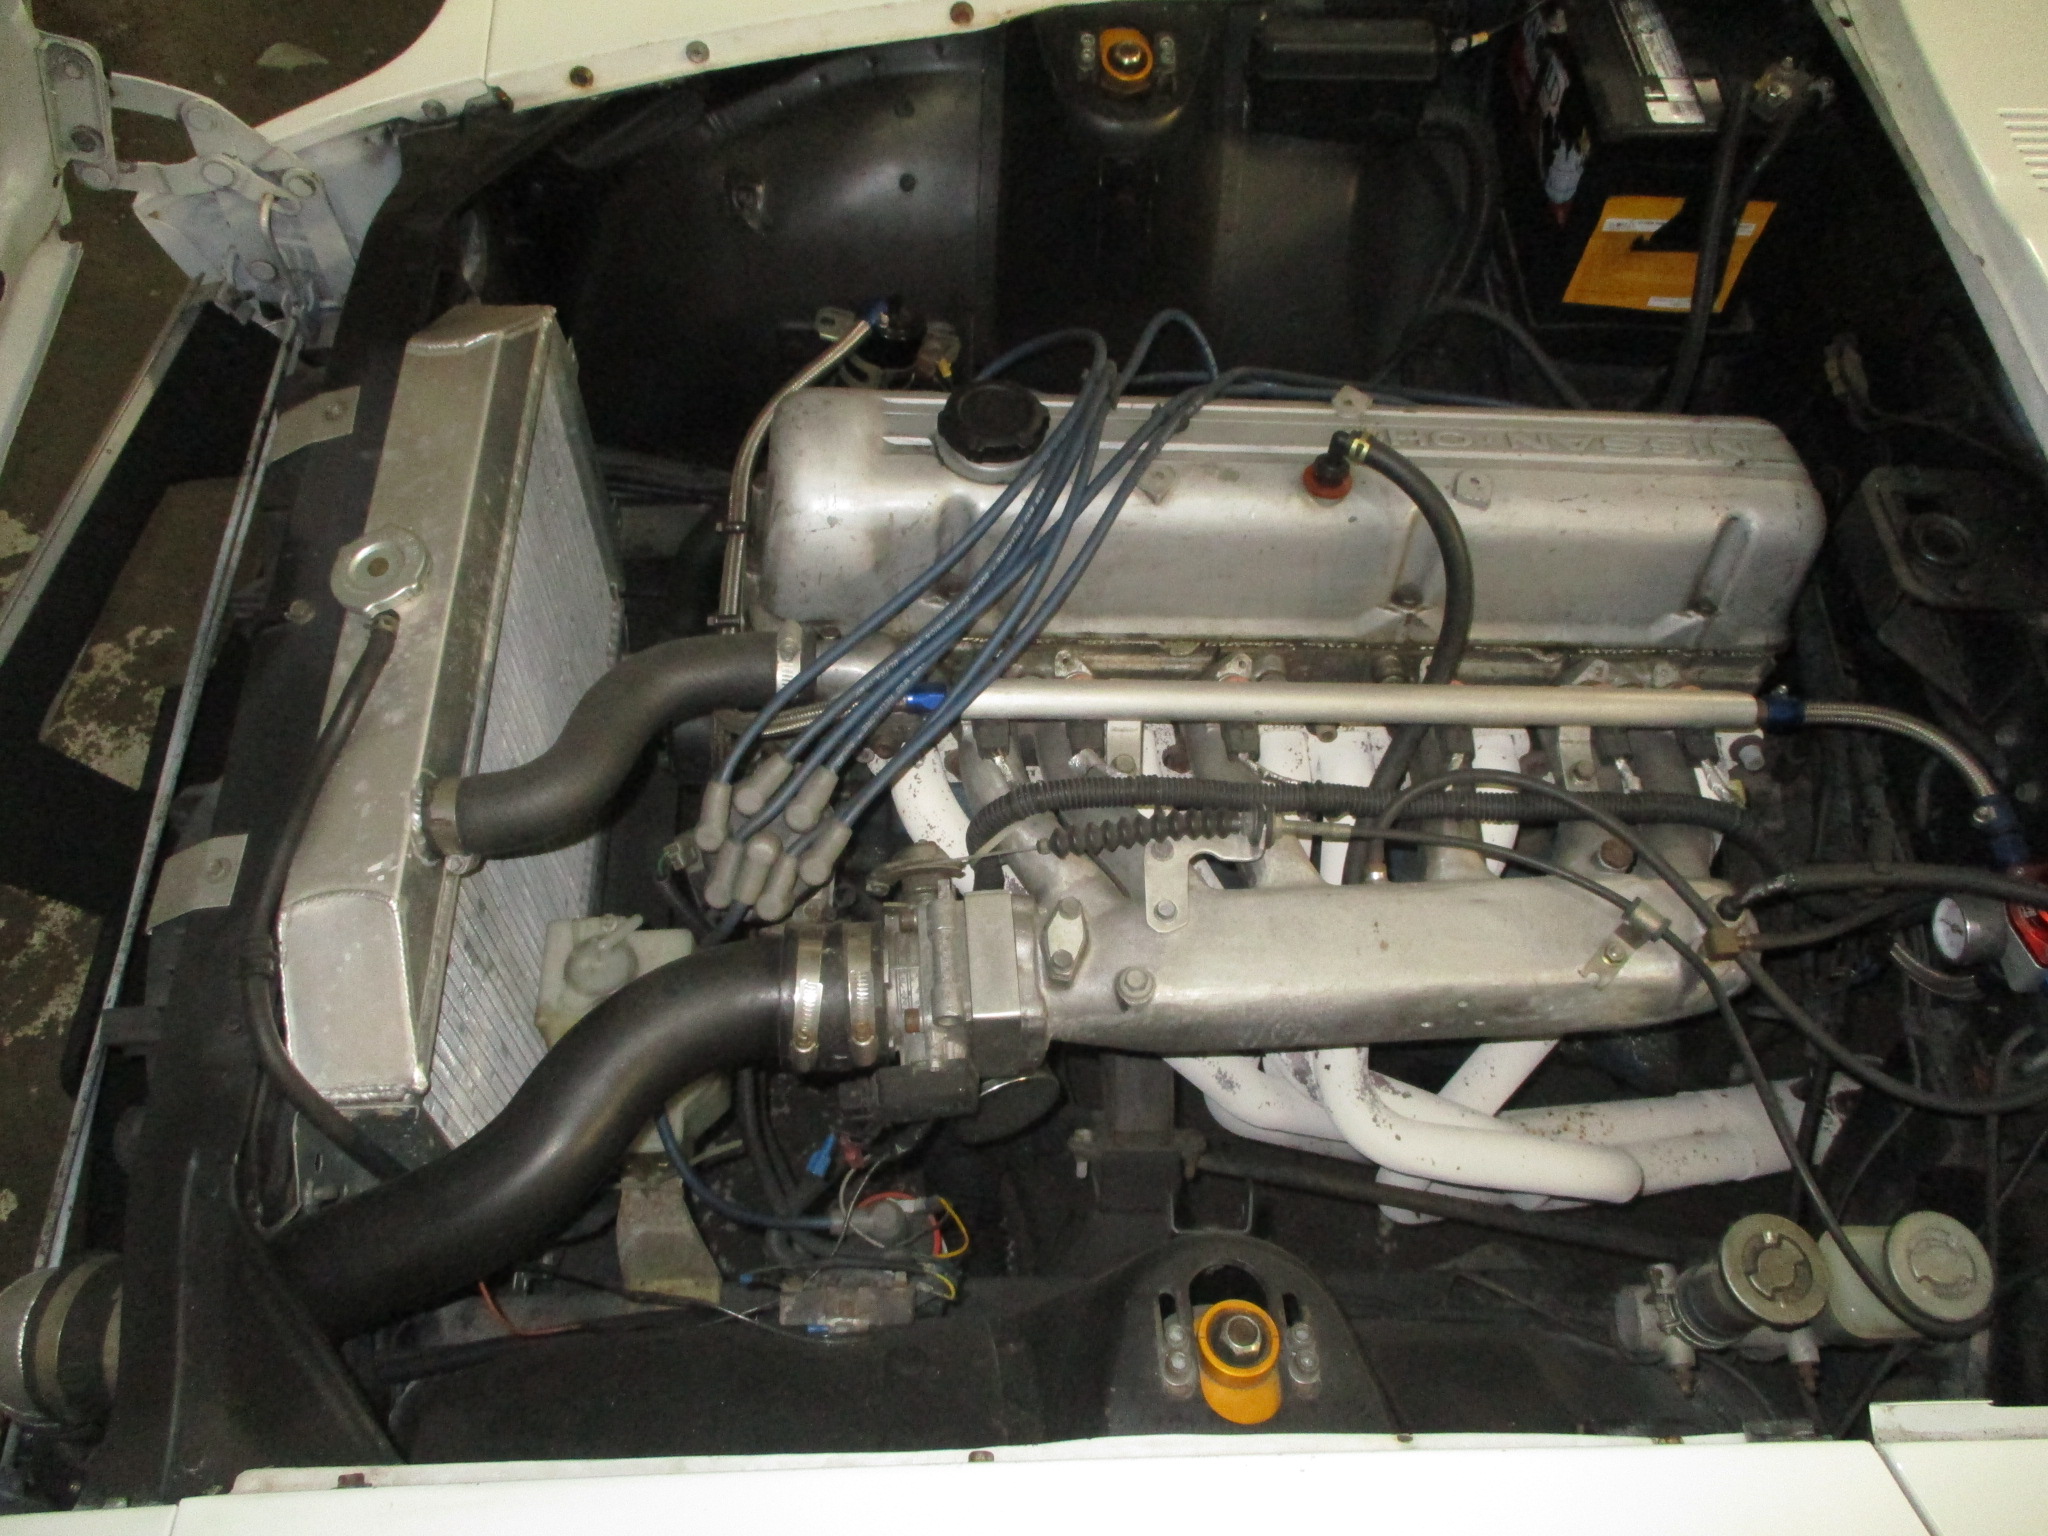
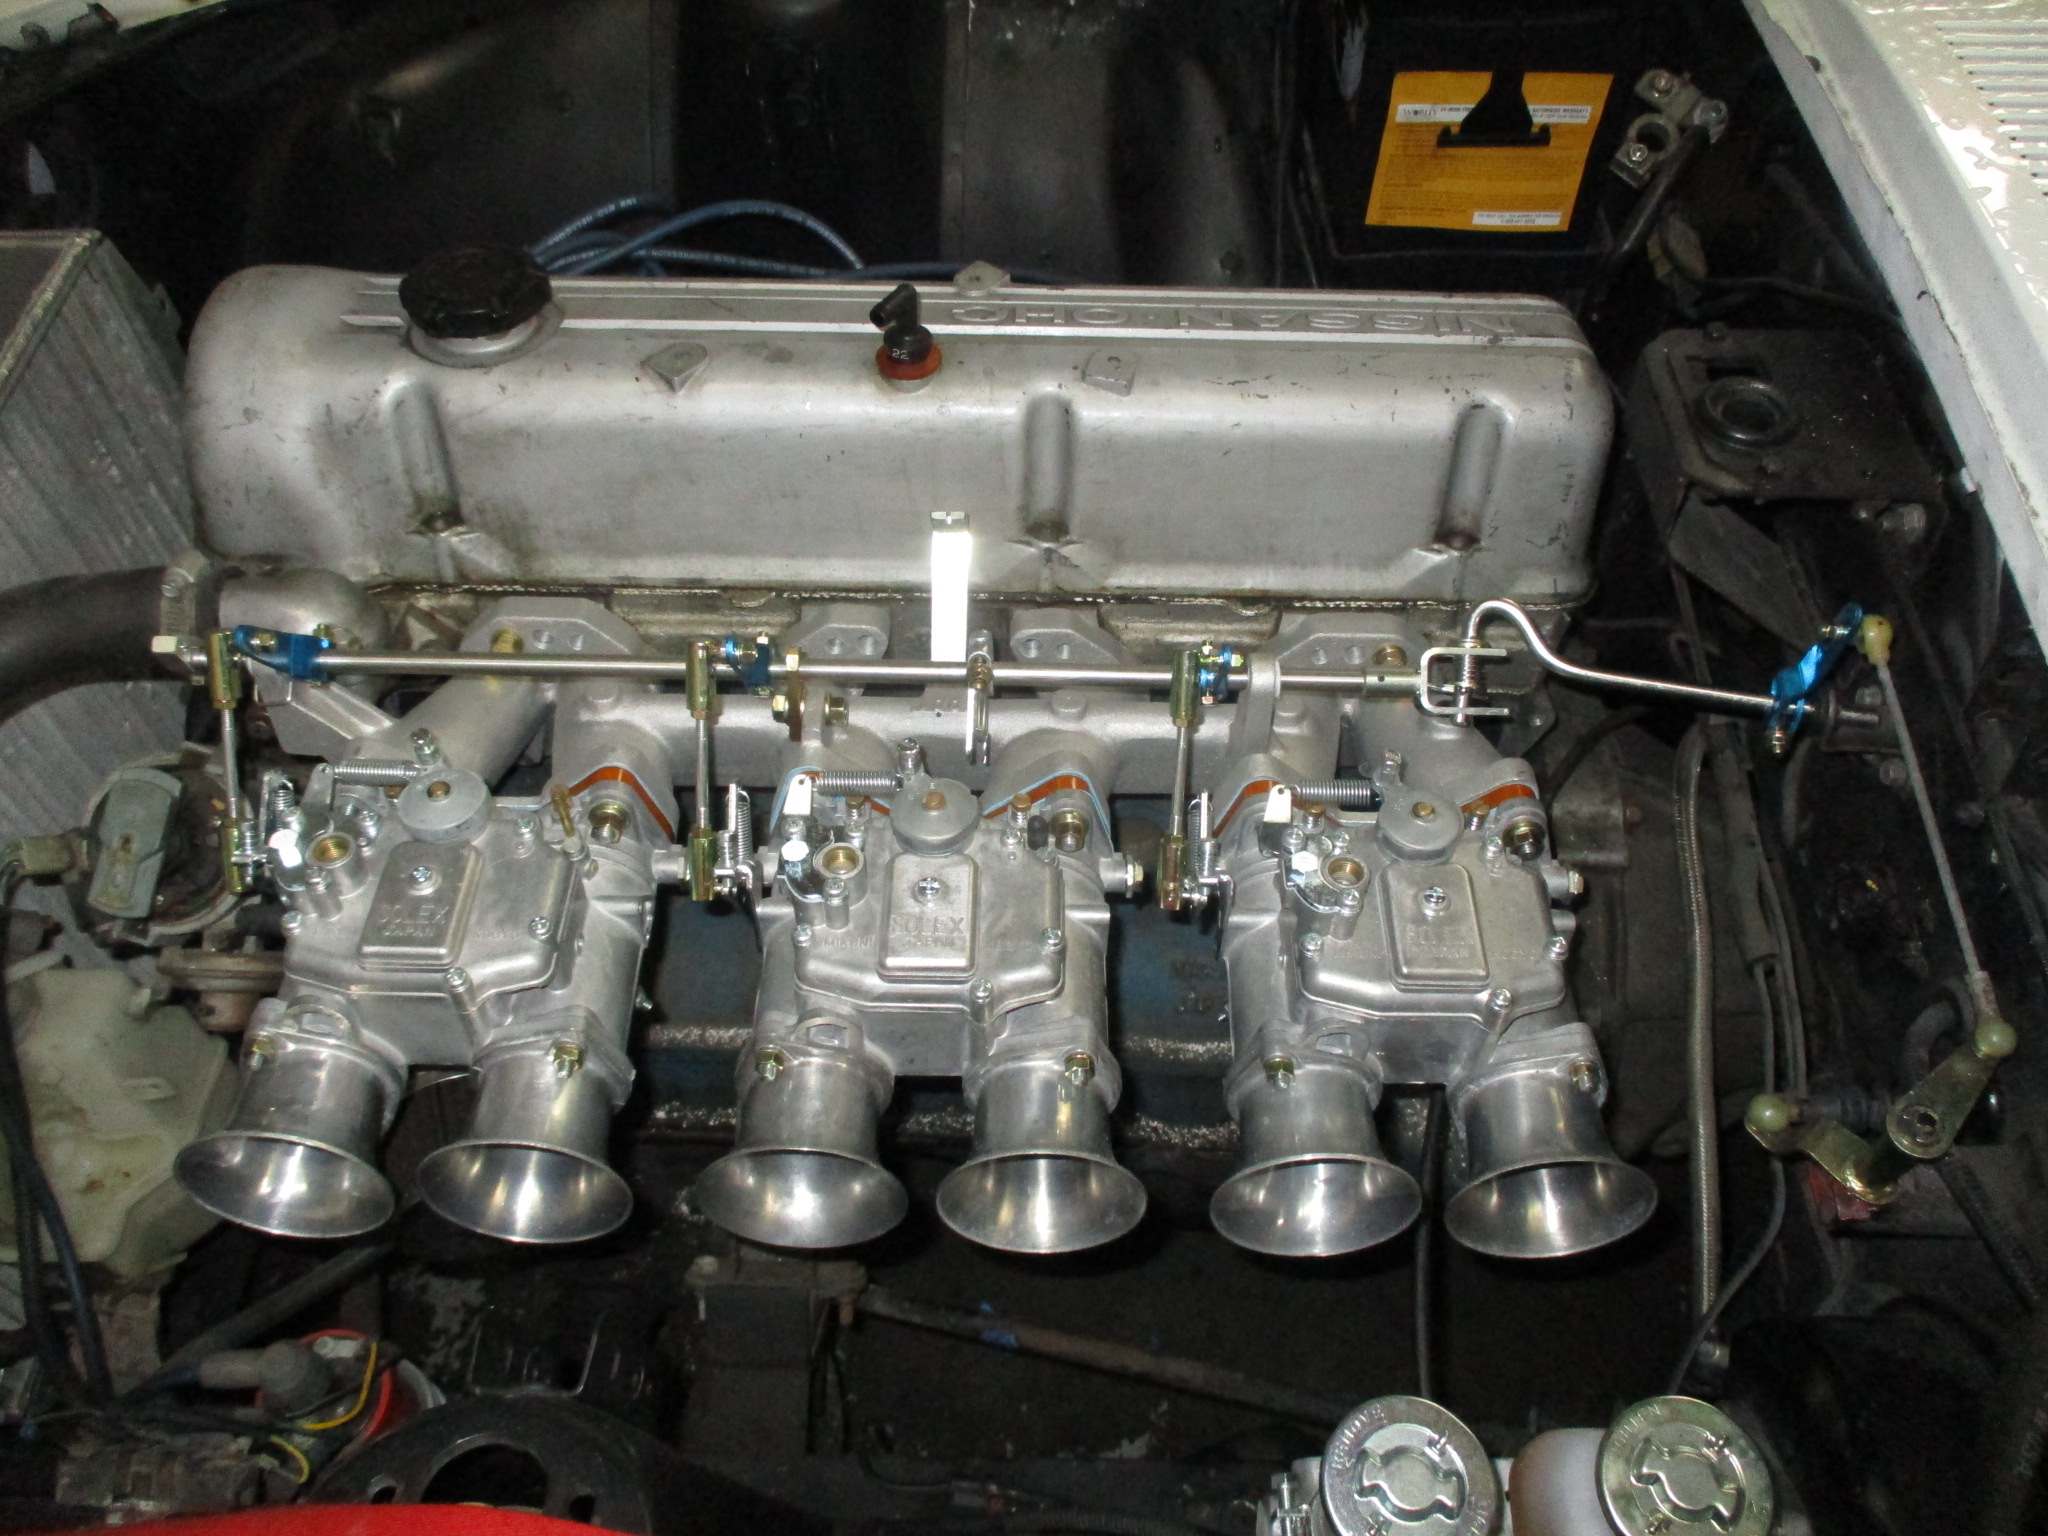
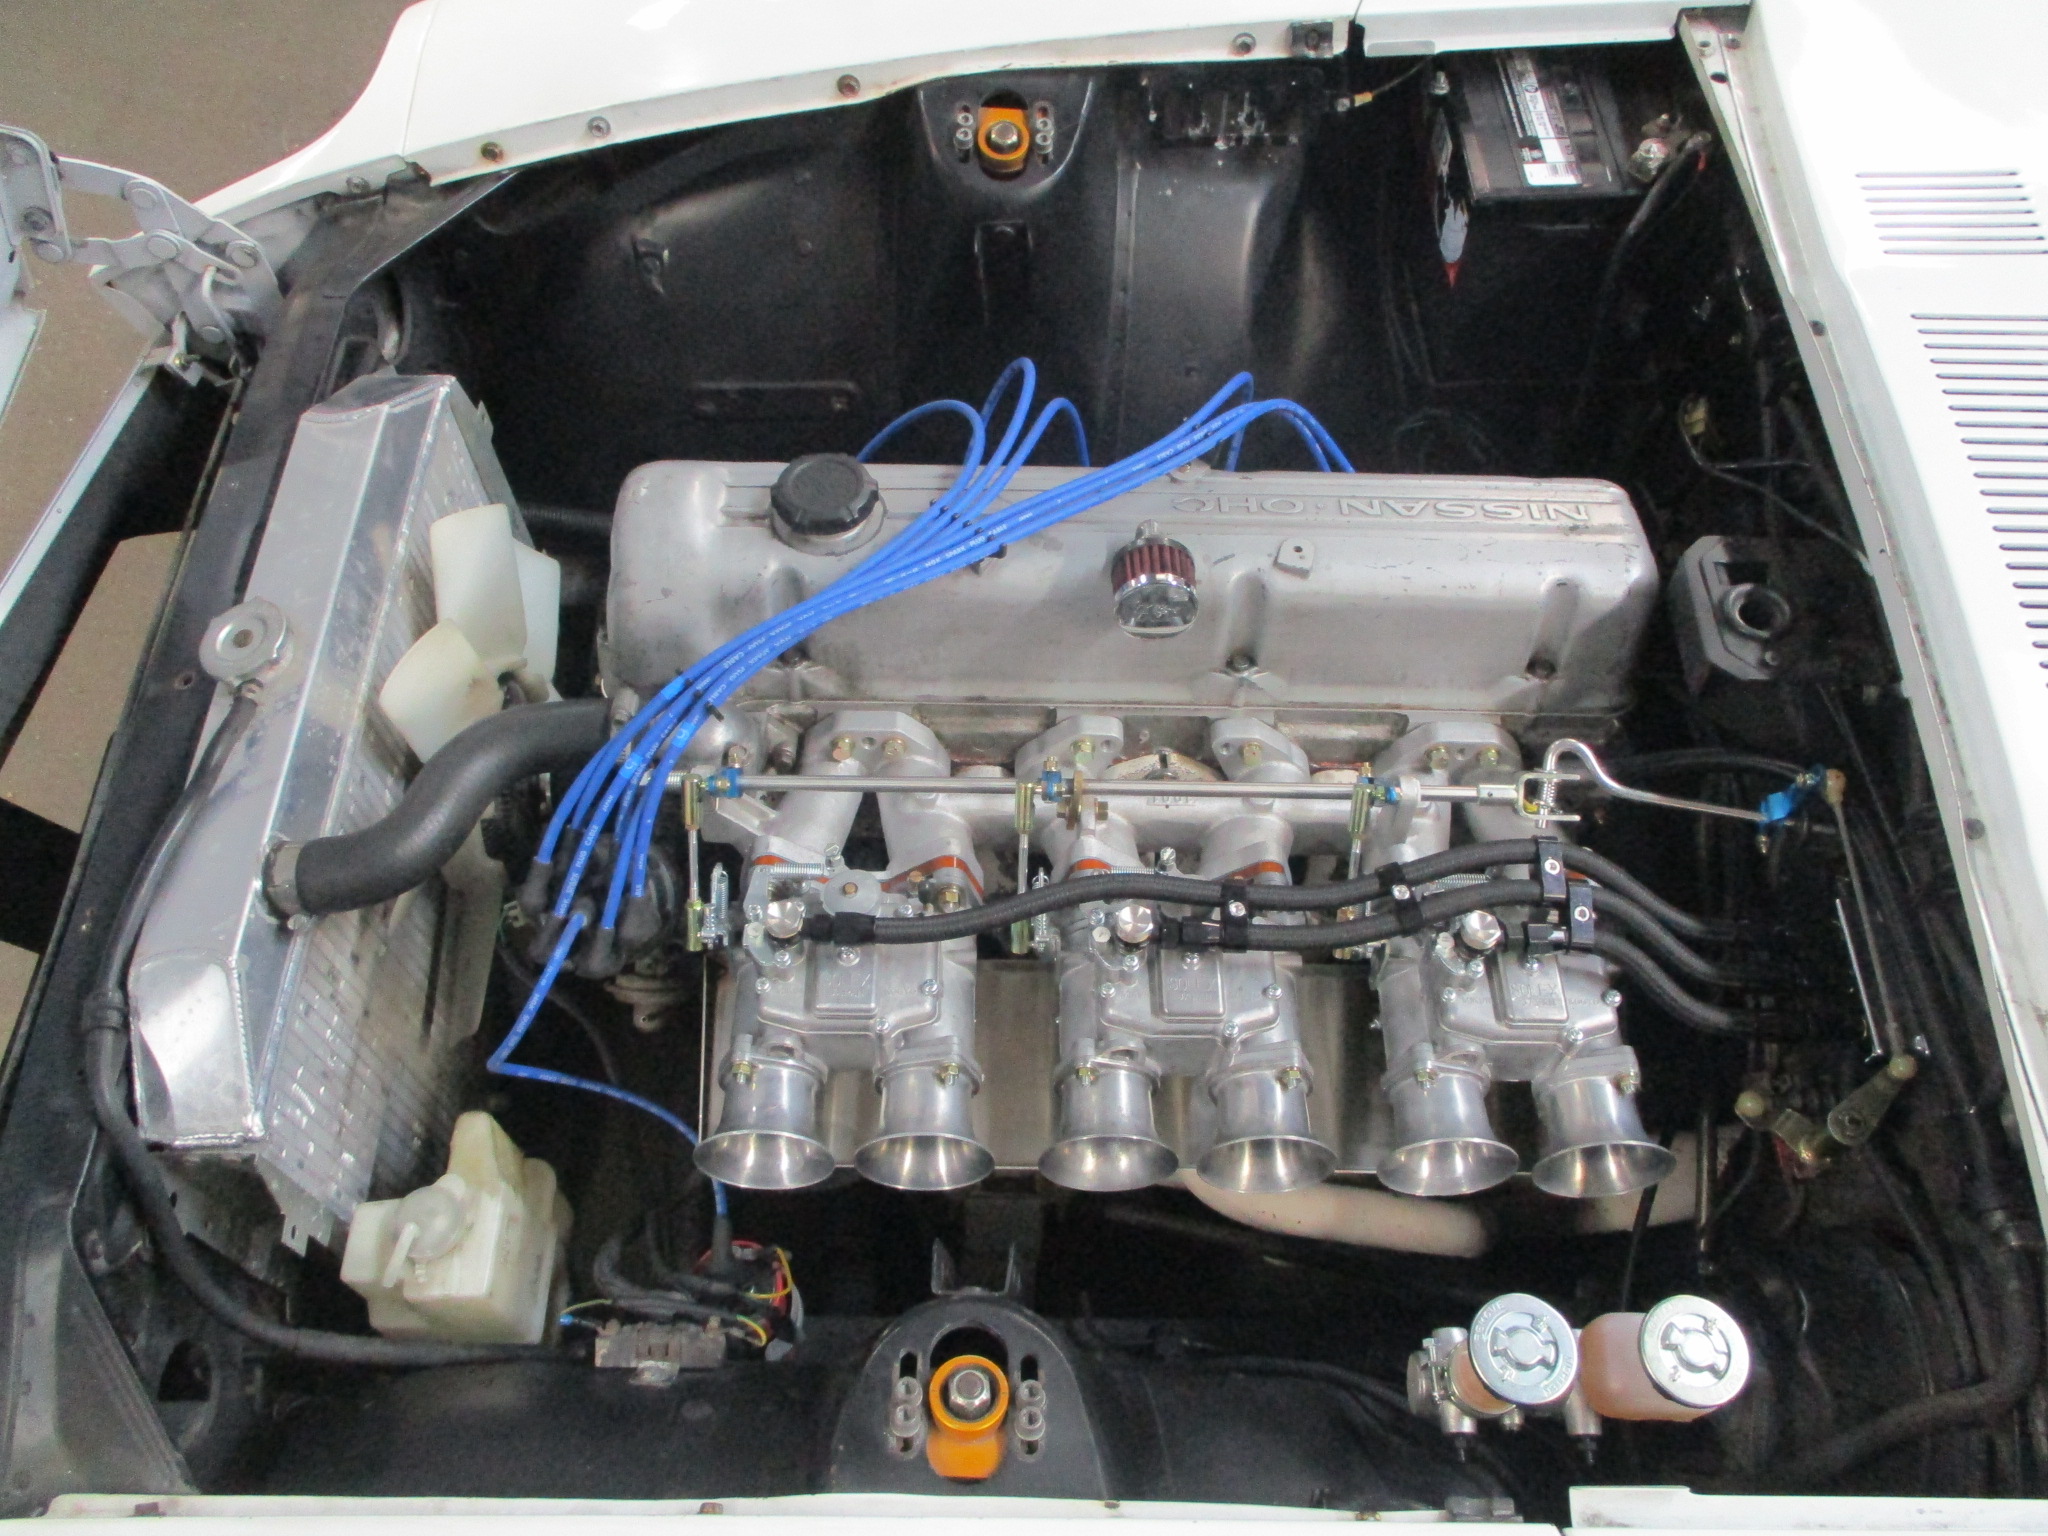
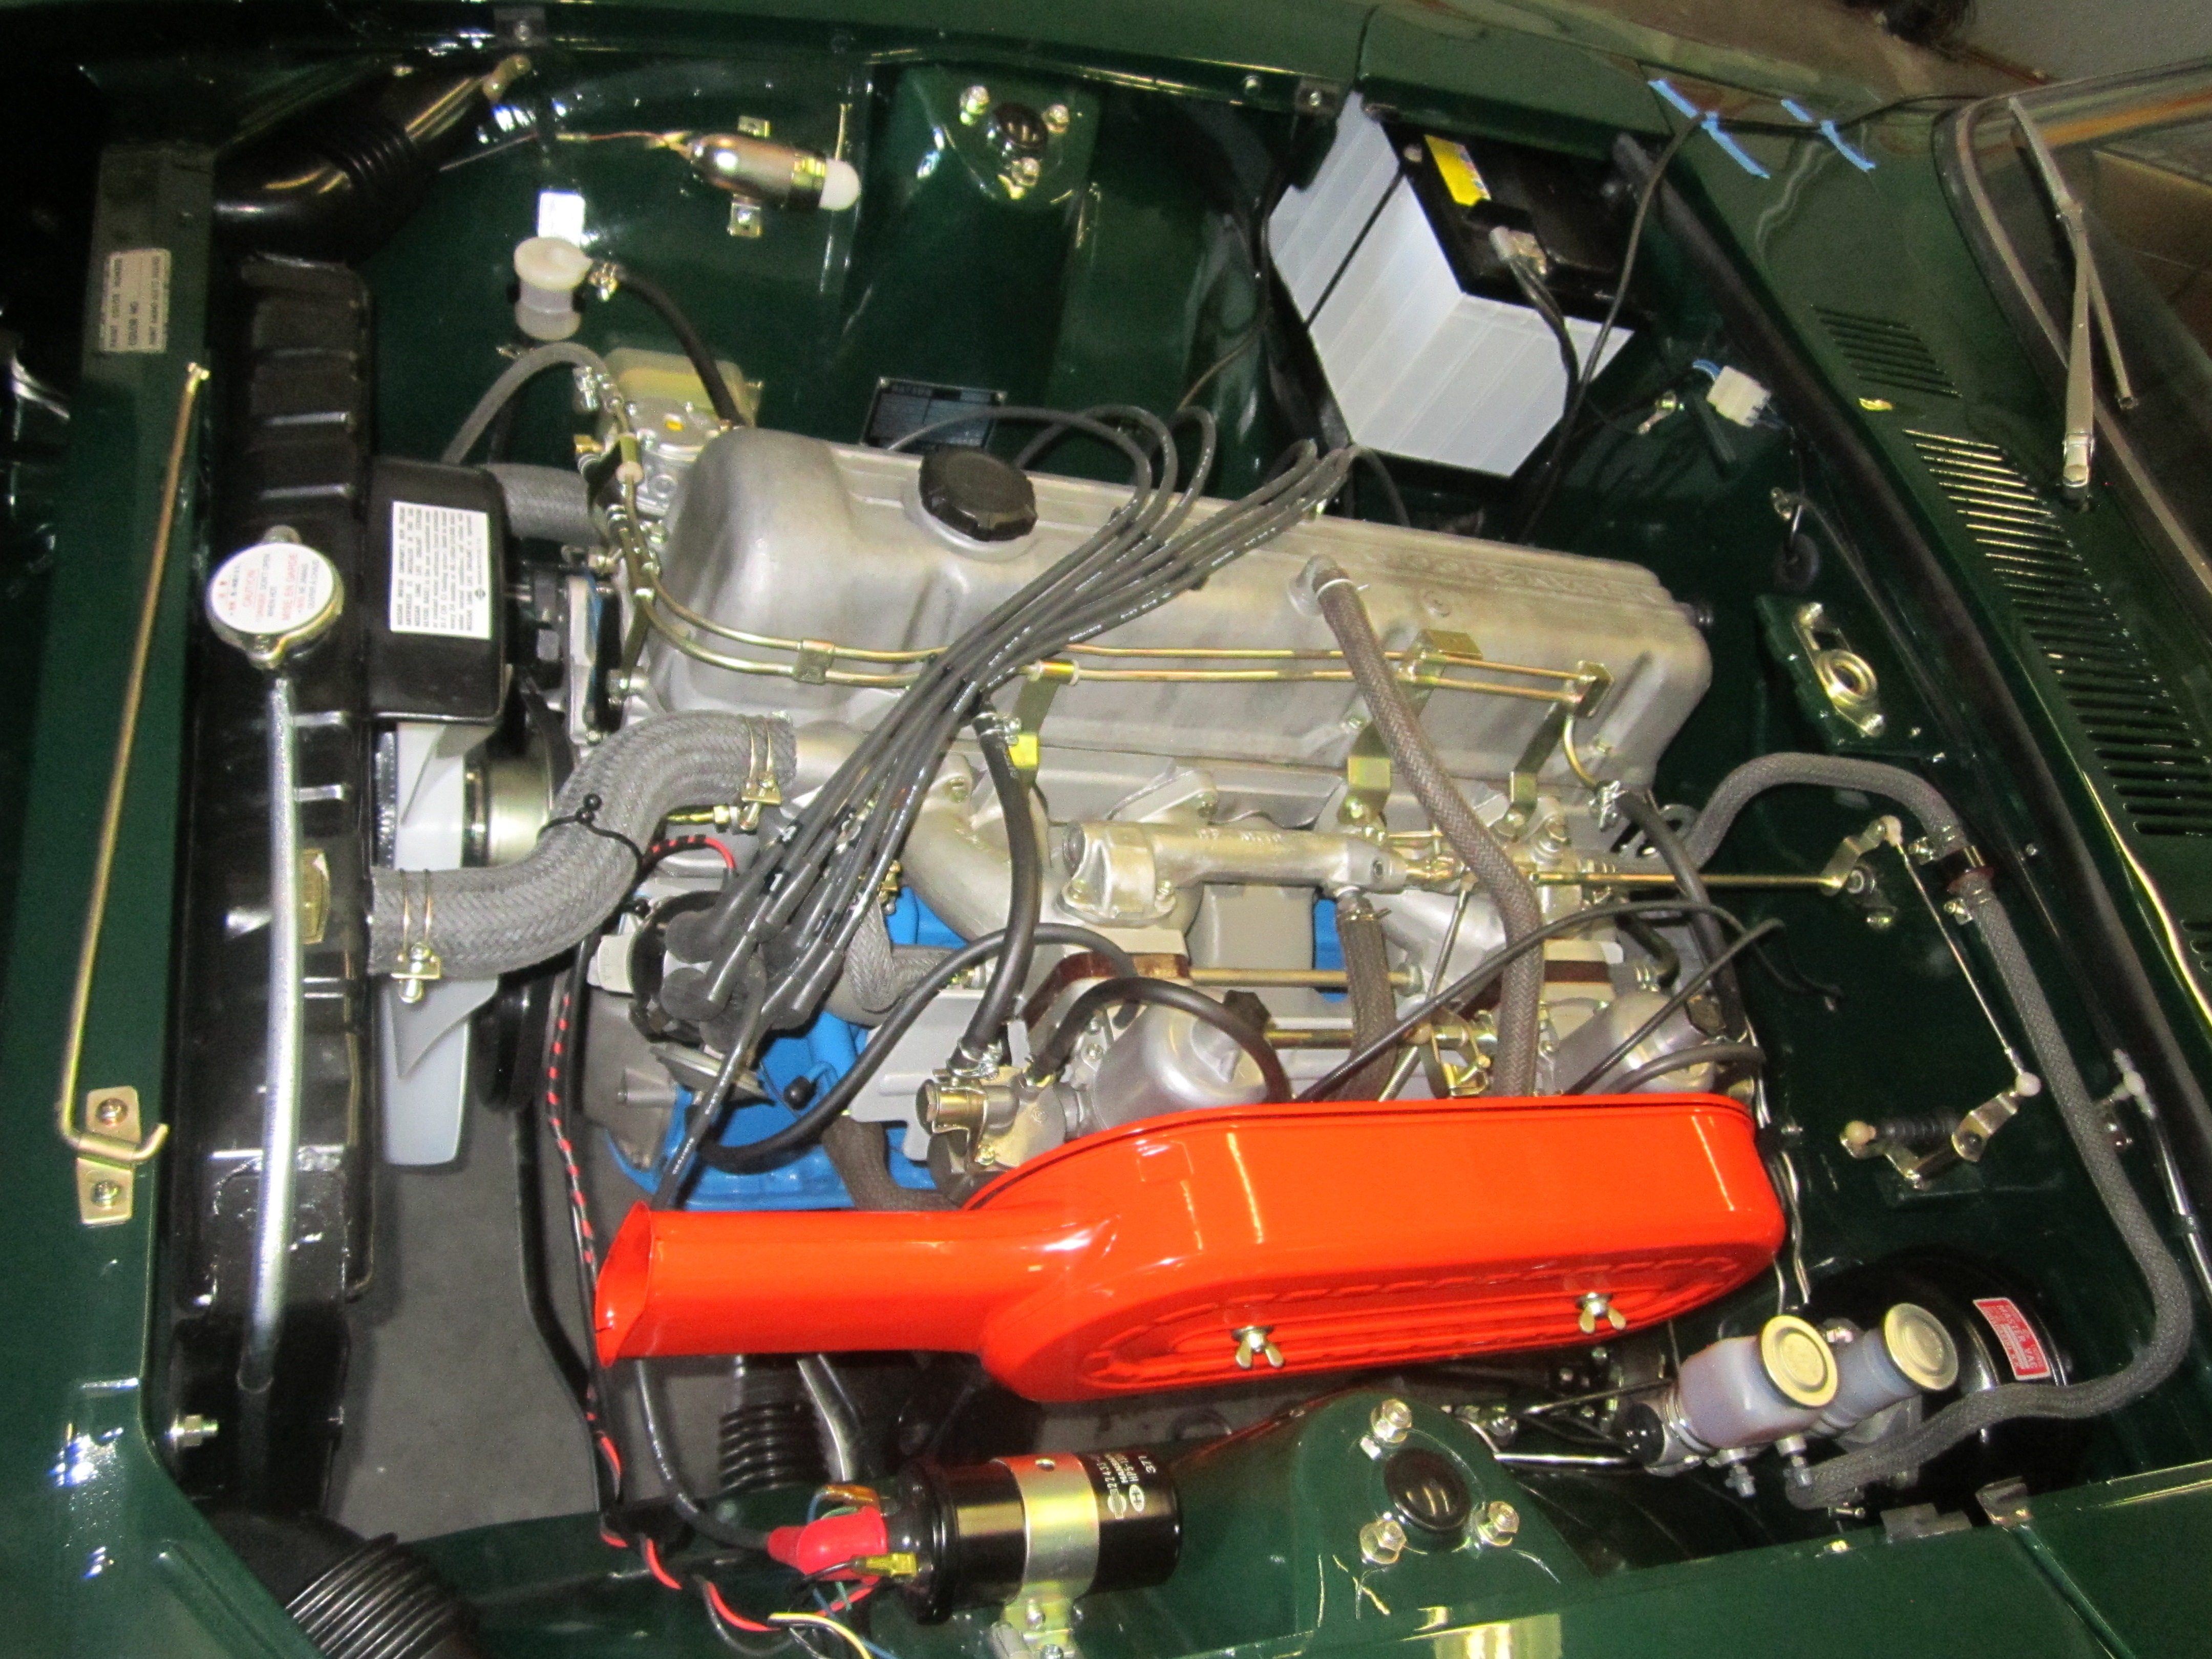
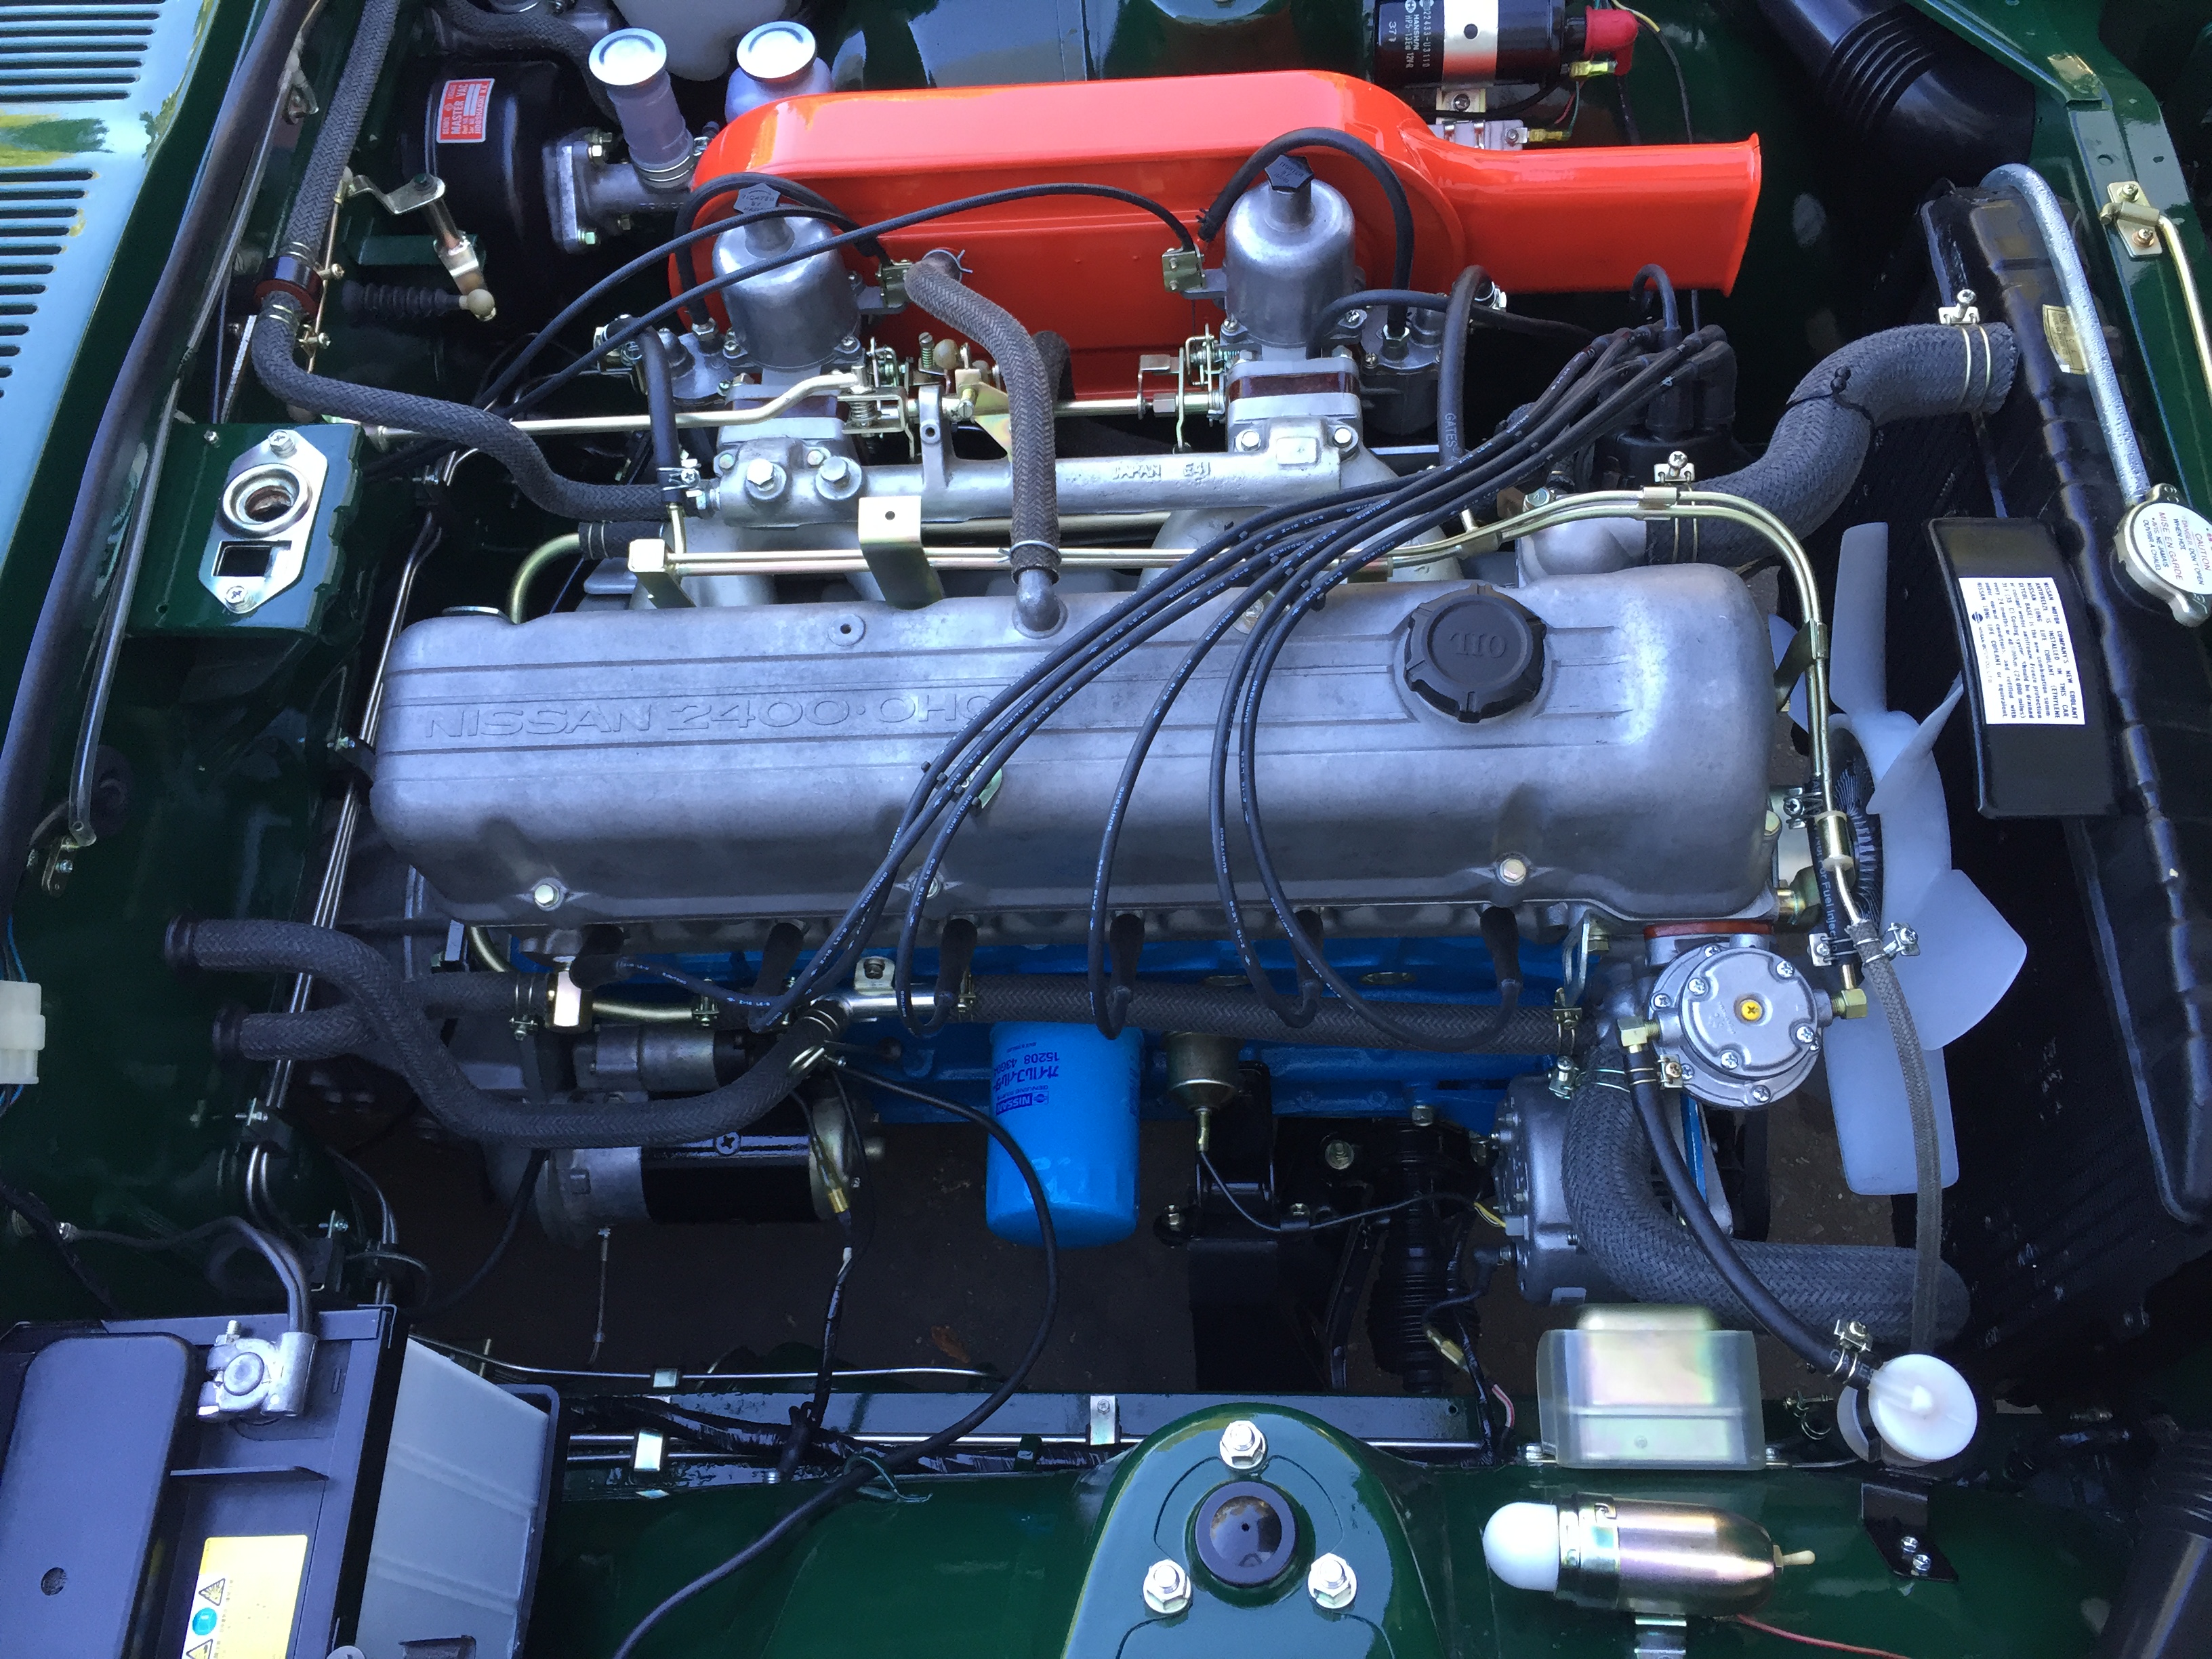
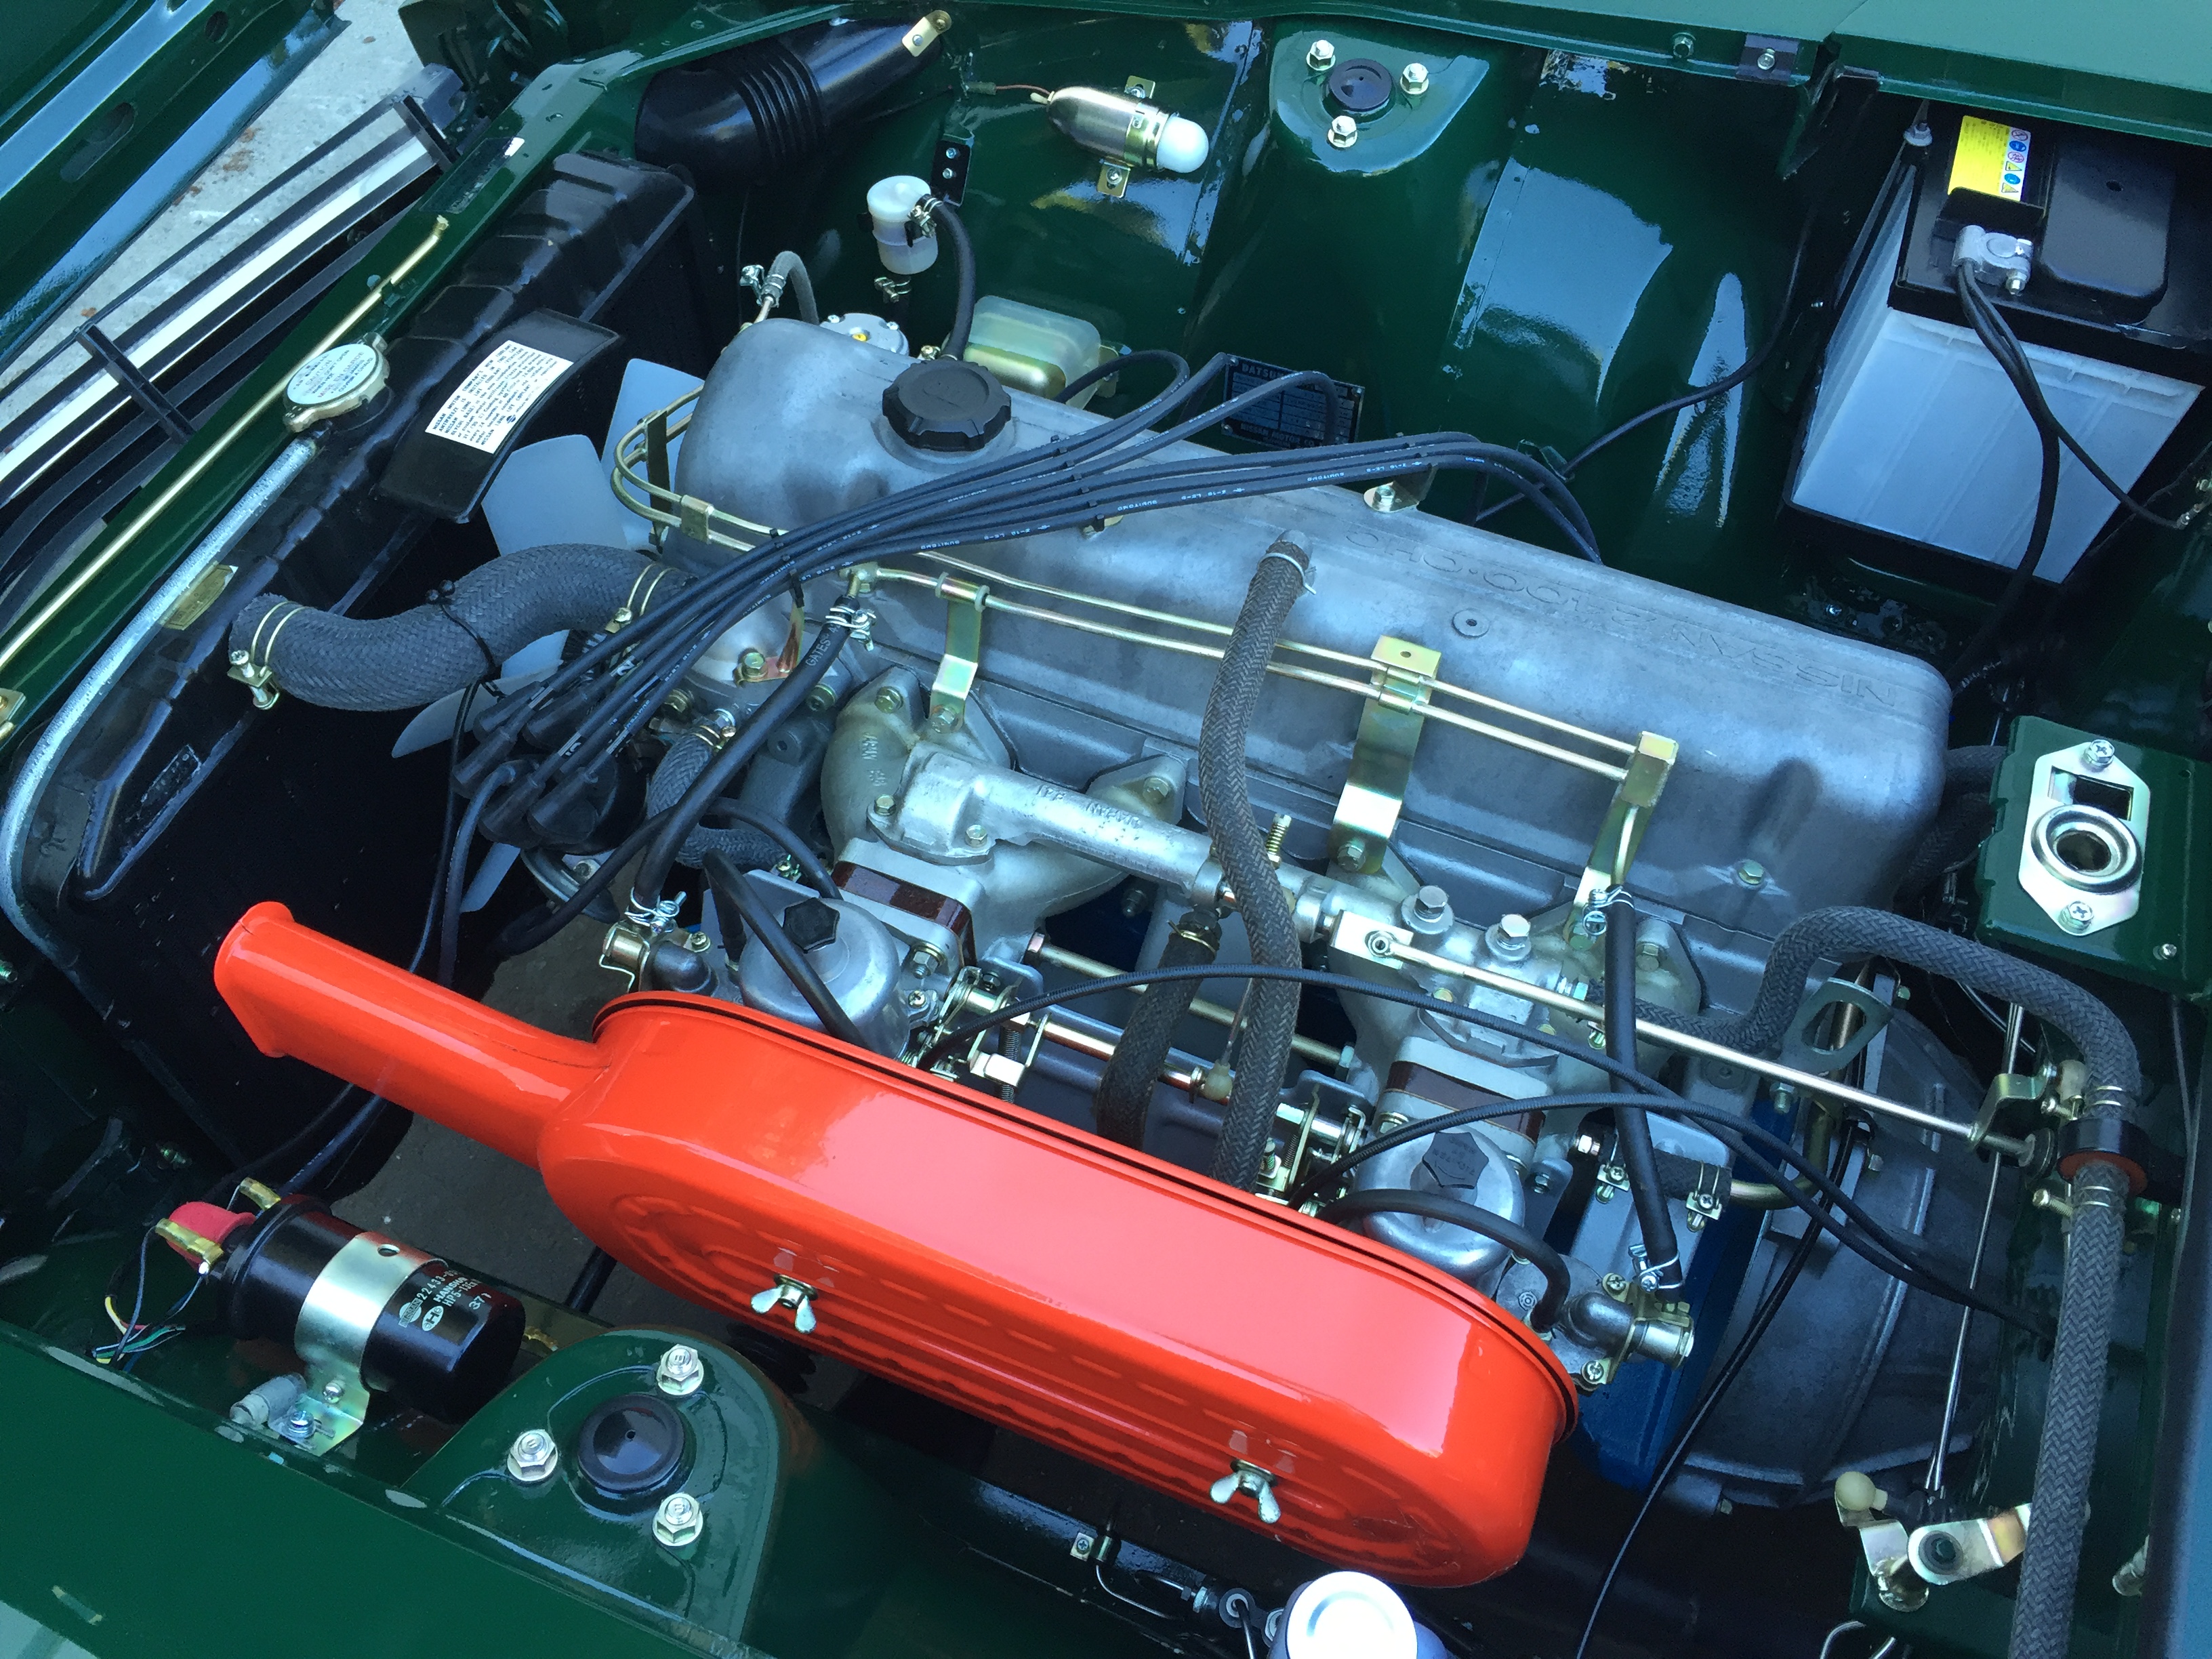
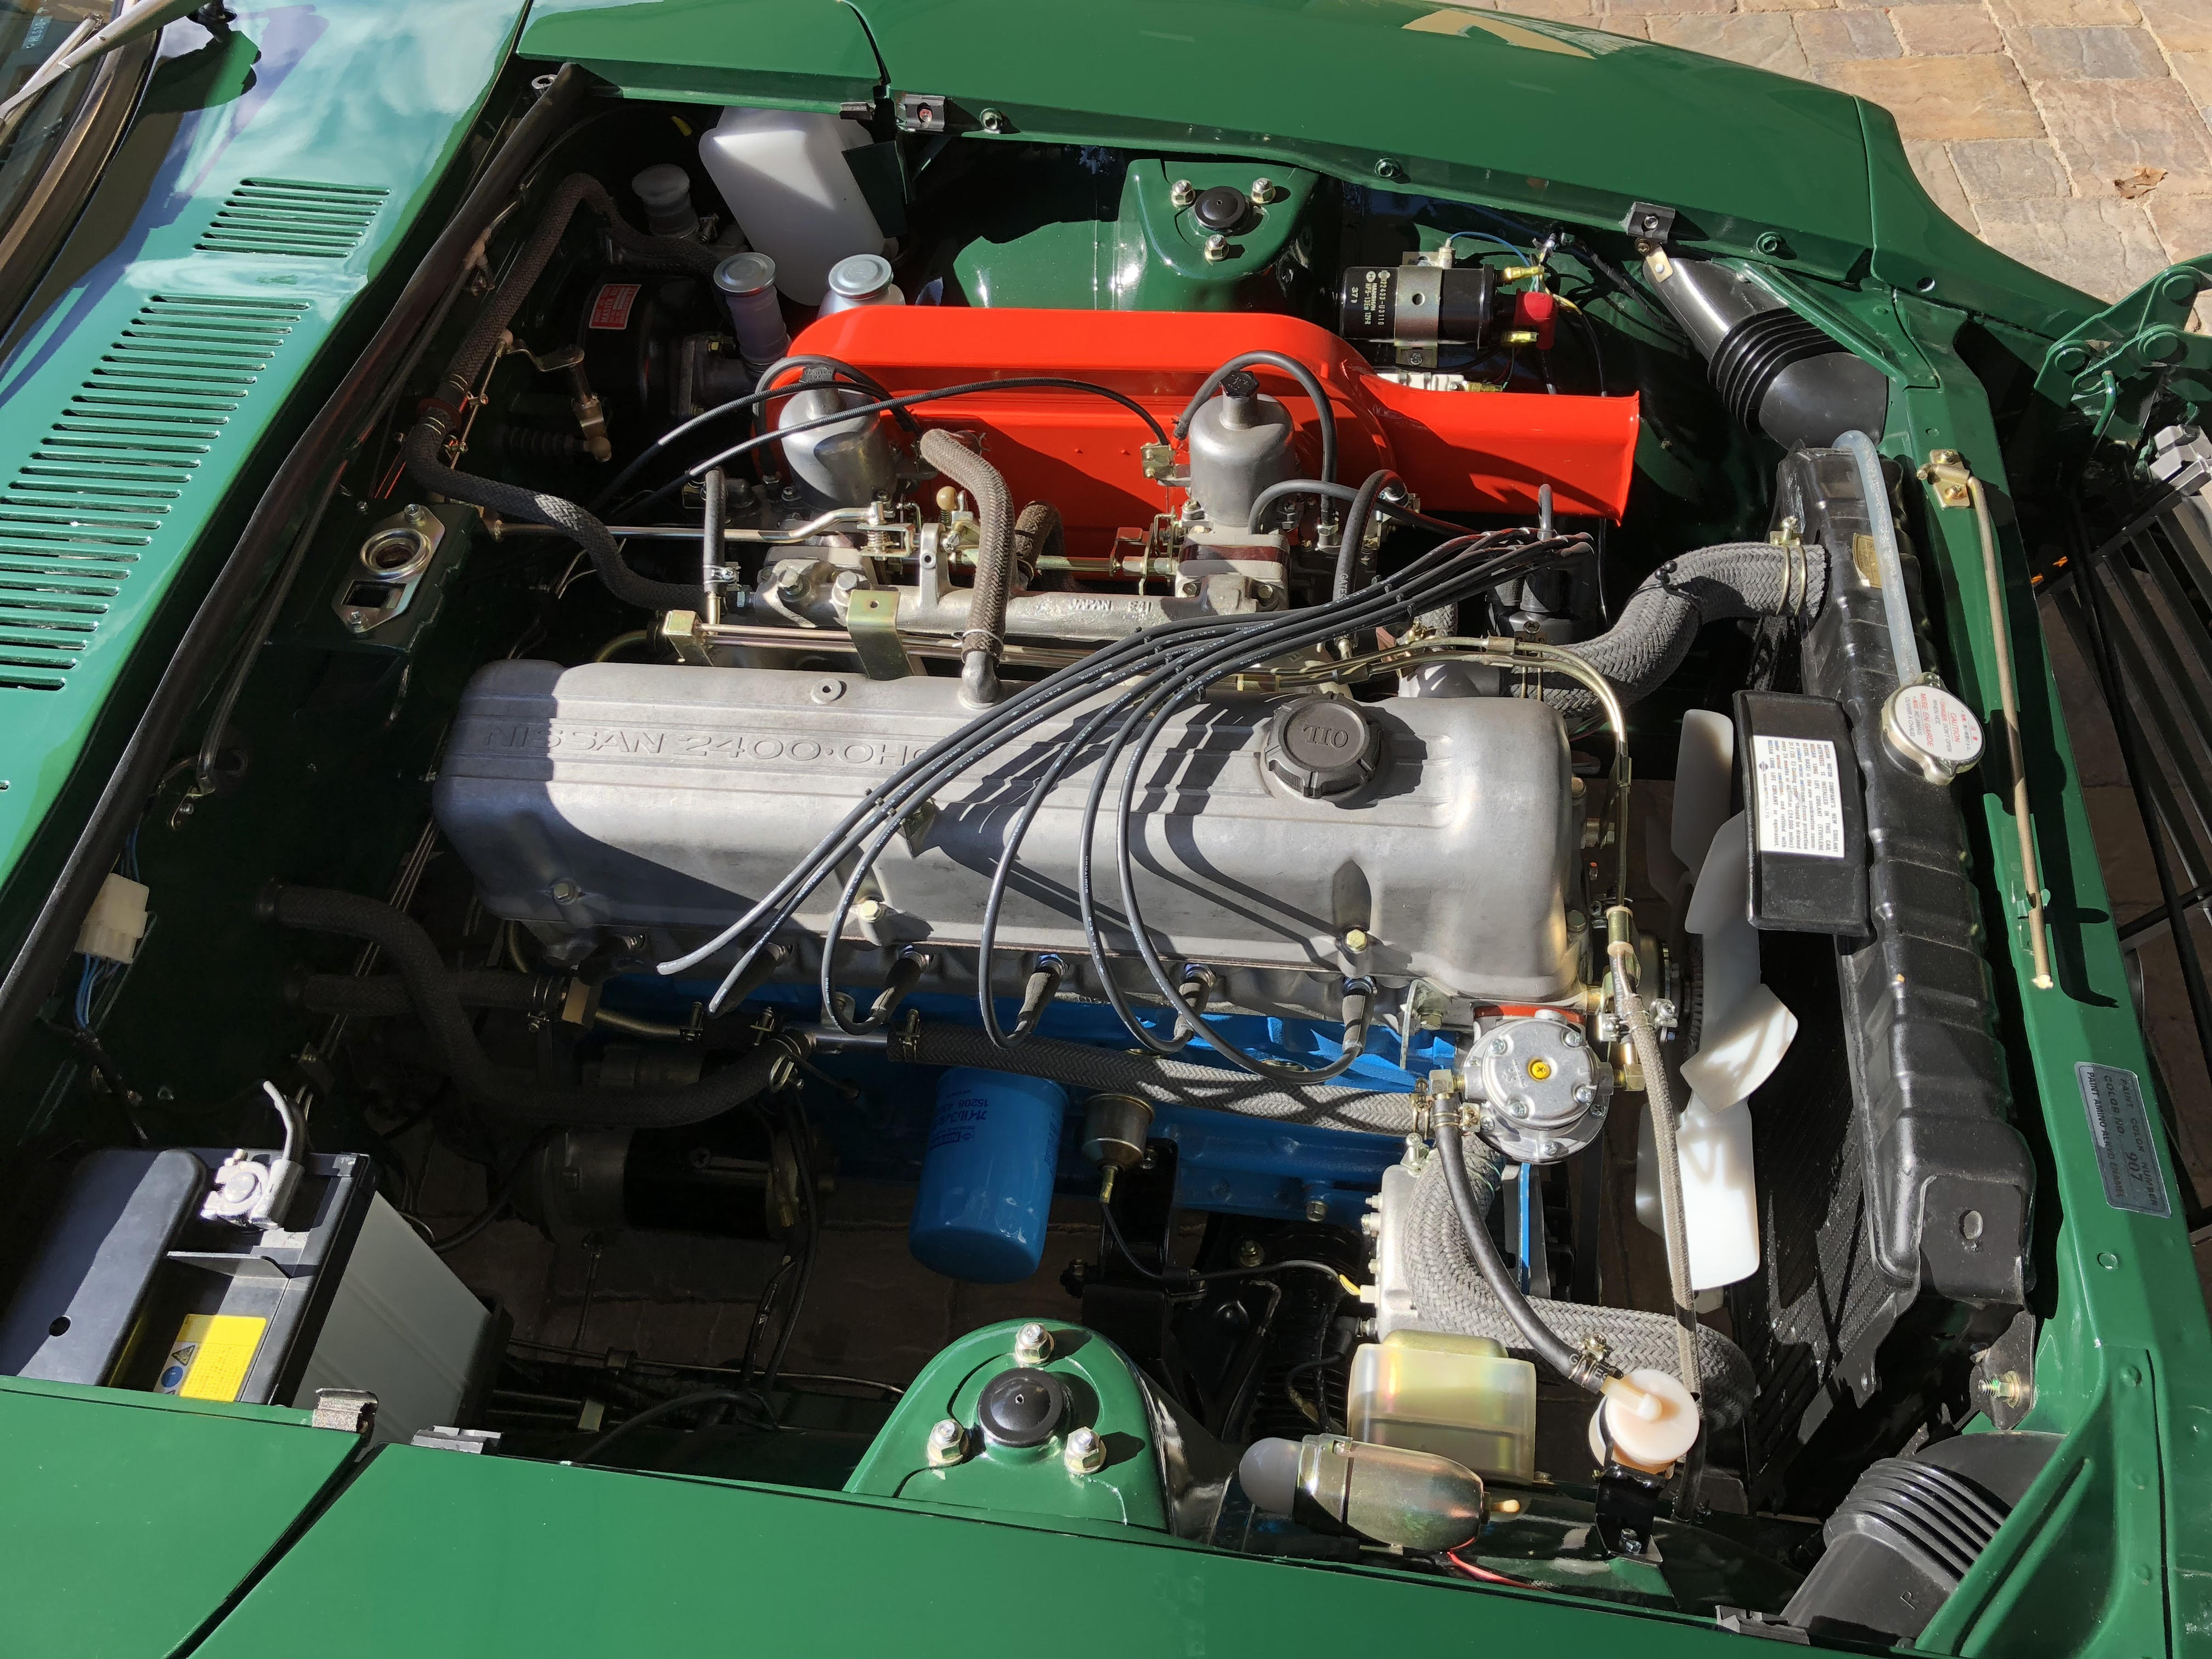
All of the existing EFI parts were removed from the car. We hooked Mel up with a Harada intake manifold, triple ph44 Mikuni carbs correctly setup for his 2.8 engine, a ZCG heat shield and corrected all fuel system issues:
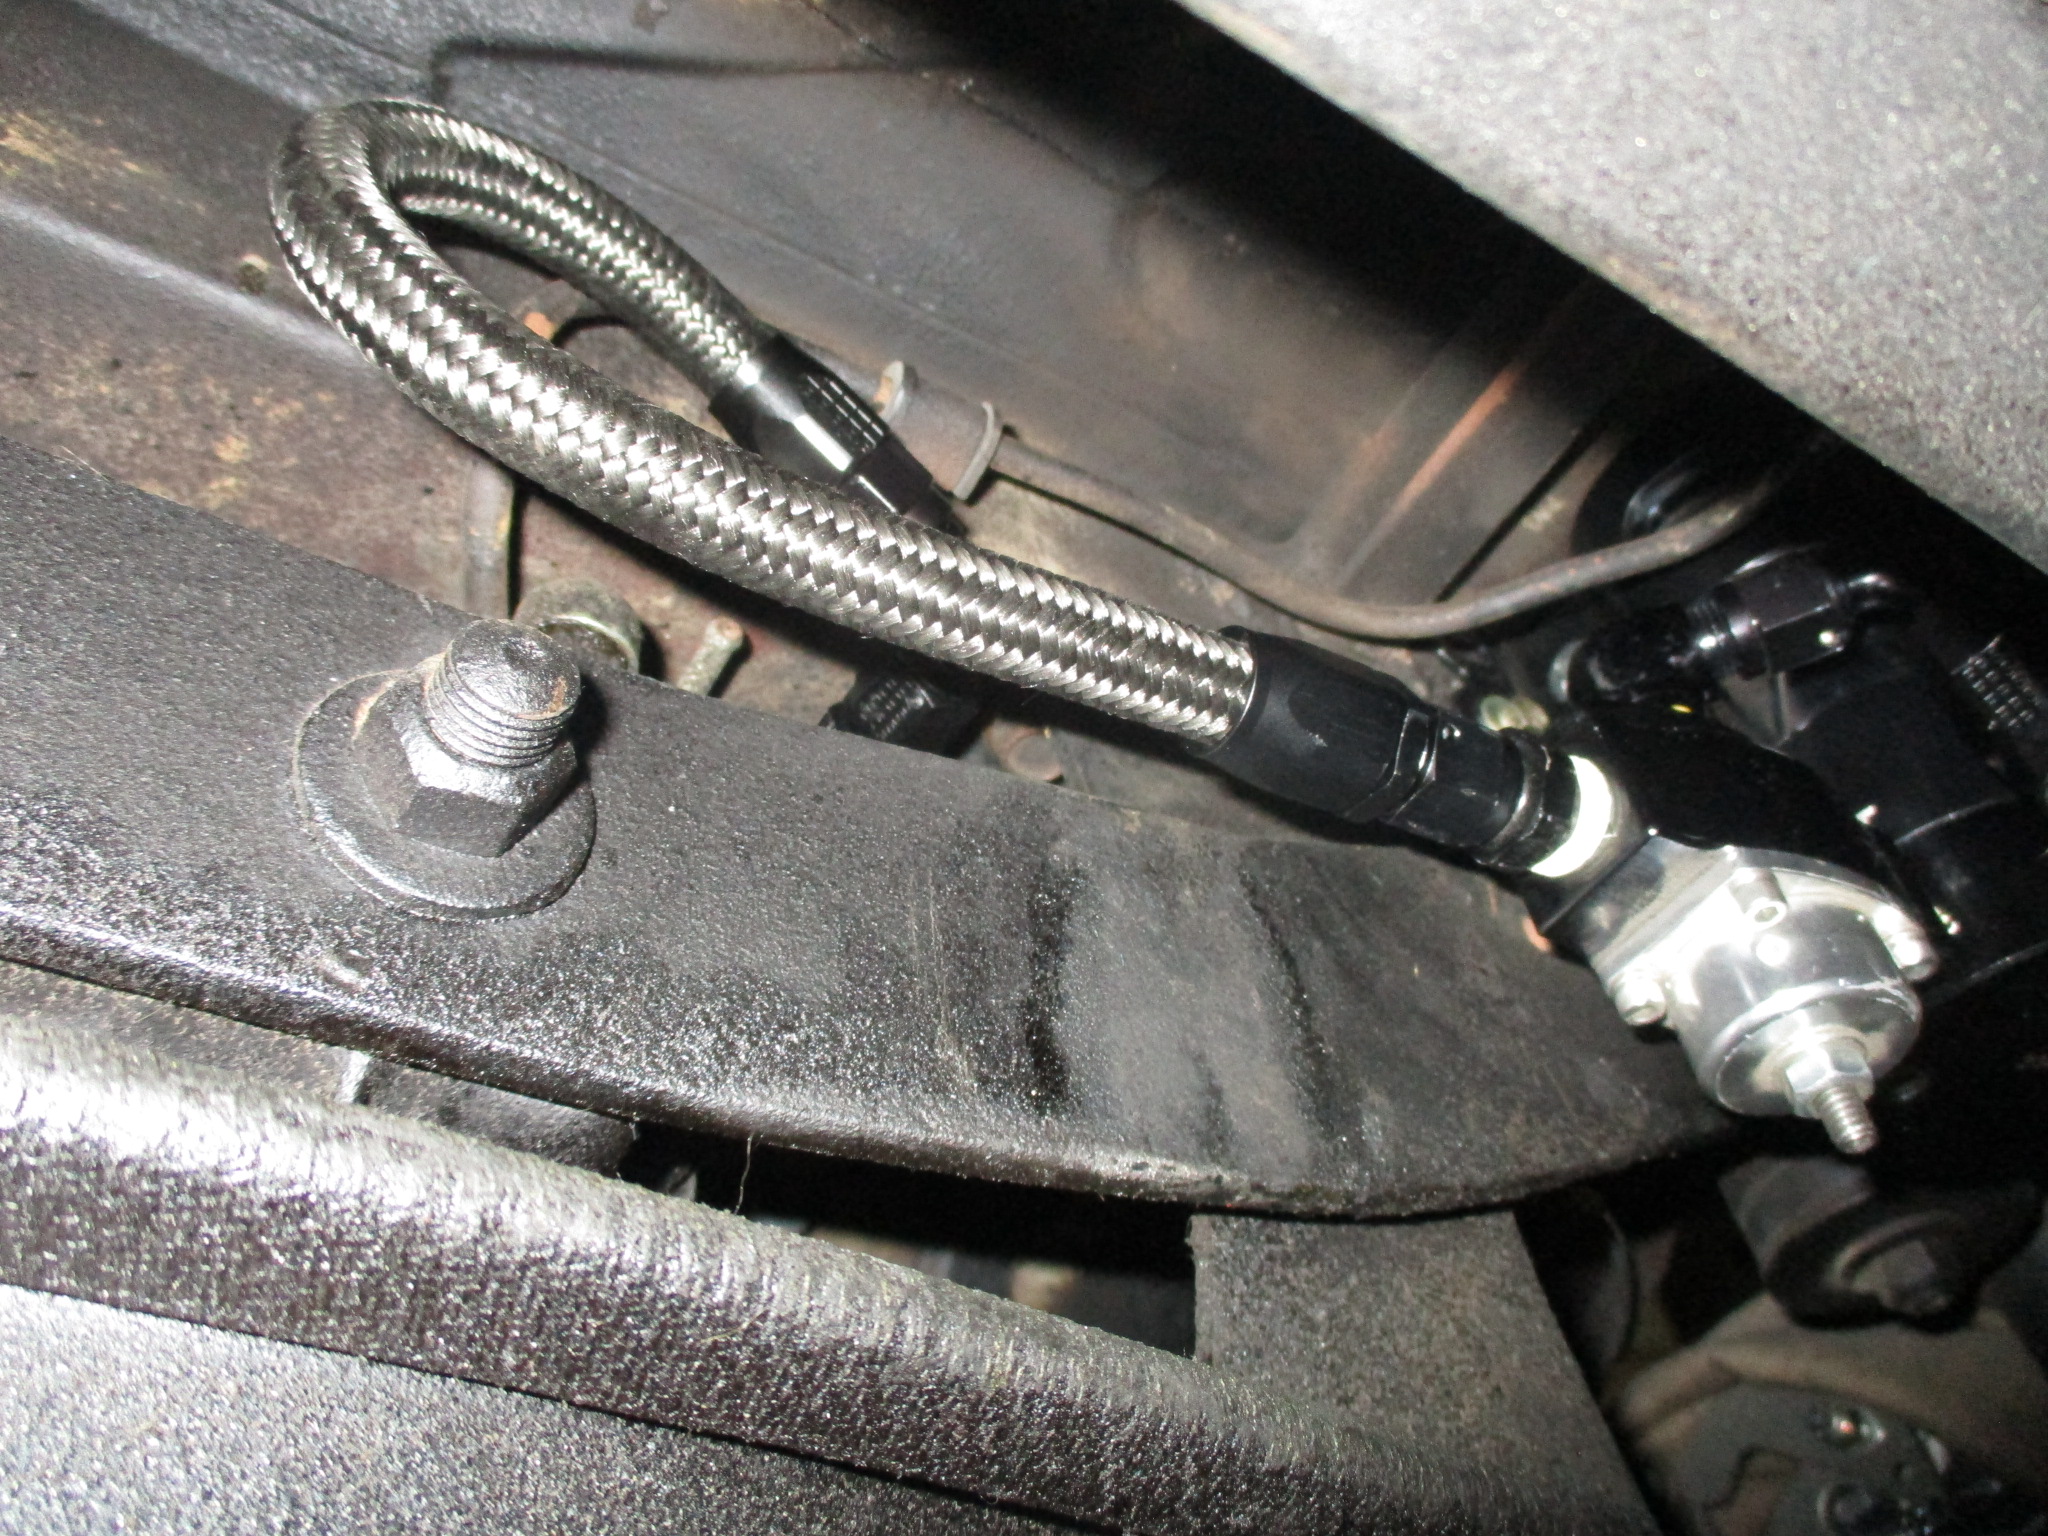
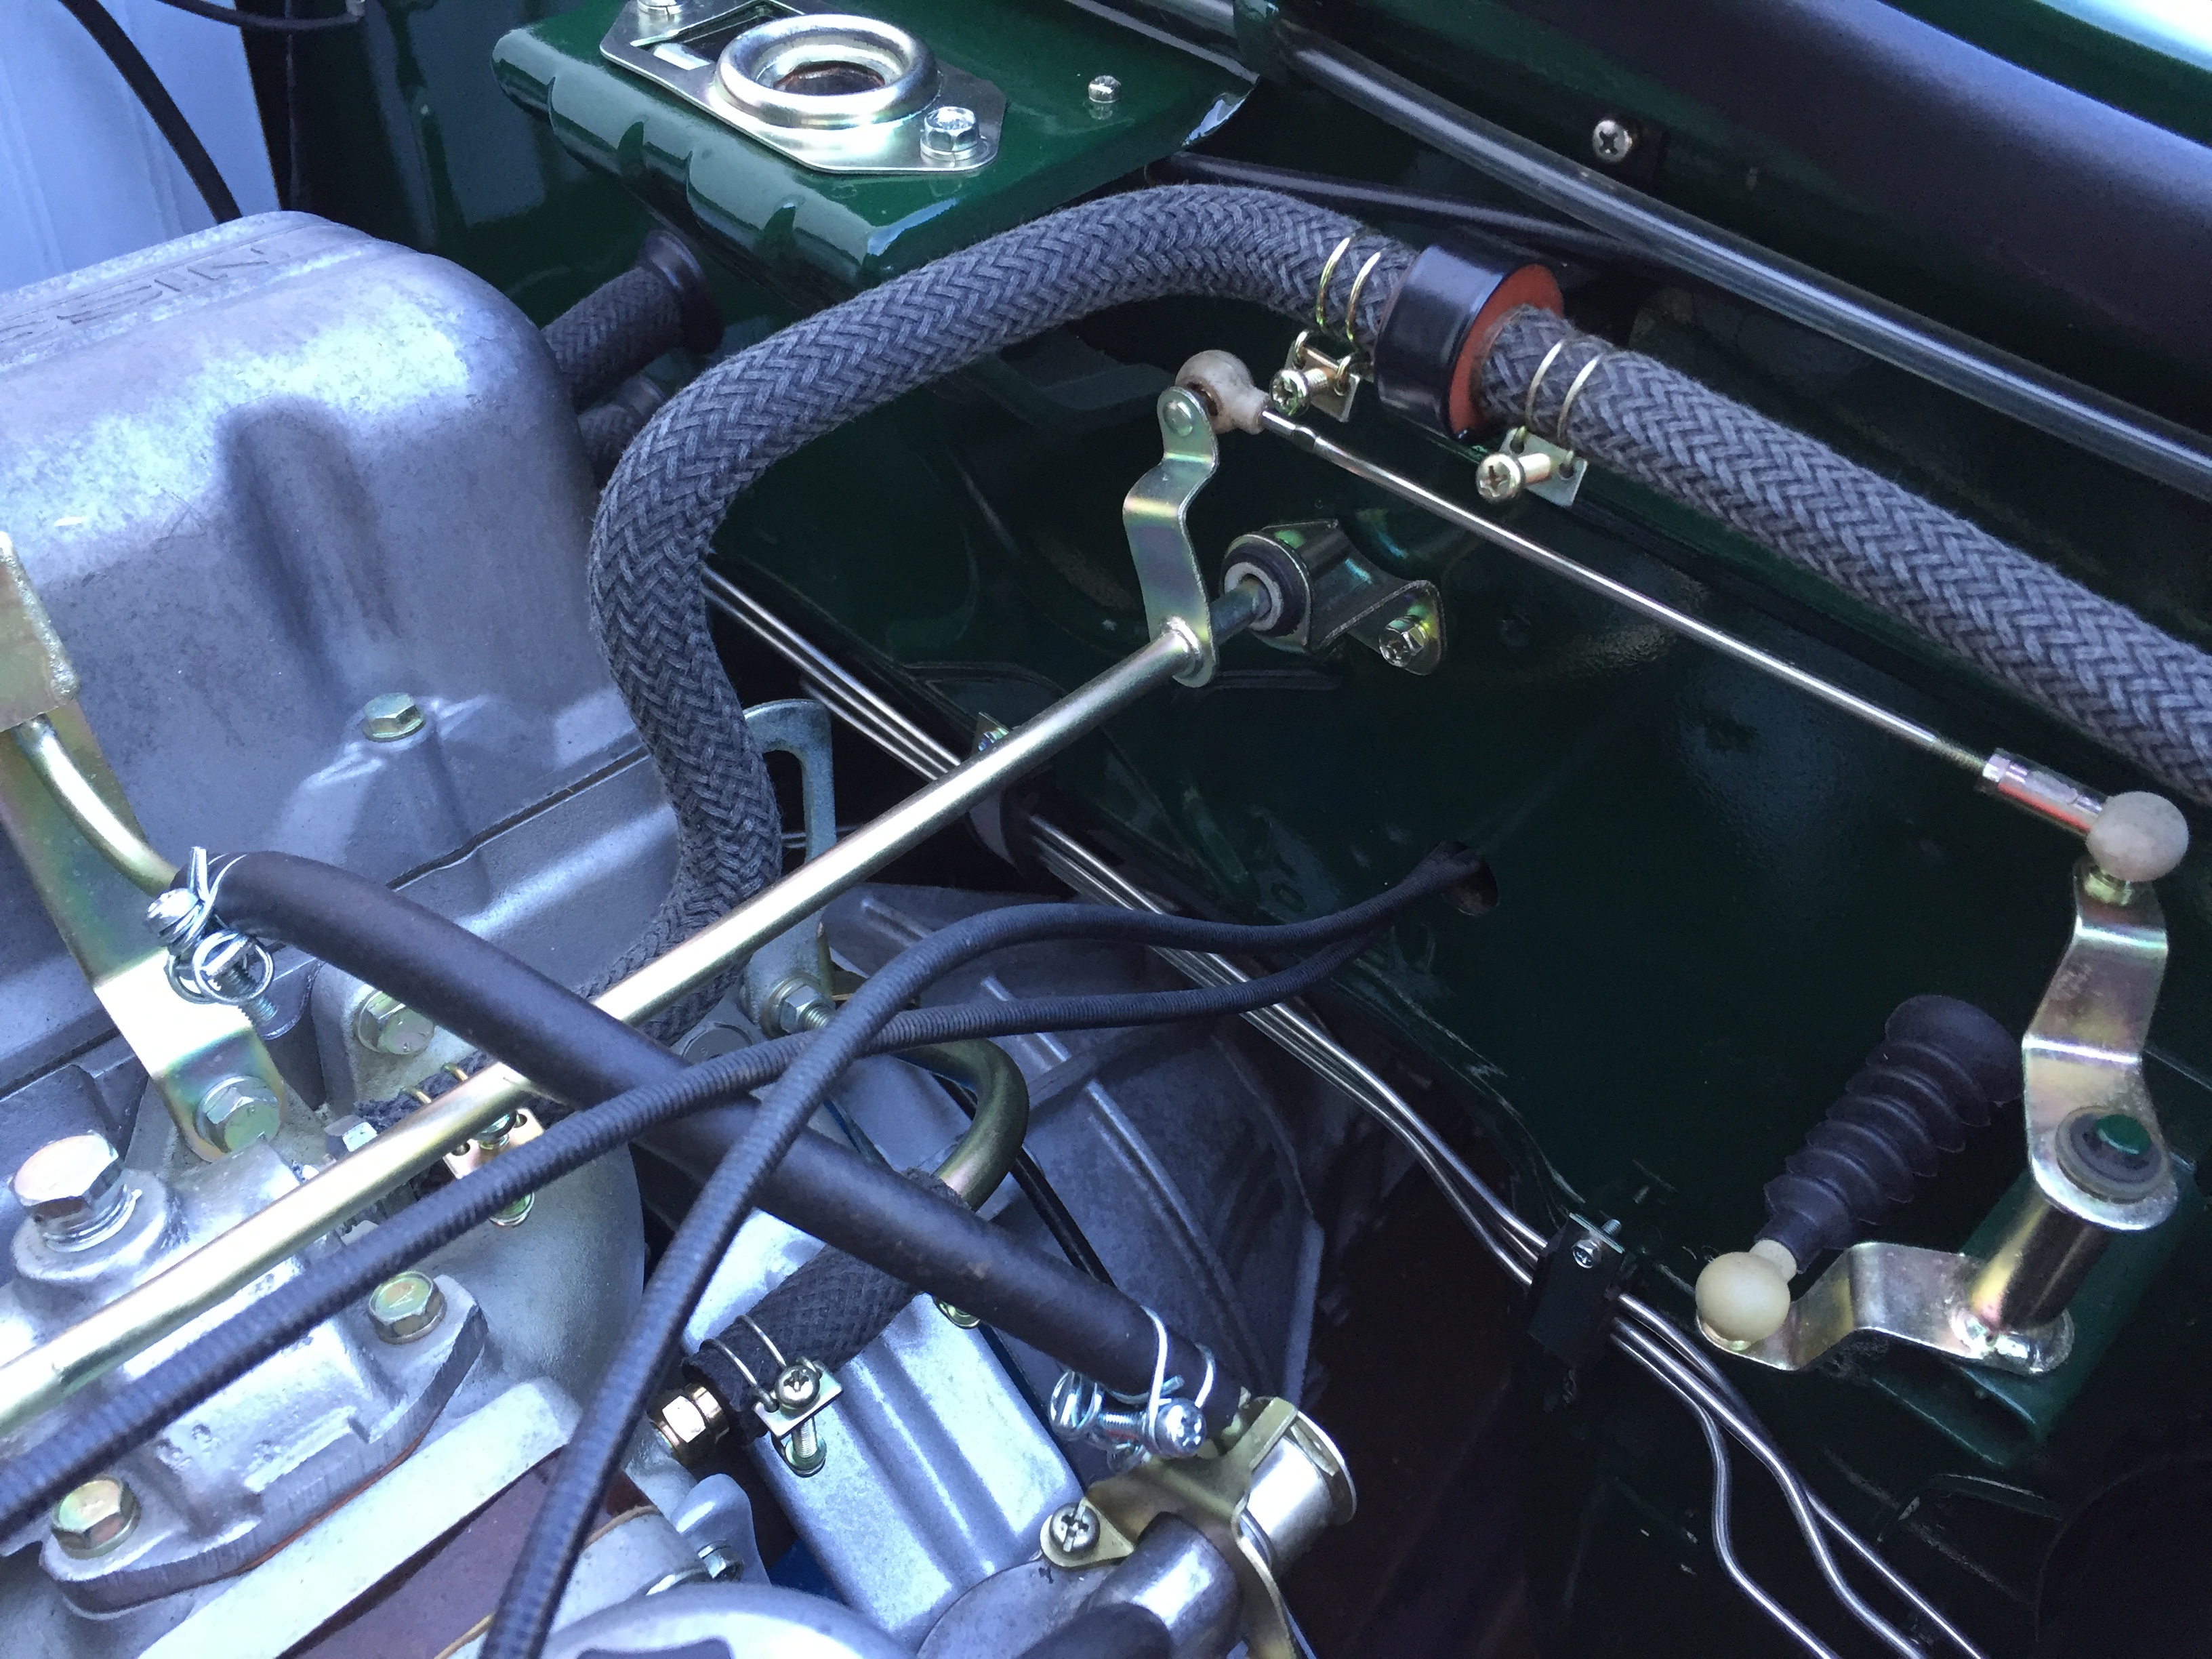
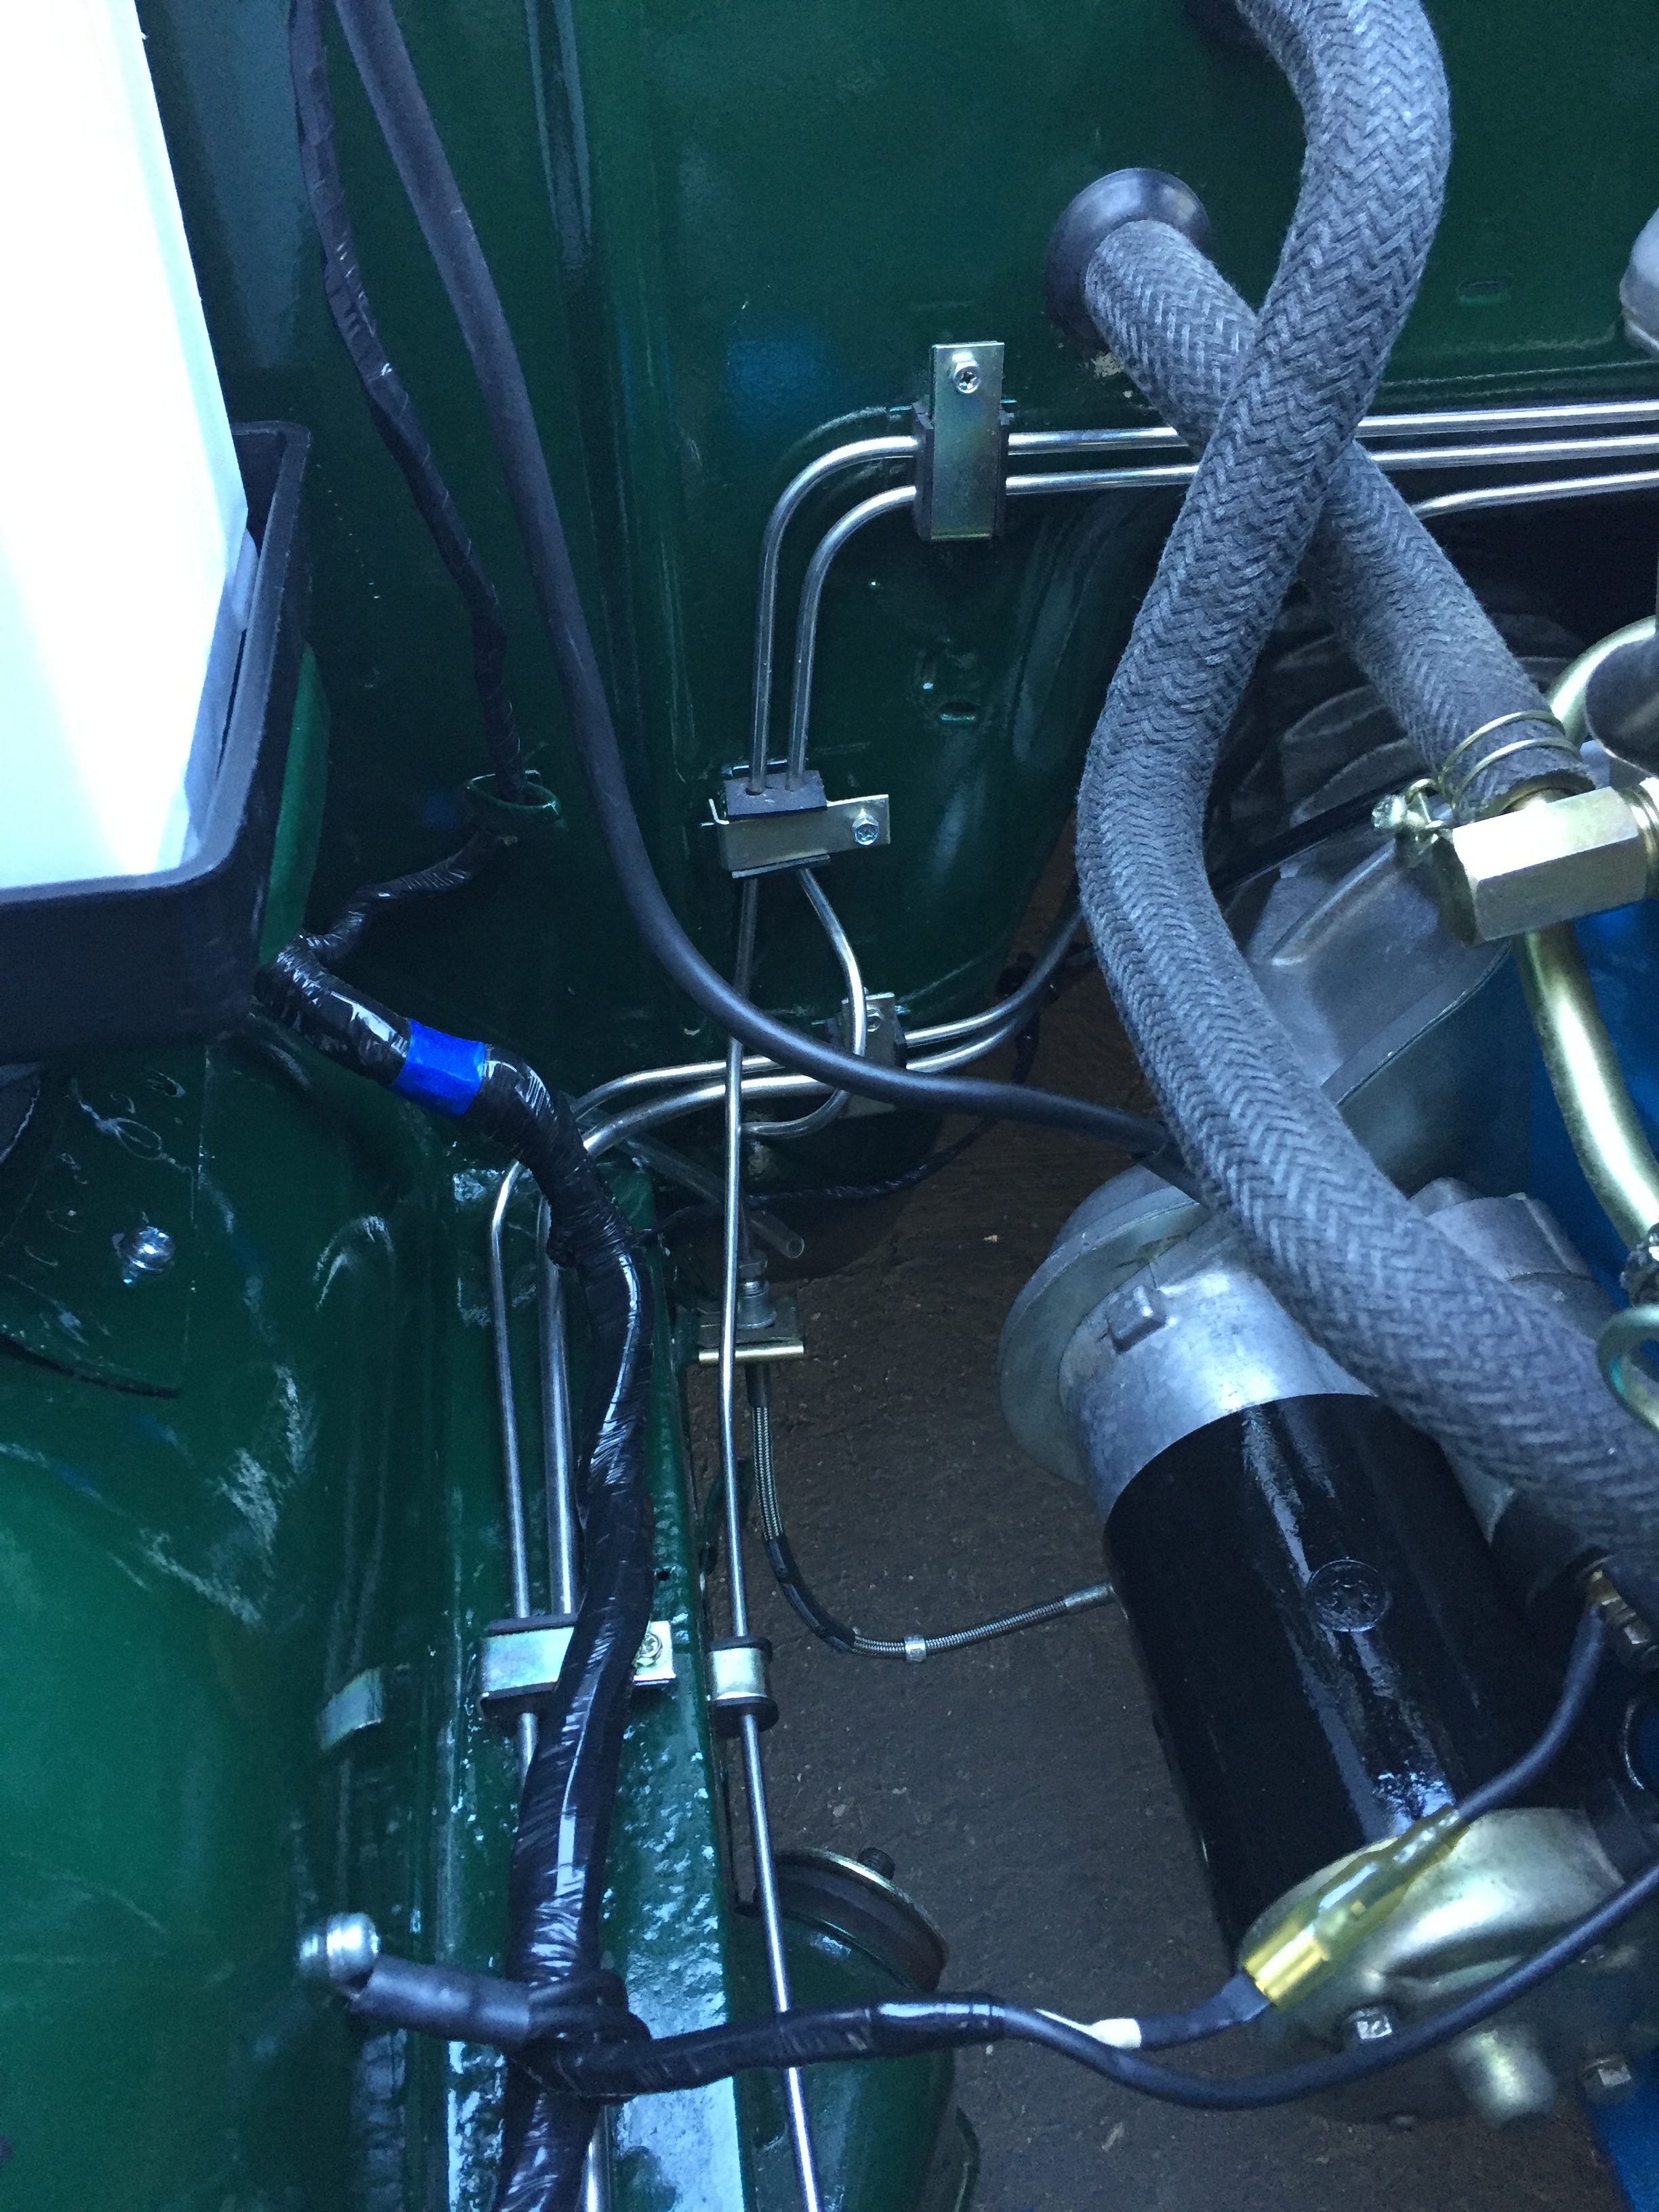
Often utilized on vintage race cars, the fuel lines were plumbed from a junction block on the firewall. Black AN fittings on black fuel lines supply each carb:
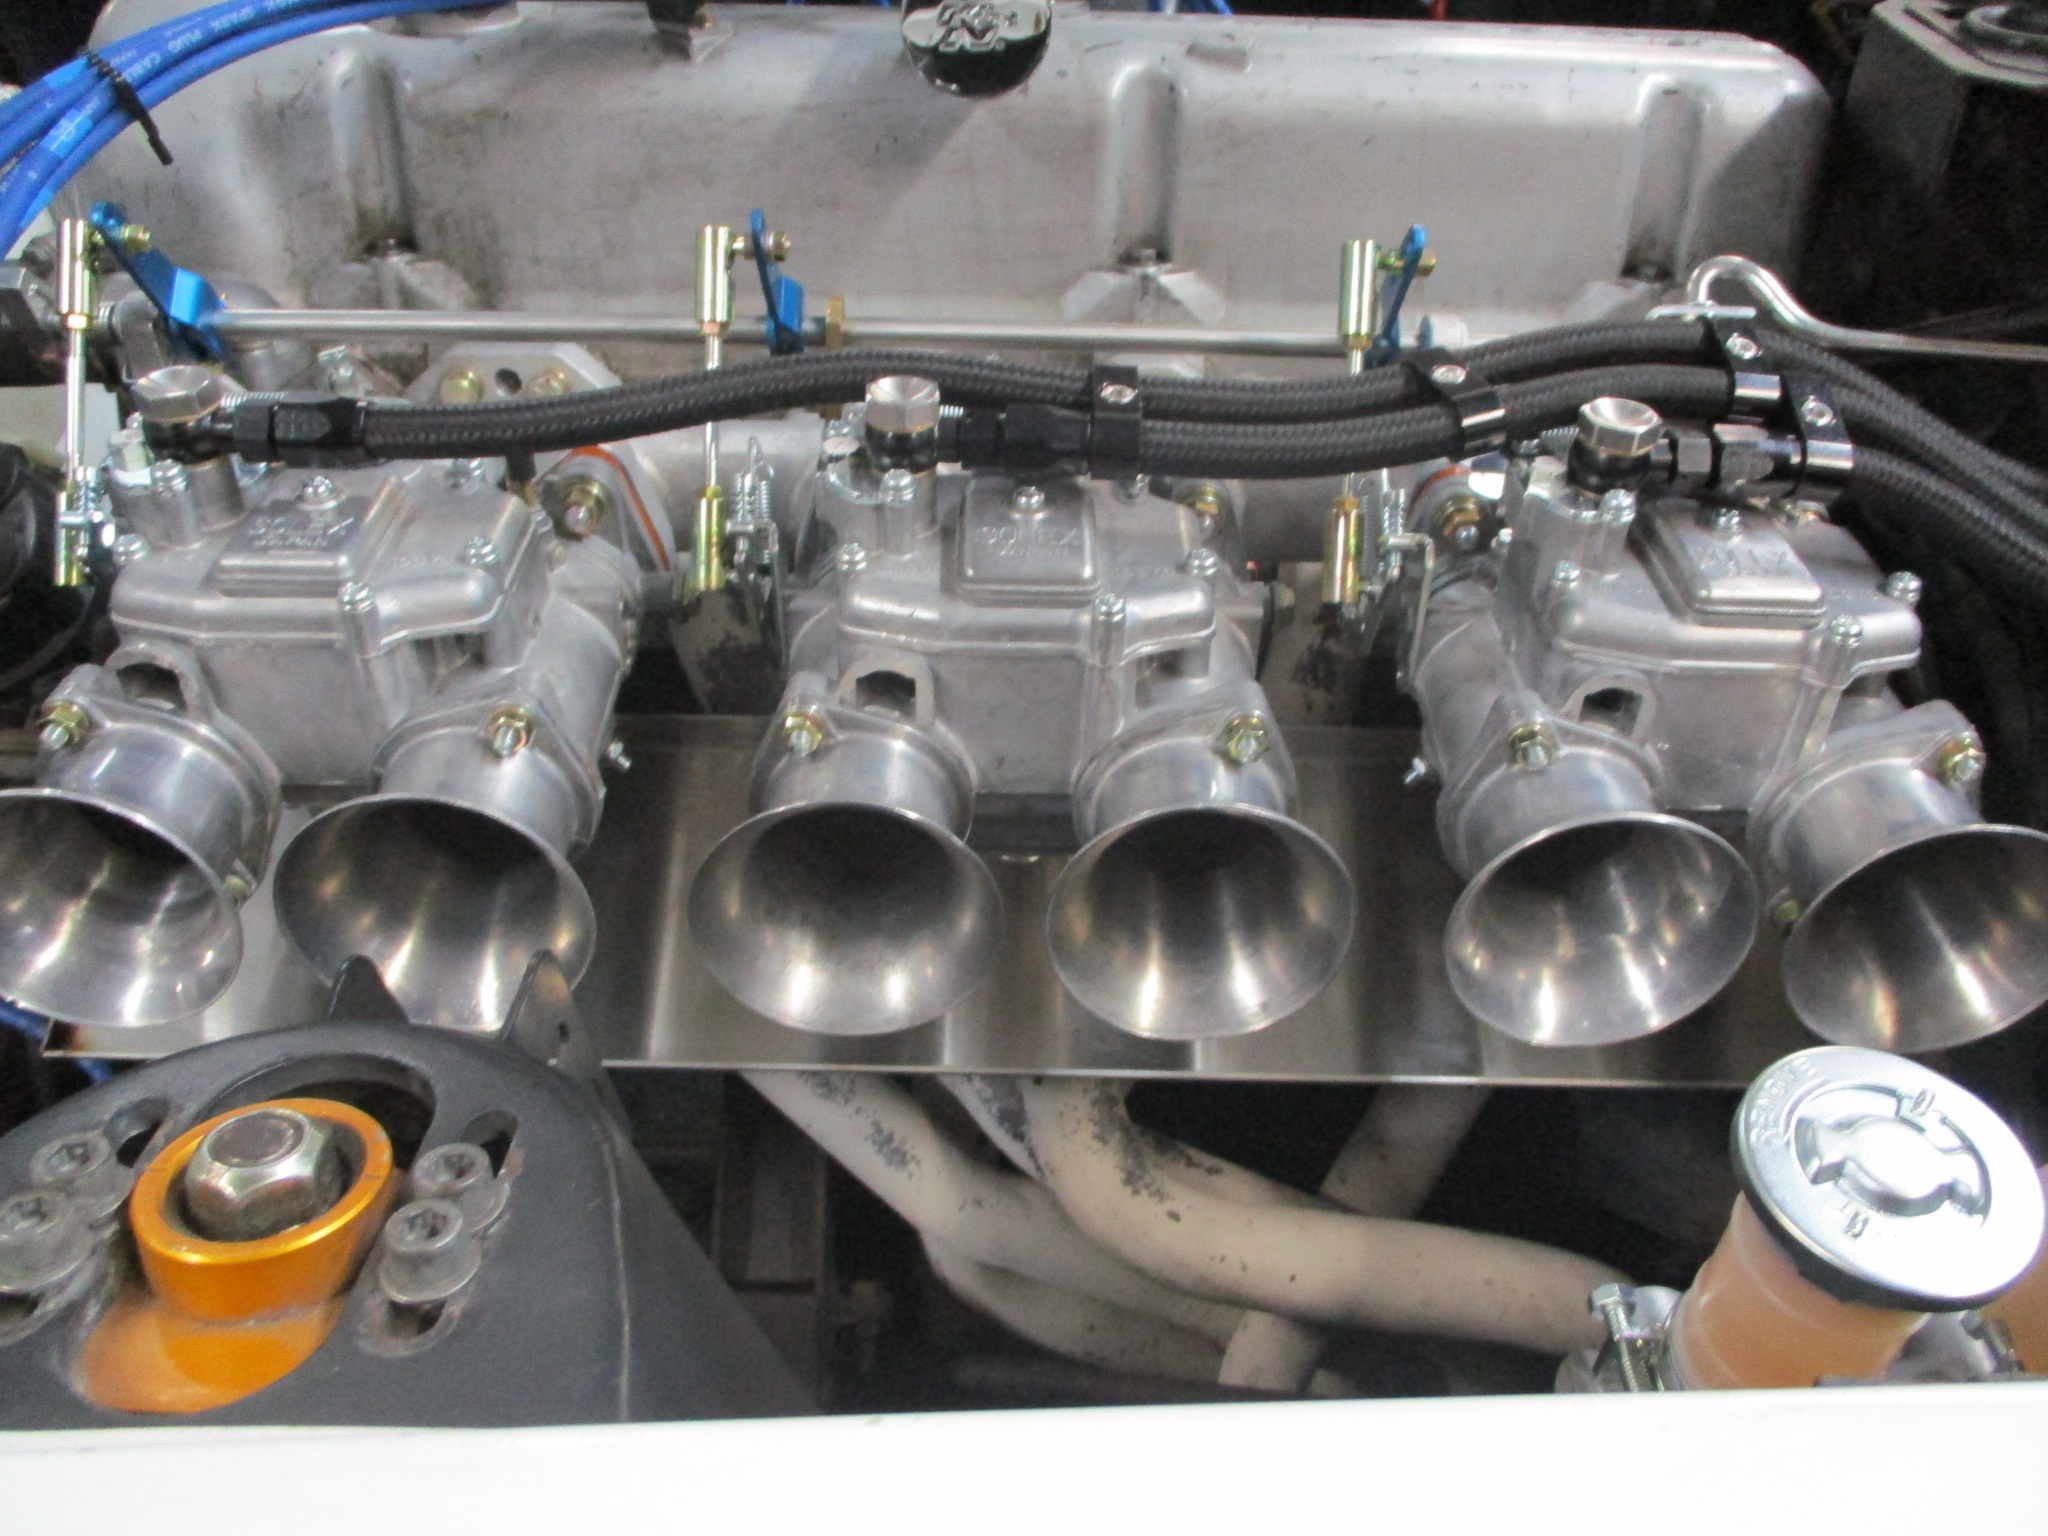
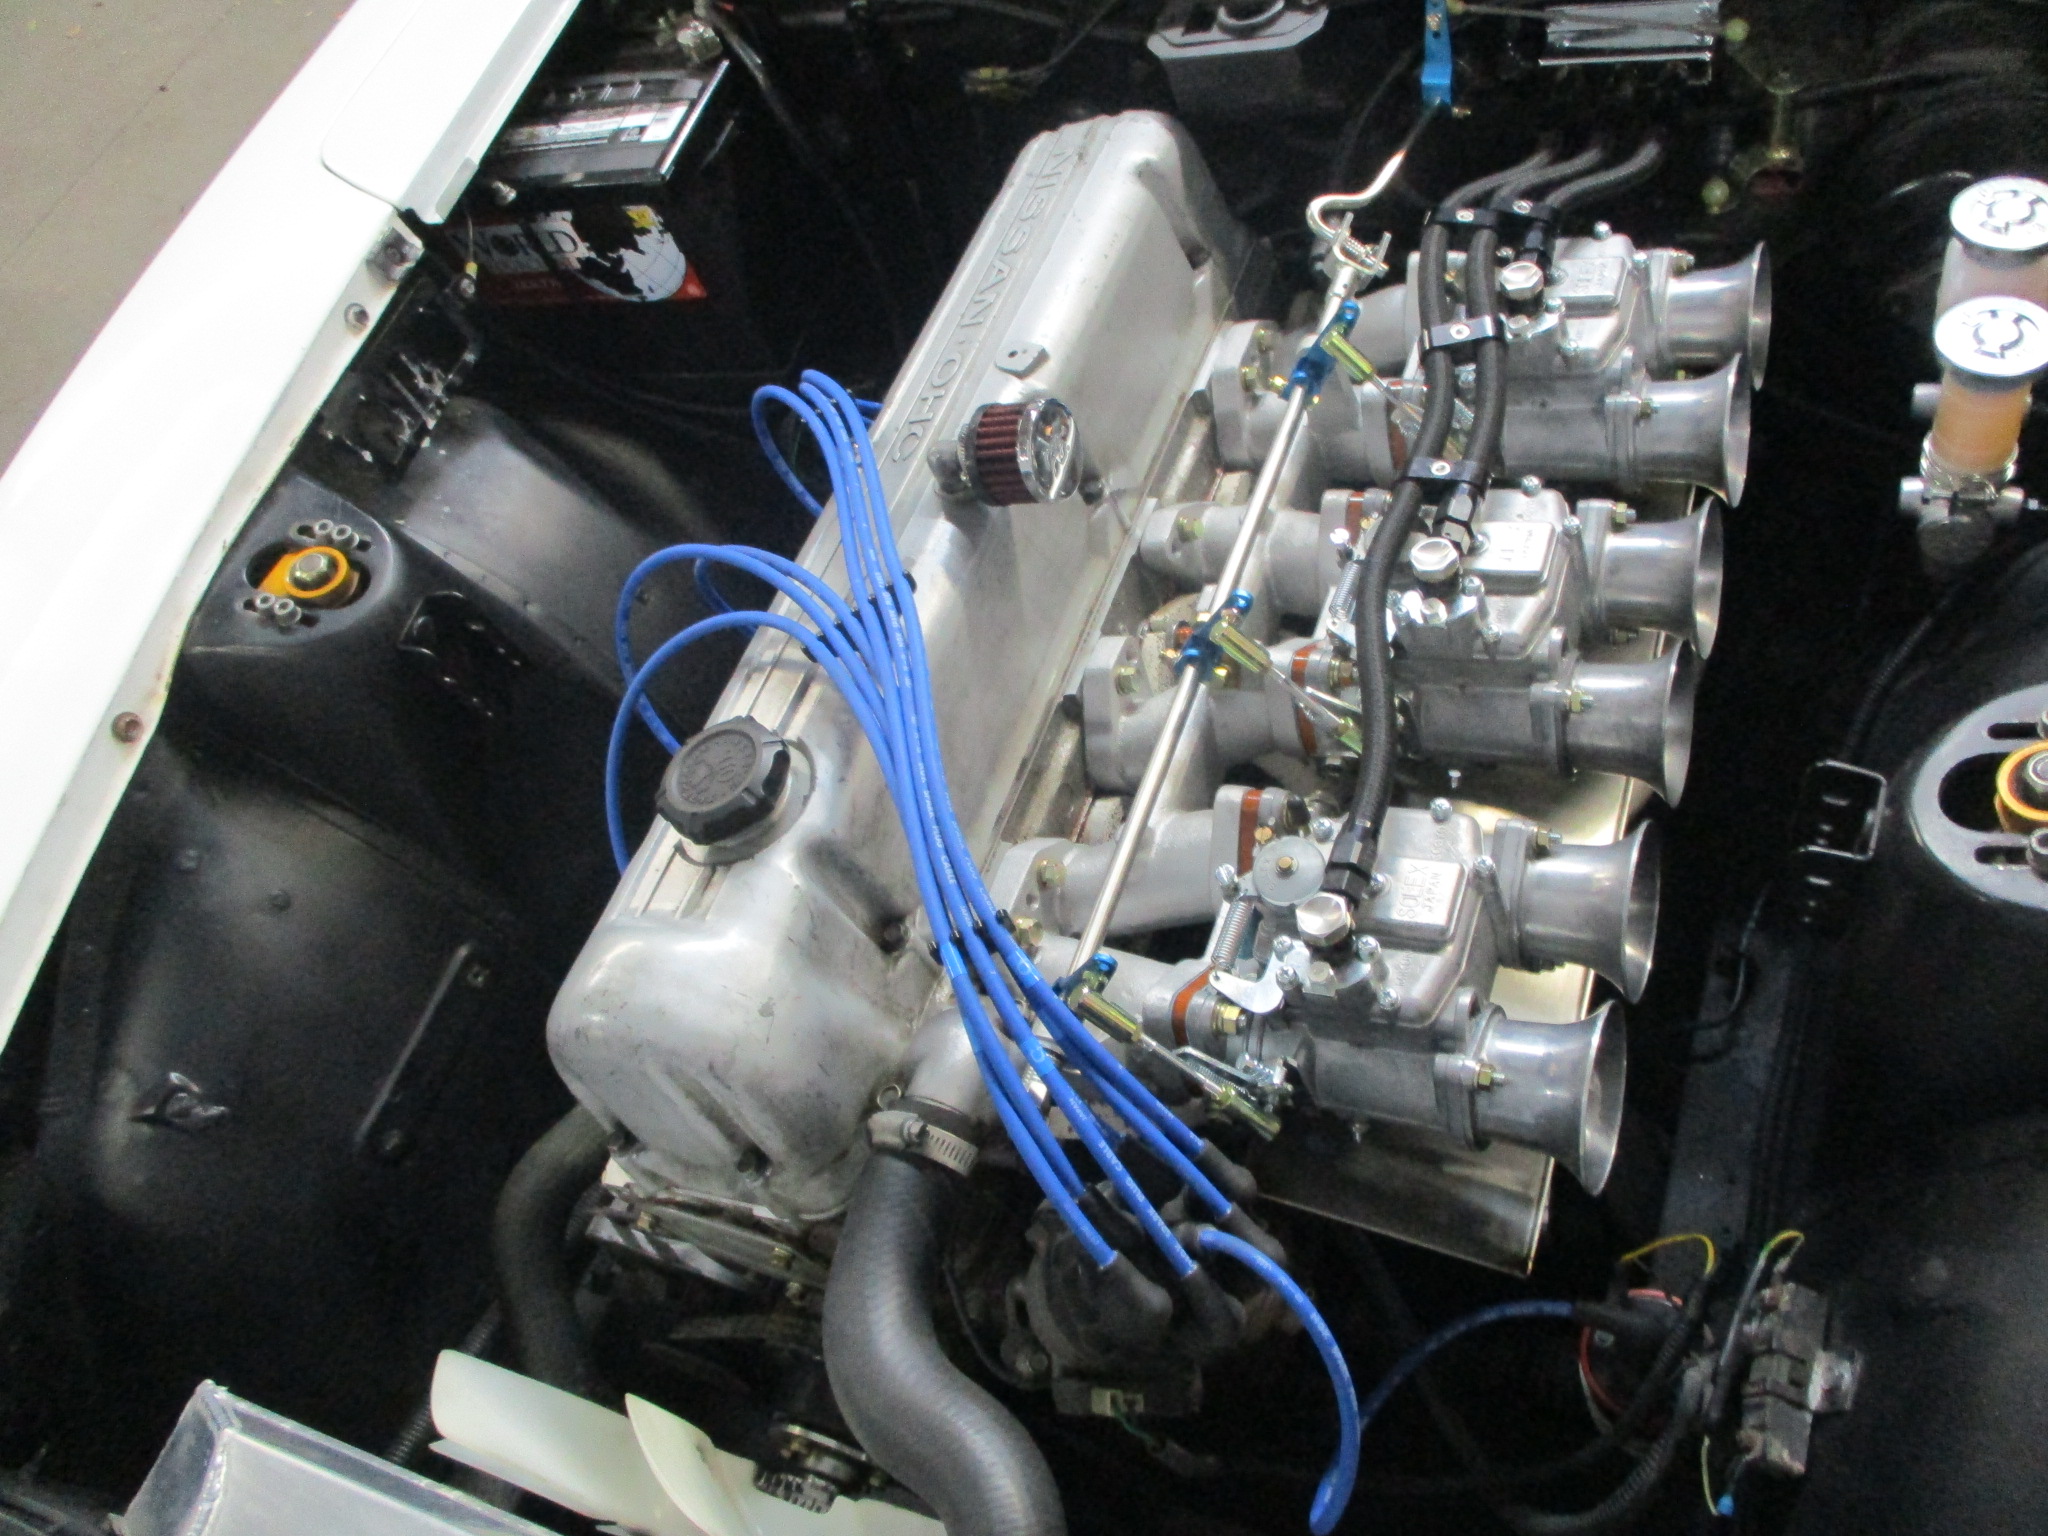
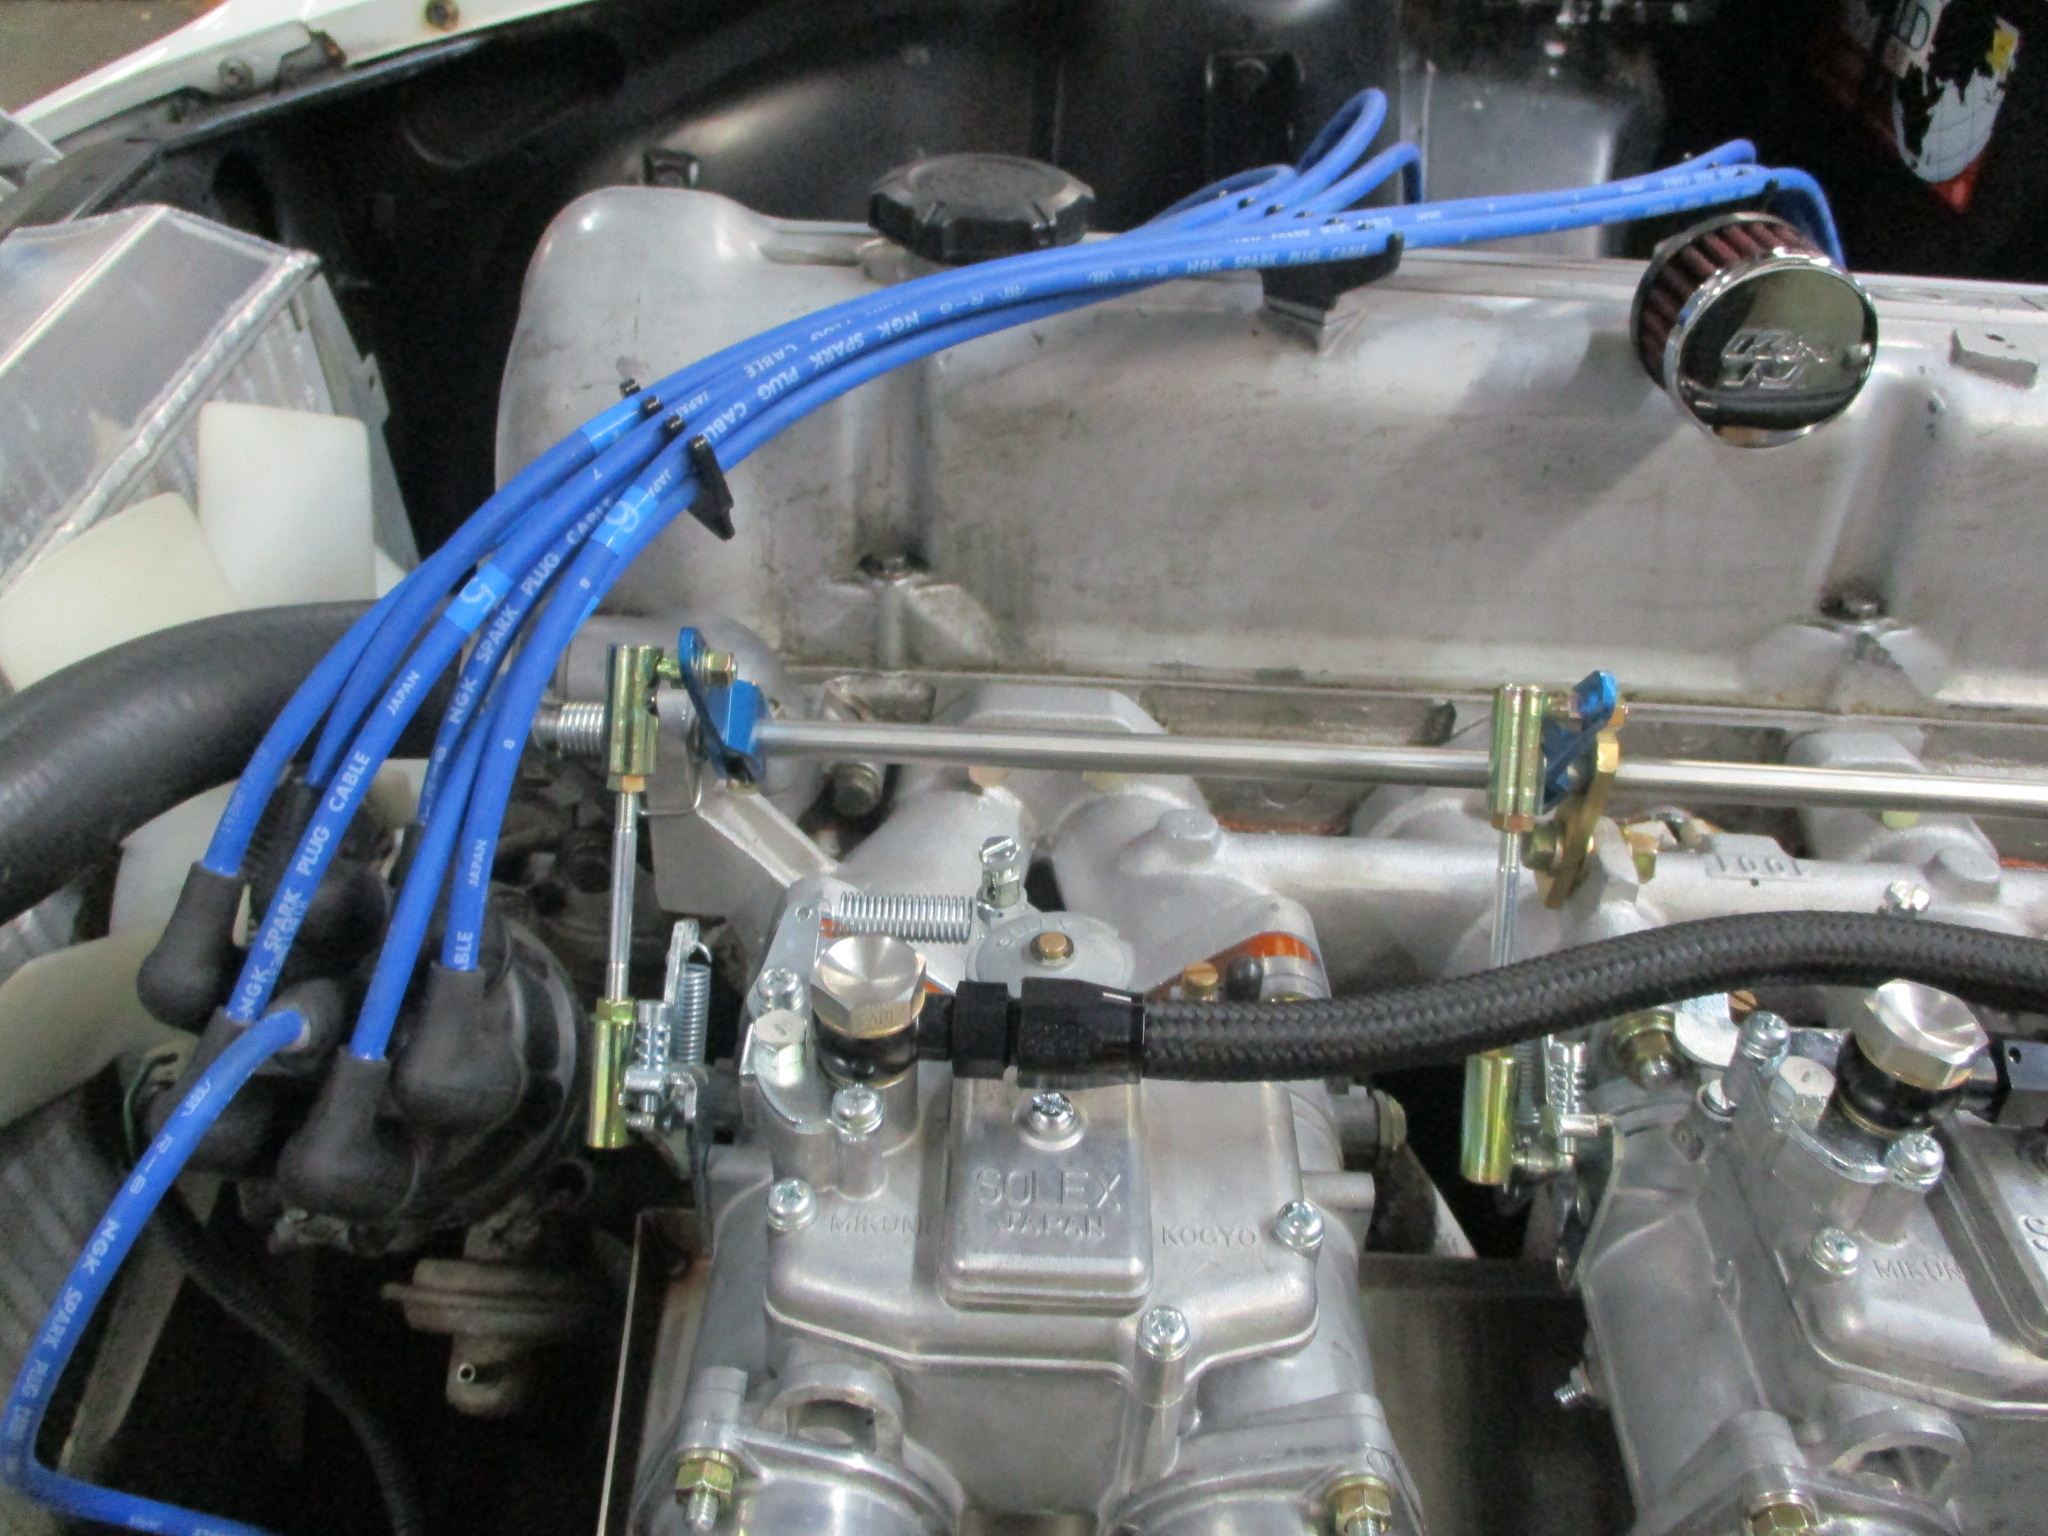
We think the new triple Mikuni’s look much better than the old setup!
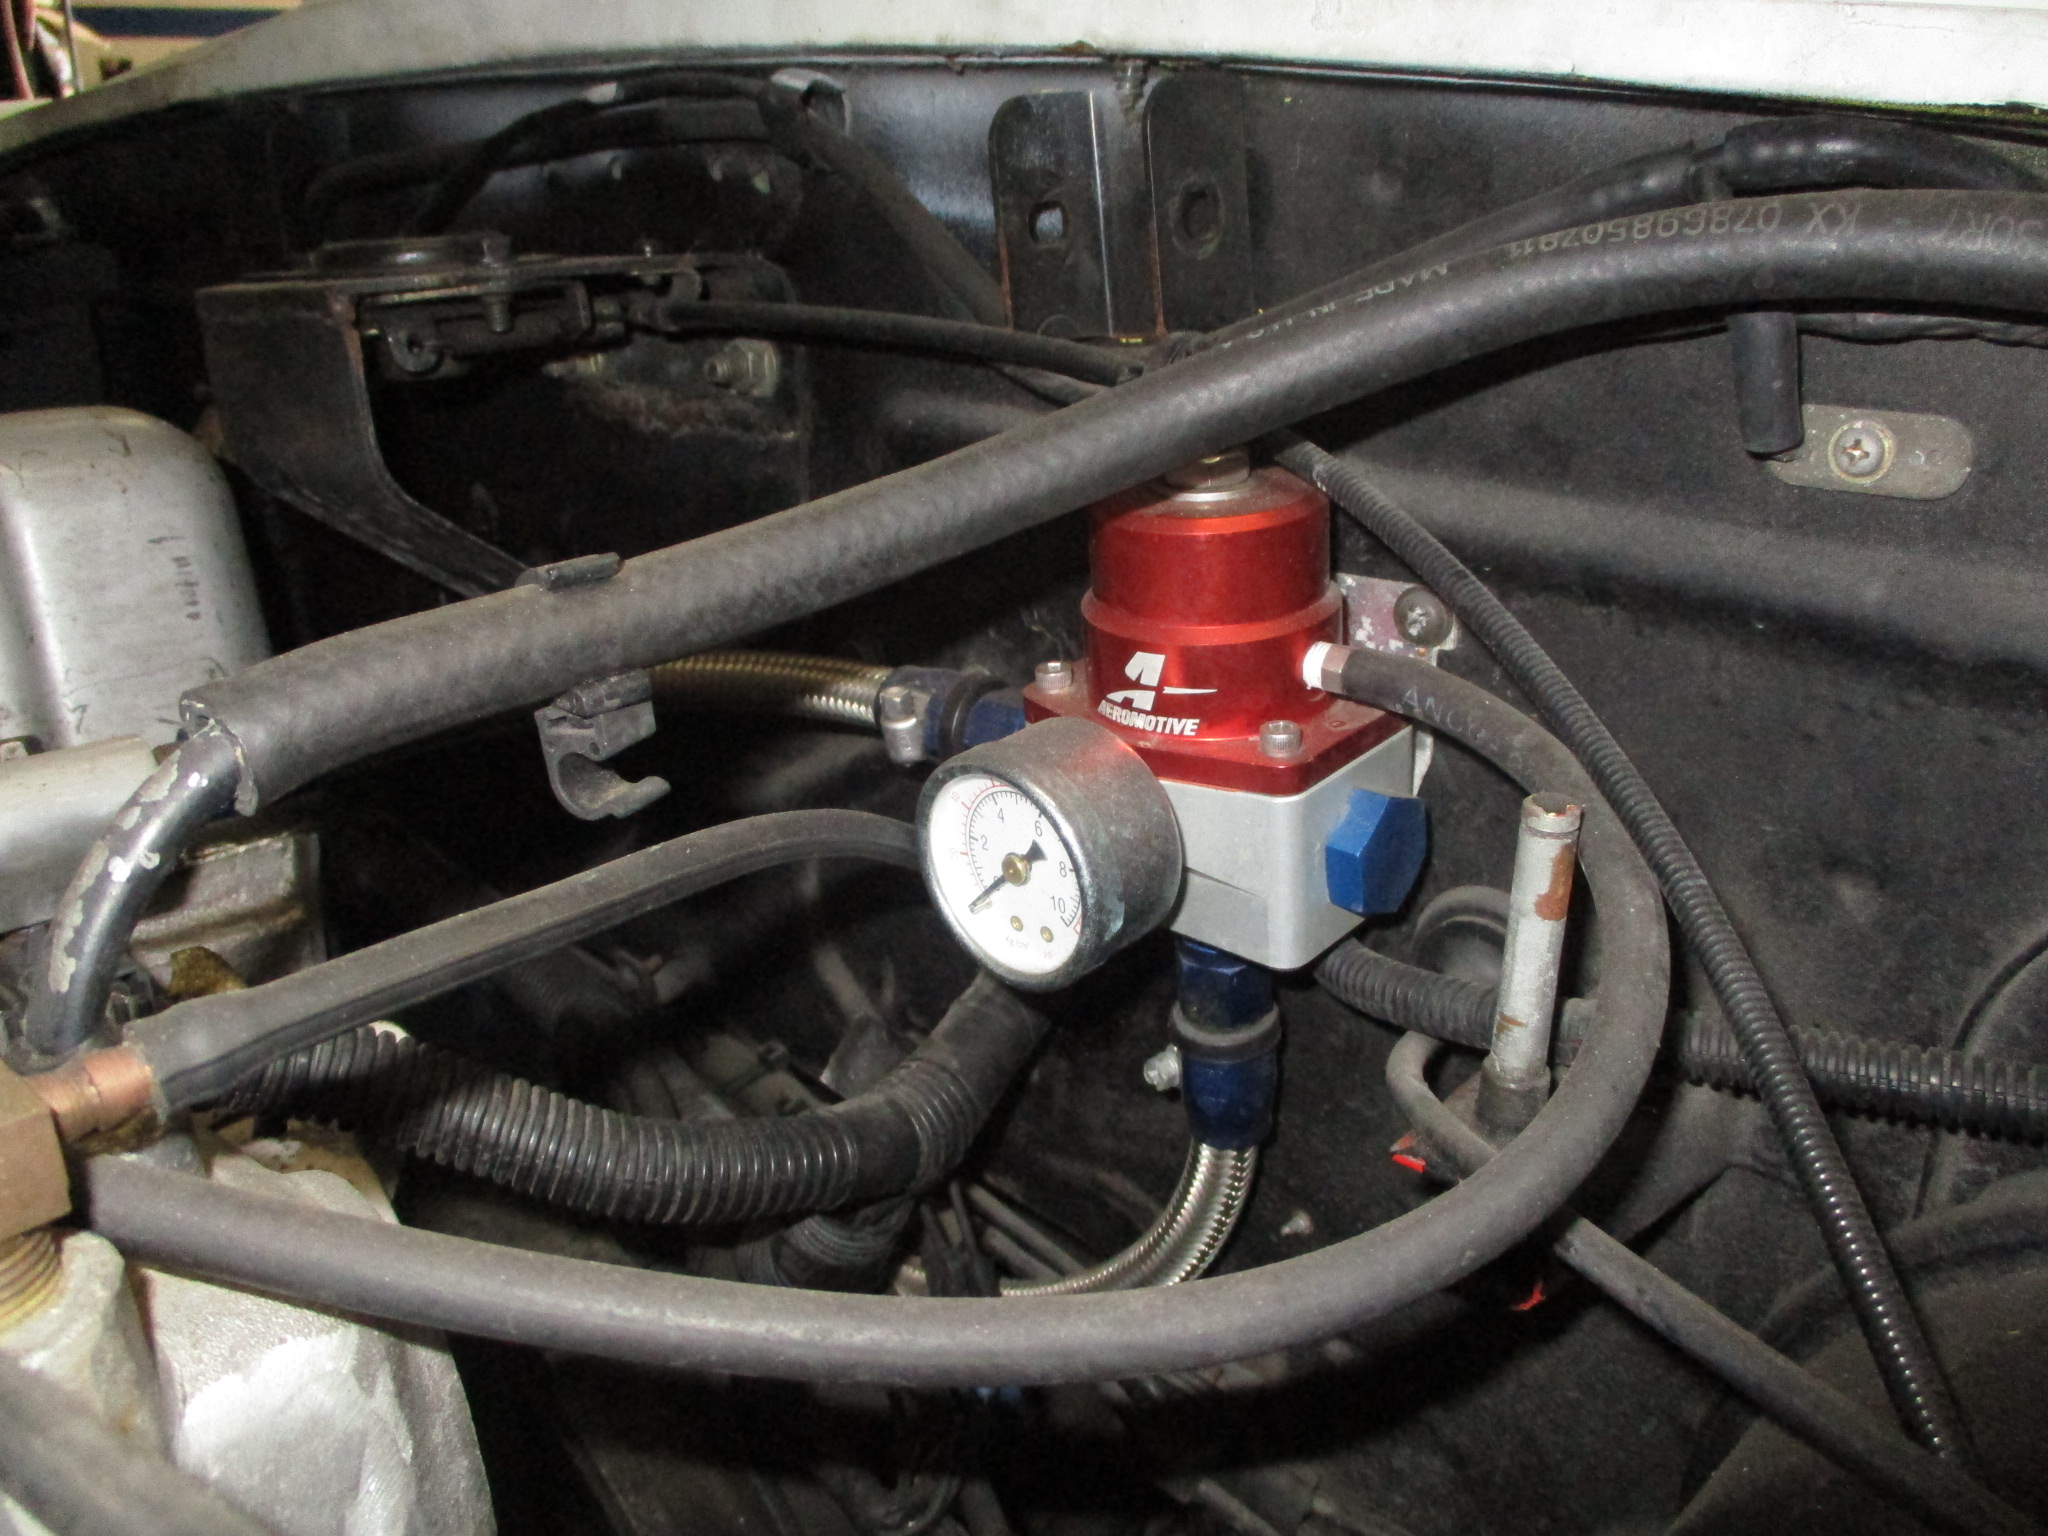
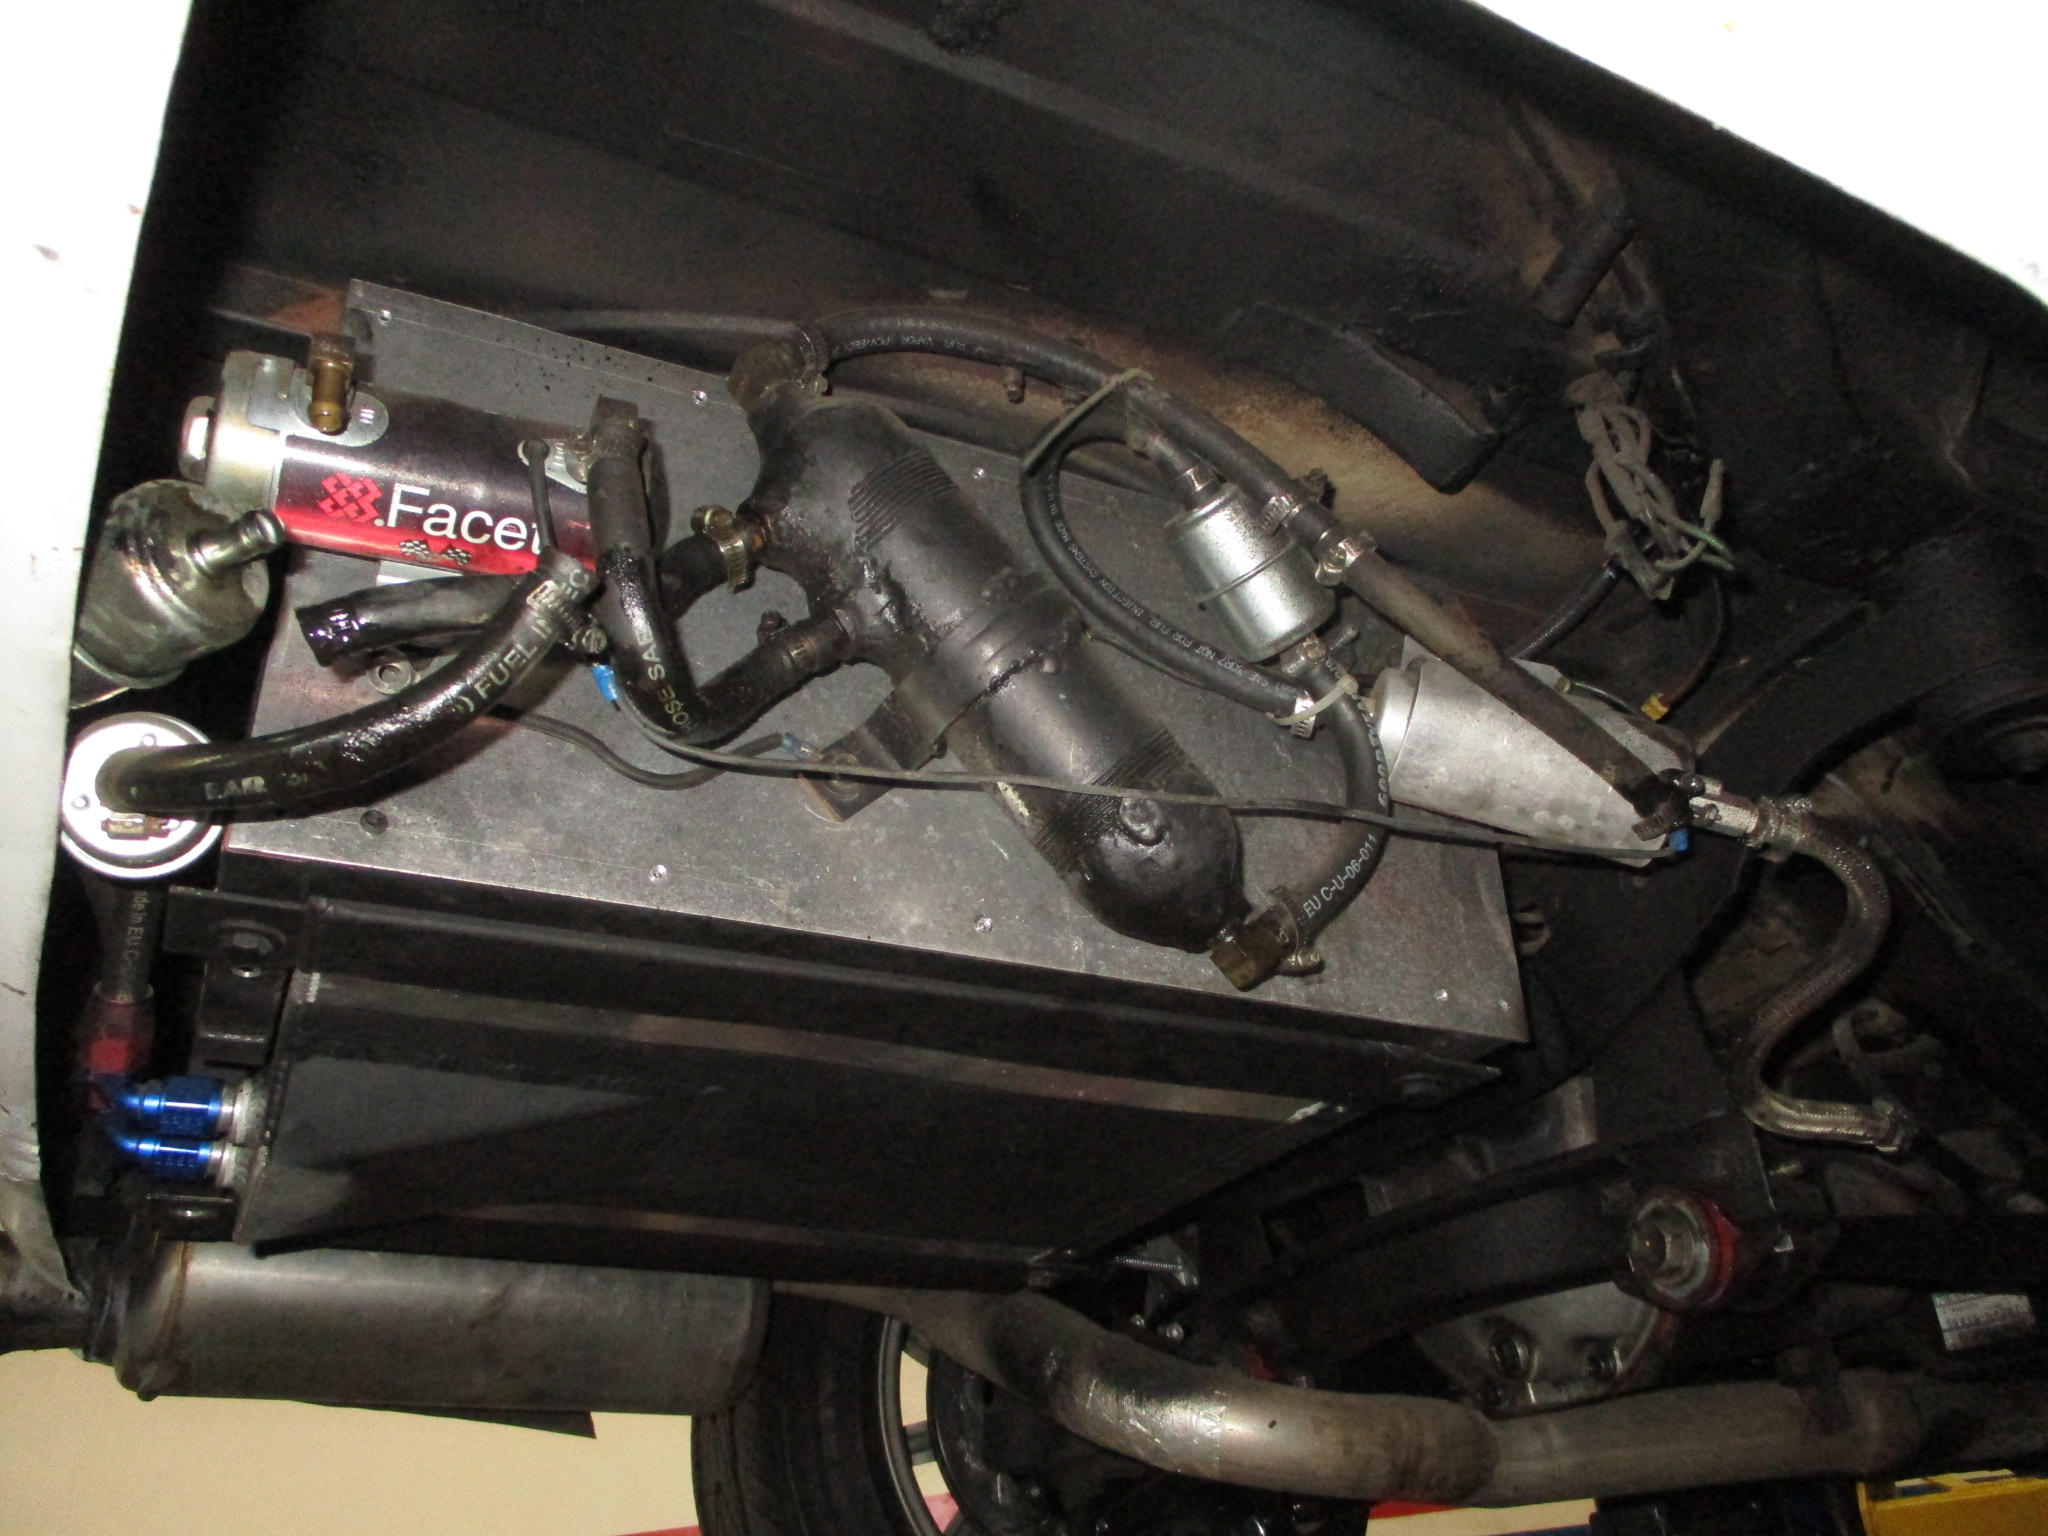
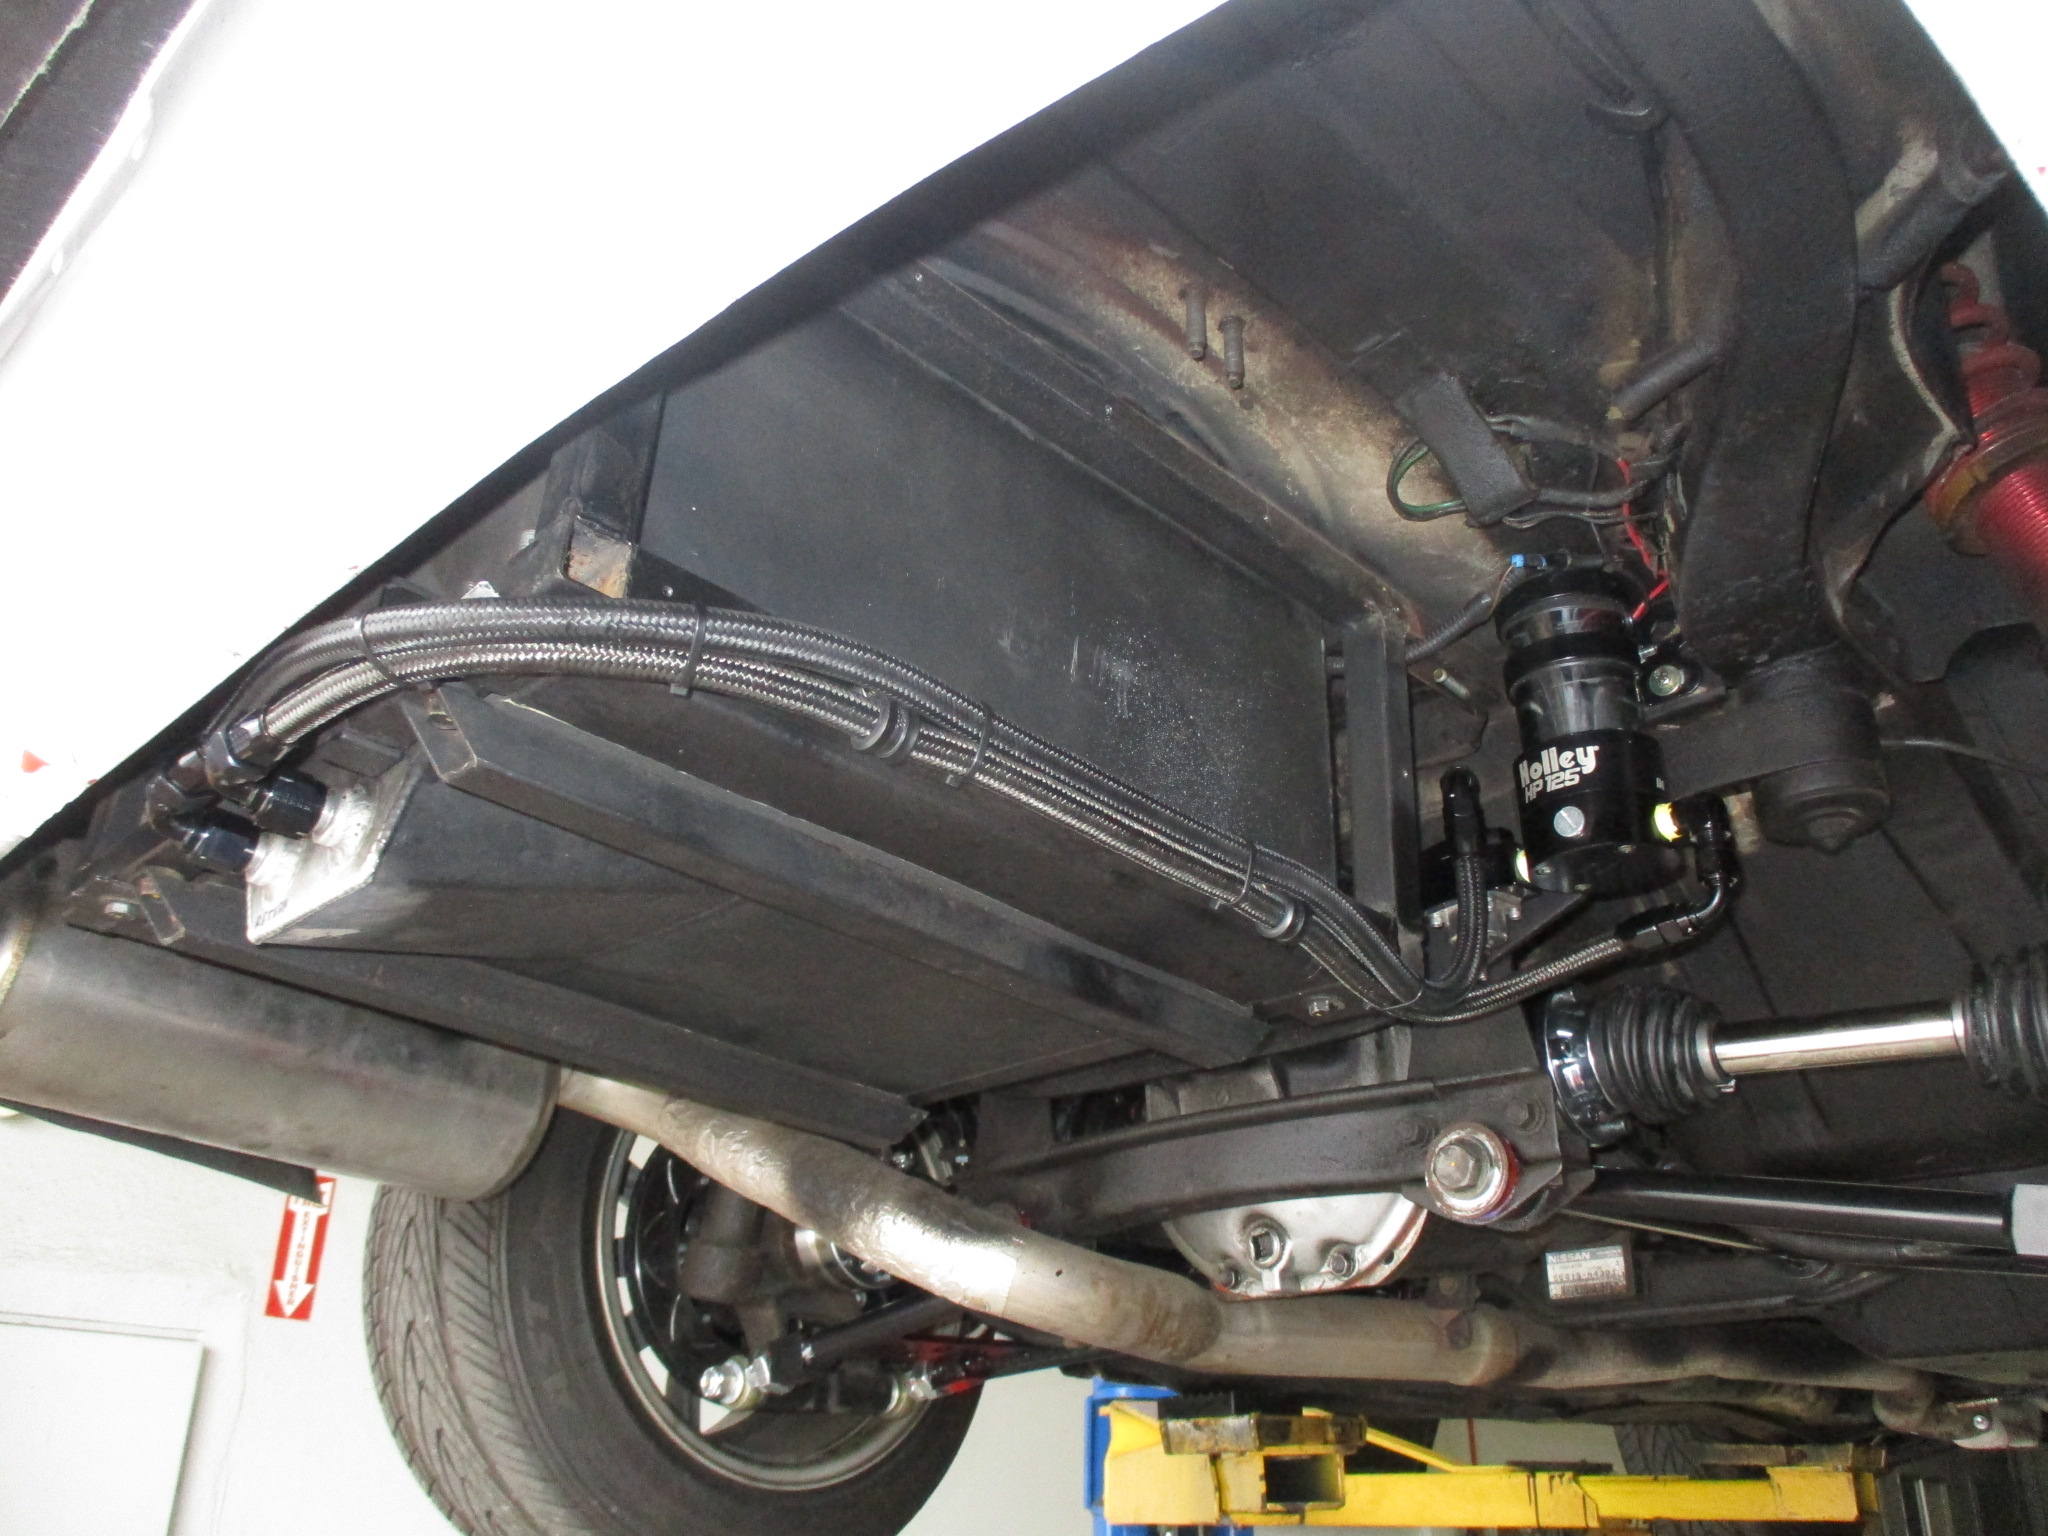
The existing fuel pump system (Left) was removed and a cleaner Holley setup installed:

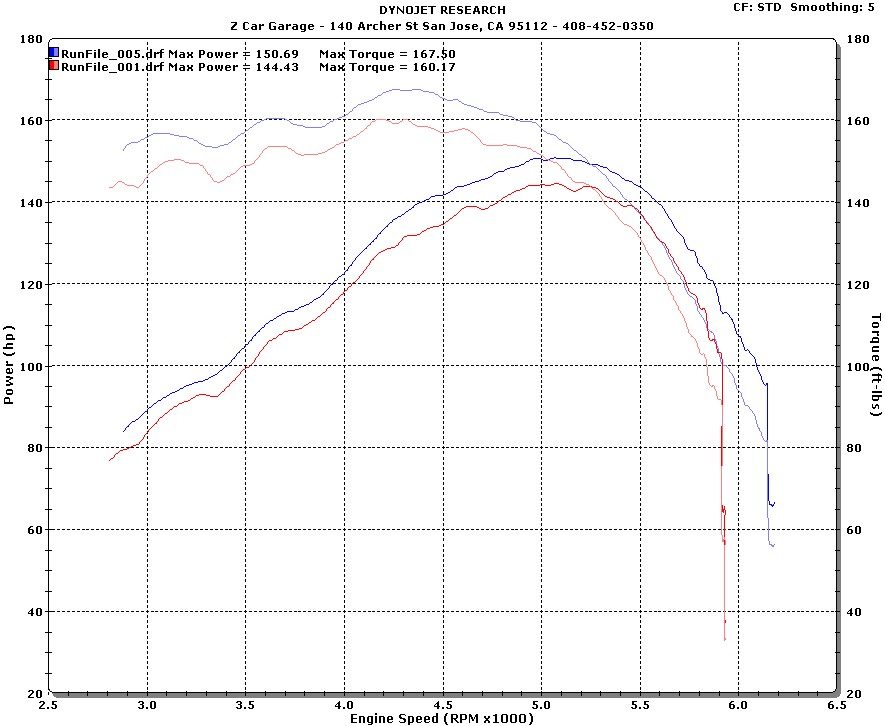
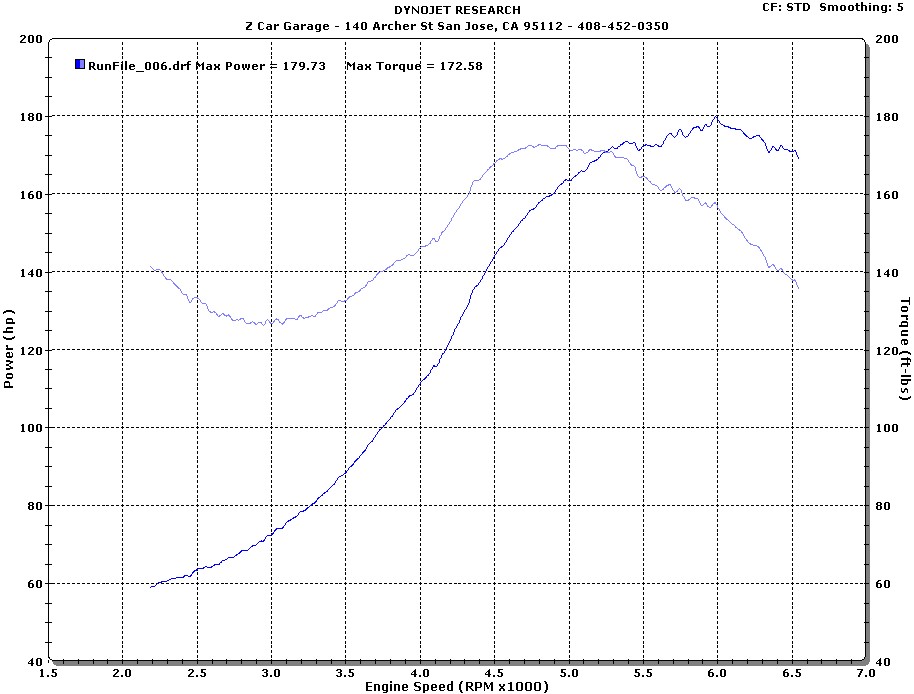
Dyno Tuning
Aside from the exhaust header, this is a stock 2.8L engine running Mikuni ph44s. With timing and A/F adjustments we picked up more power making 150hp/167tq to the wheels:
Listen to those triple Mikuni’s sing on the dyno:
Minor Sorting
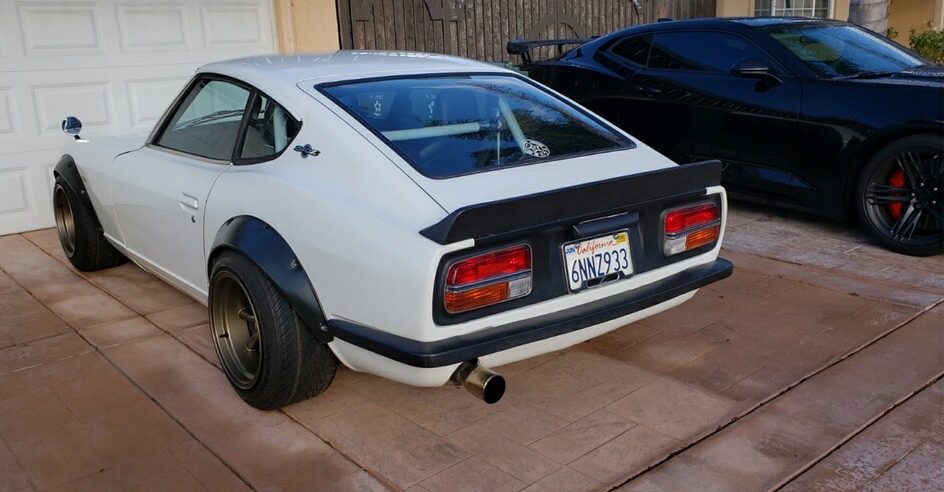
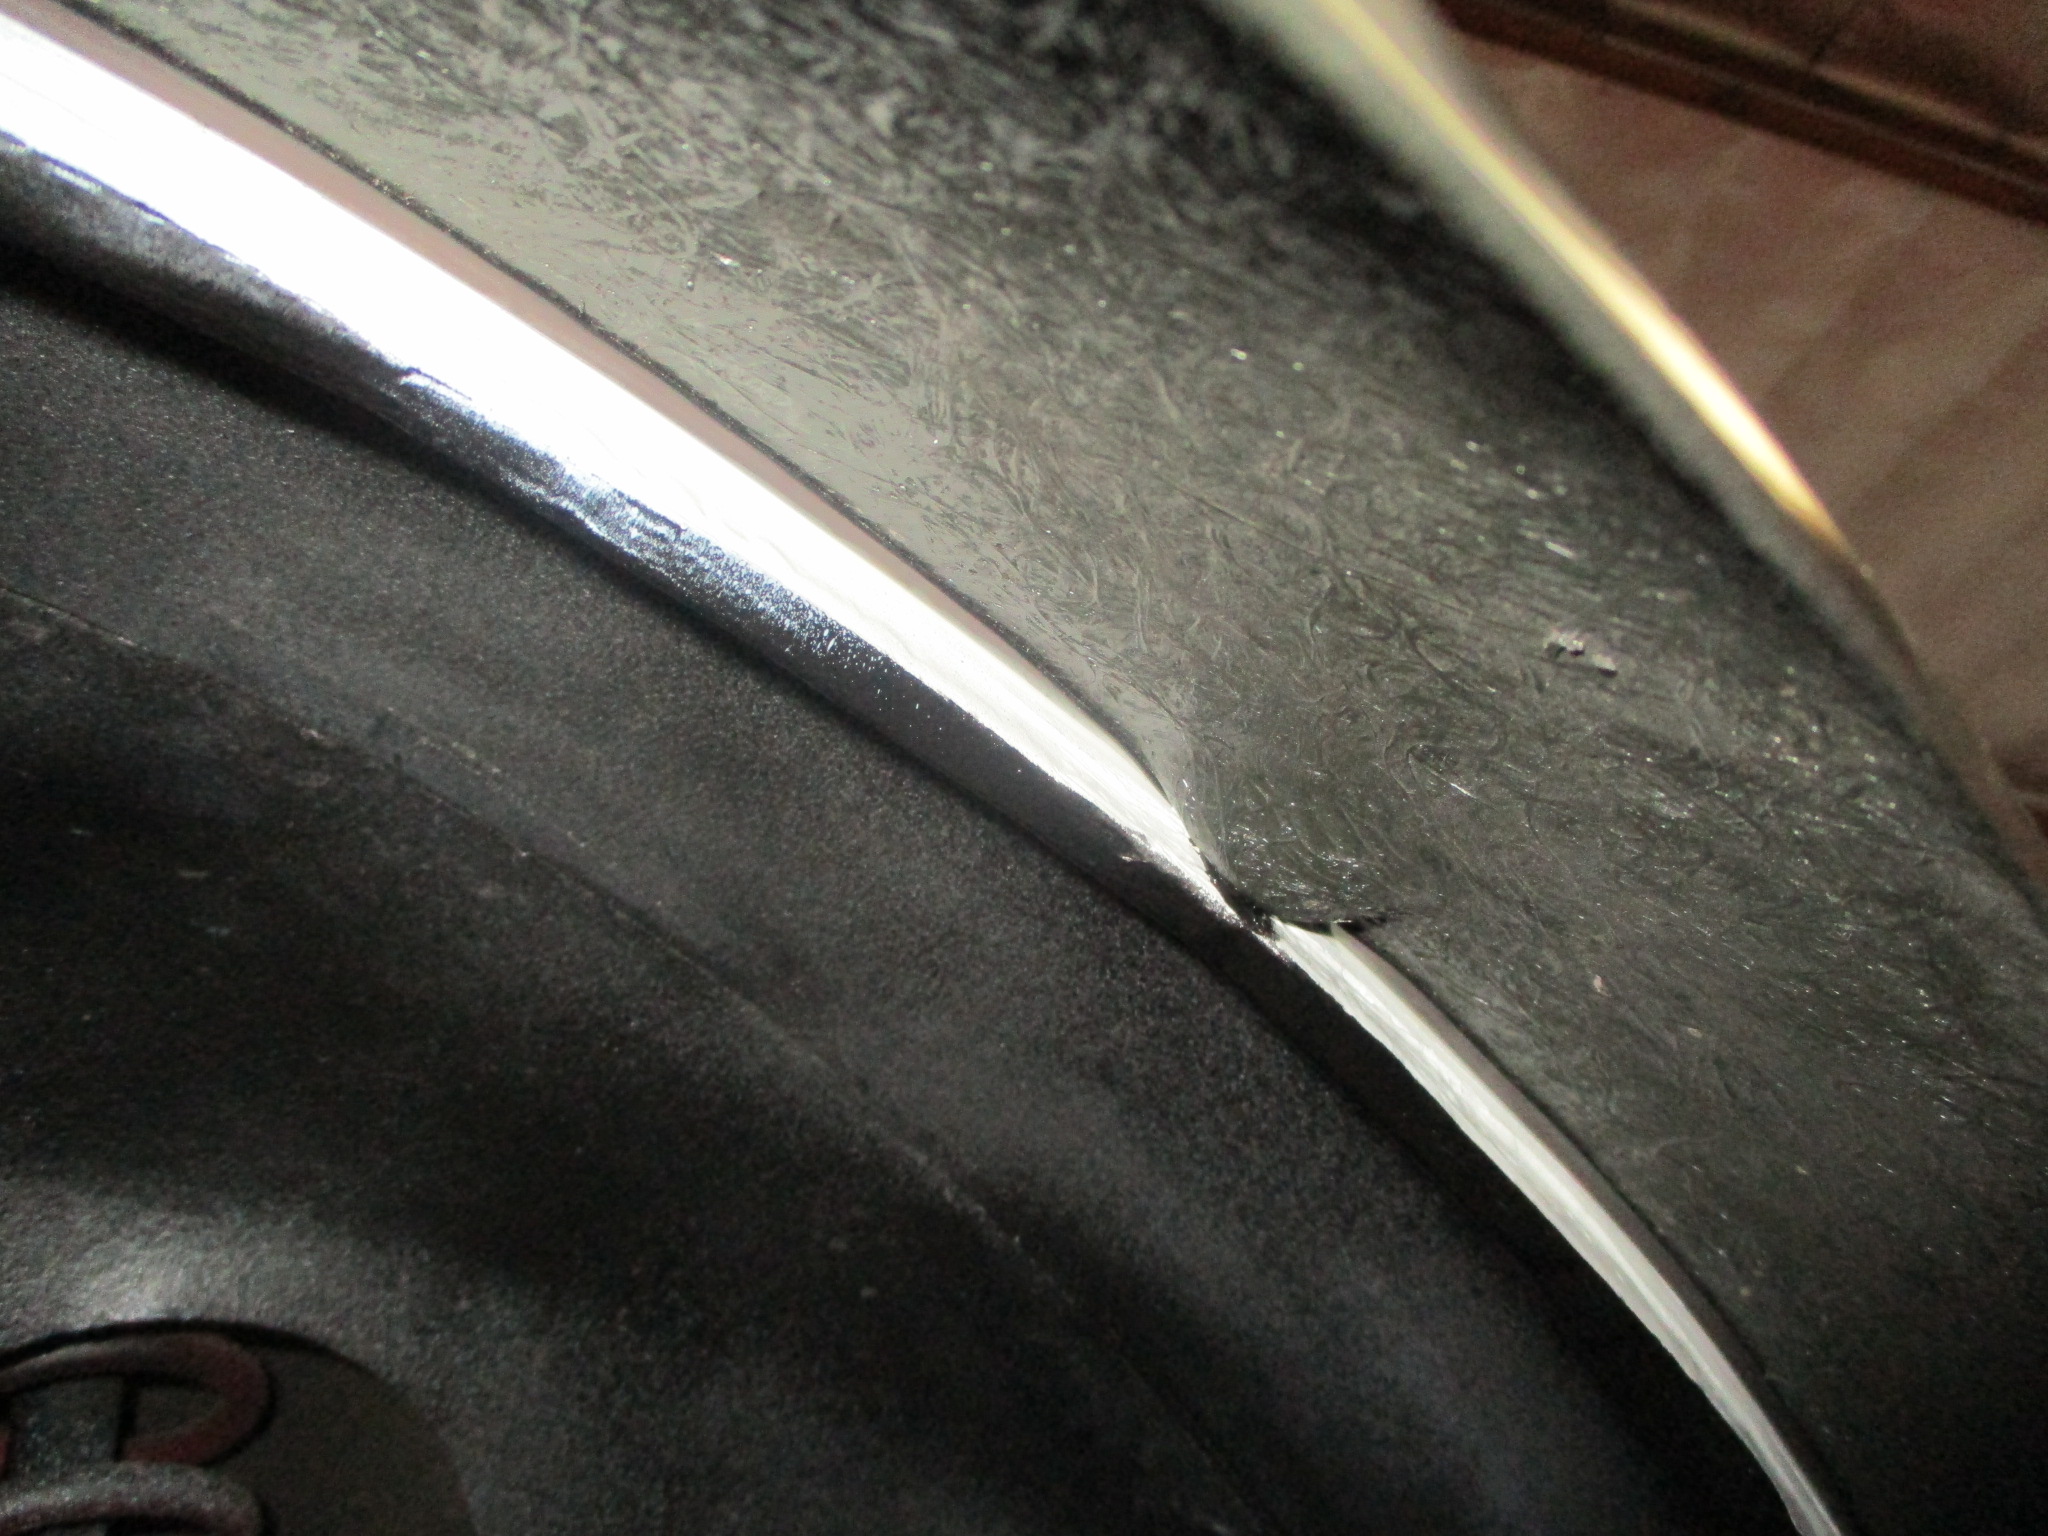
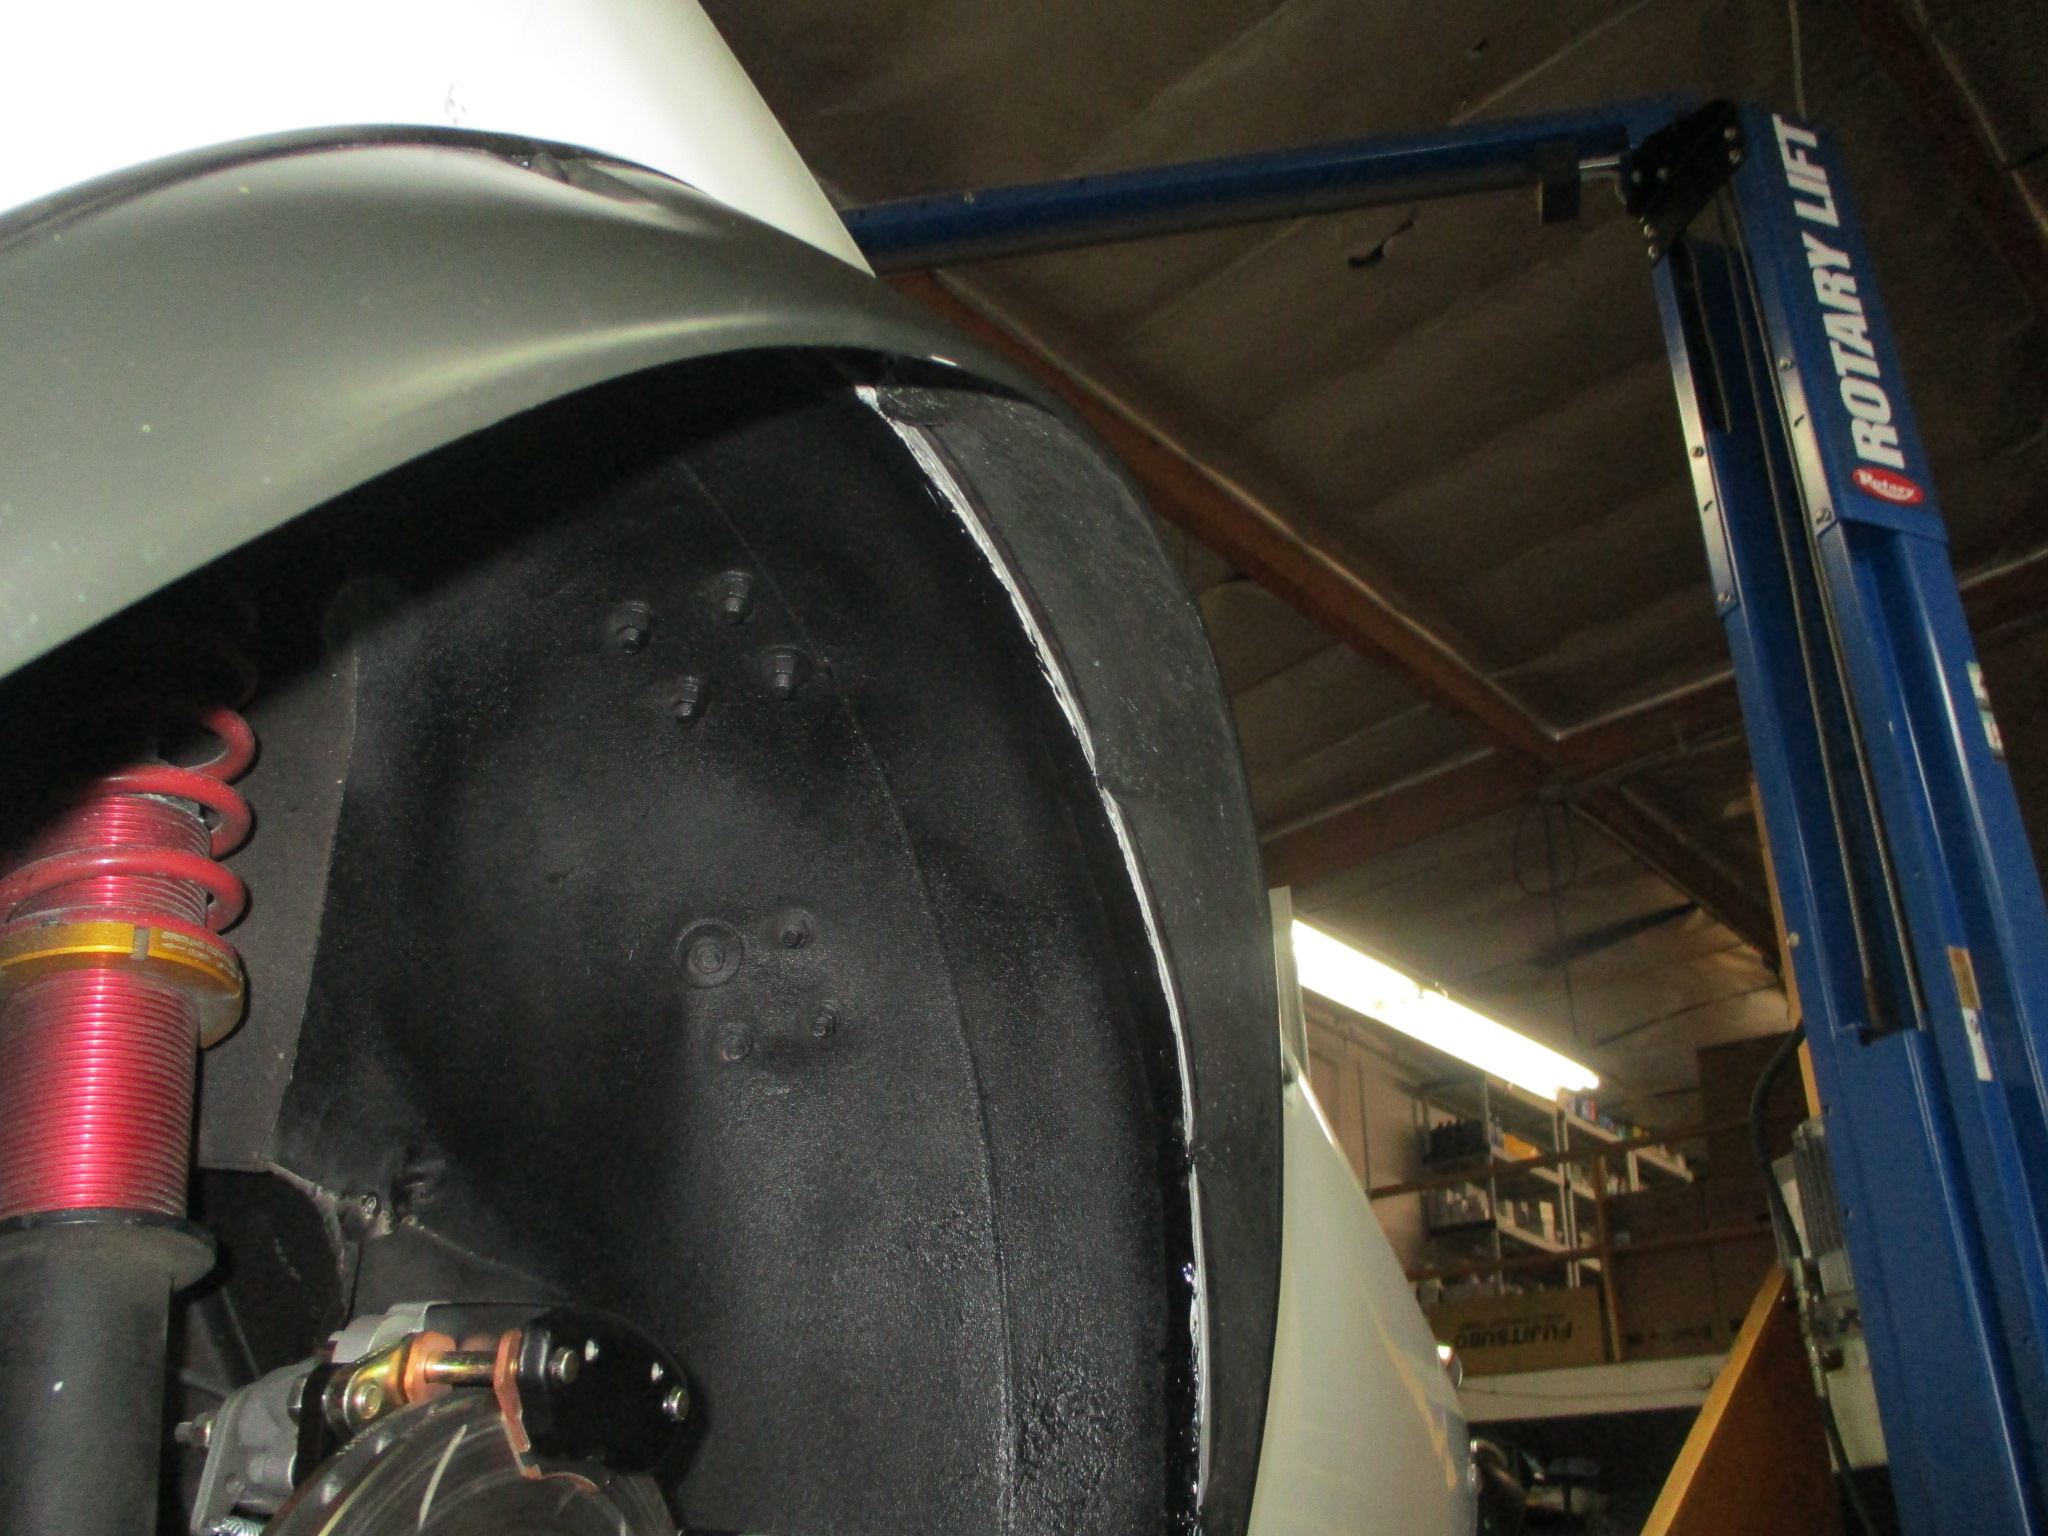
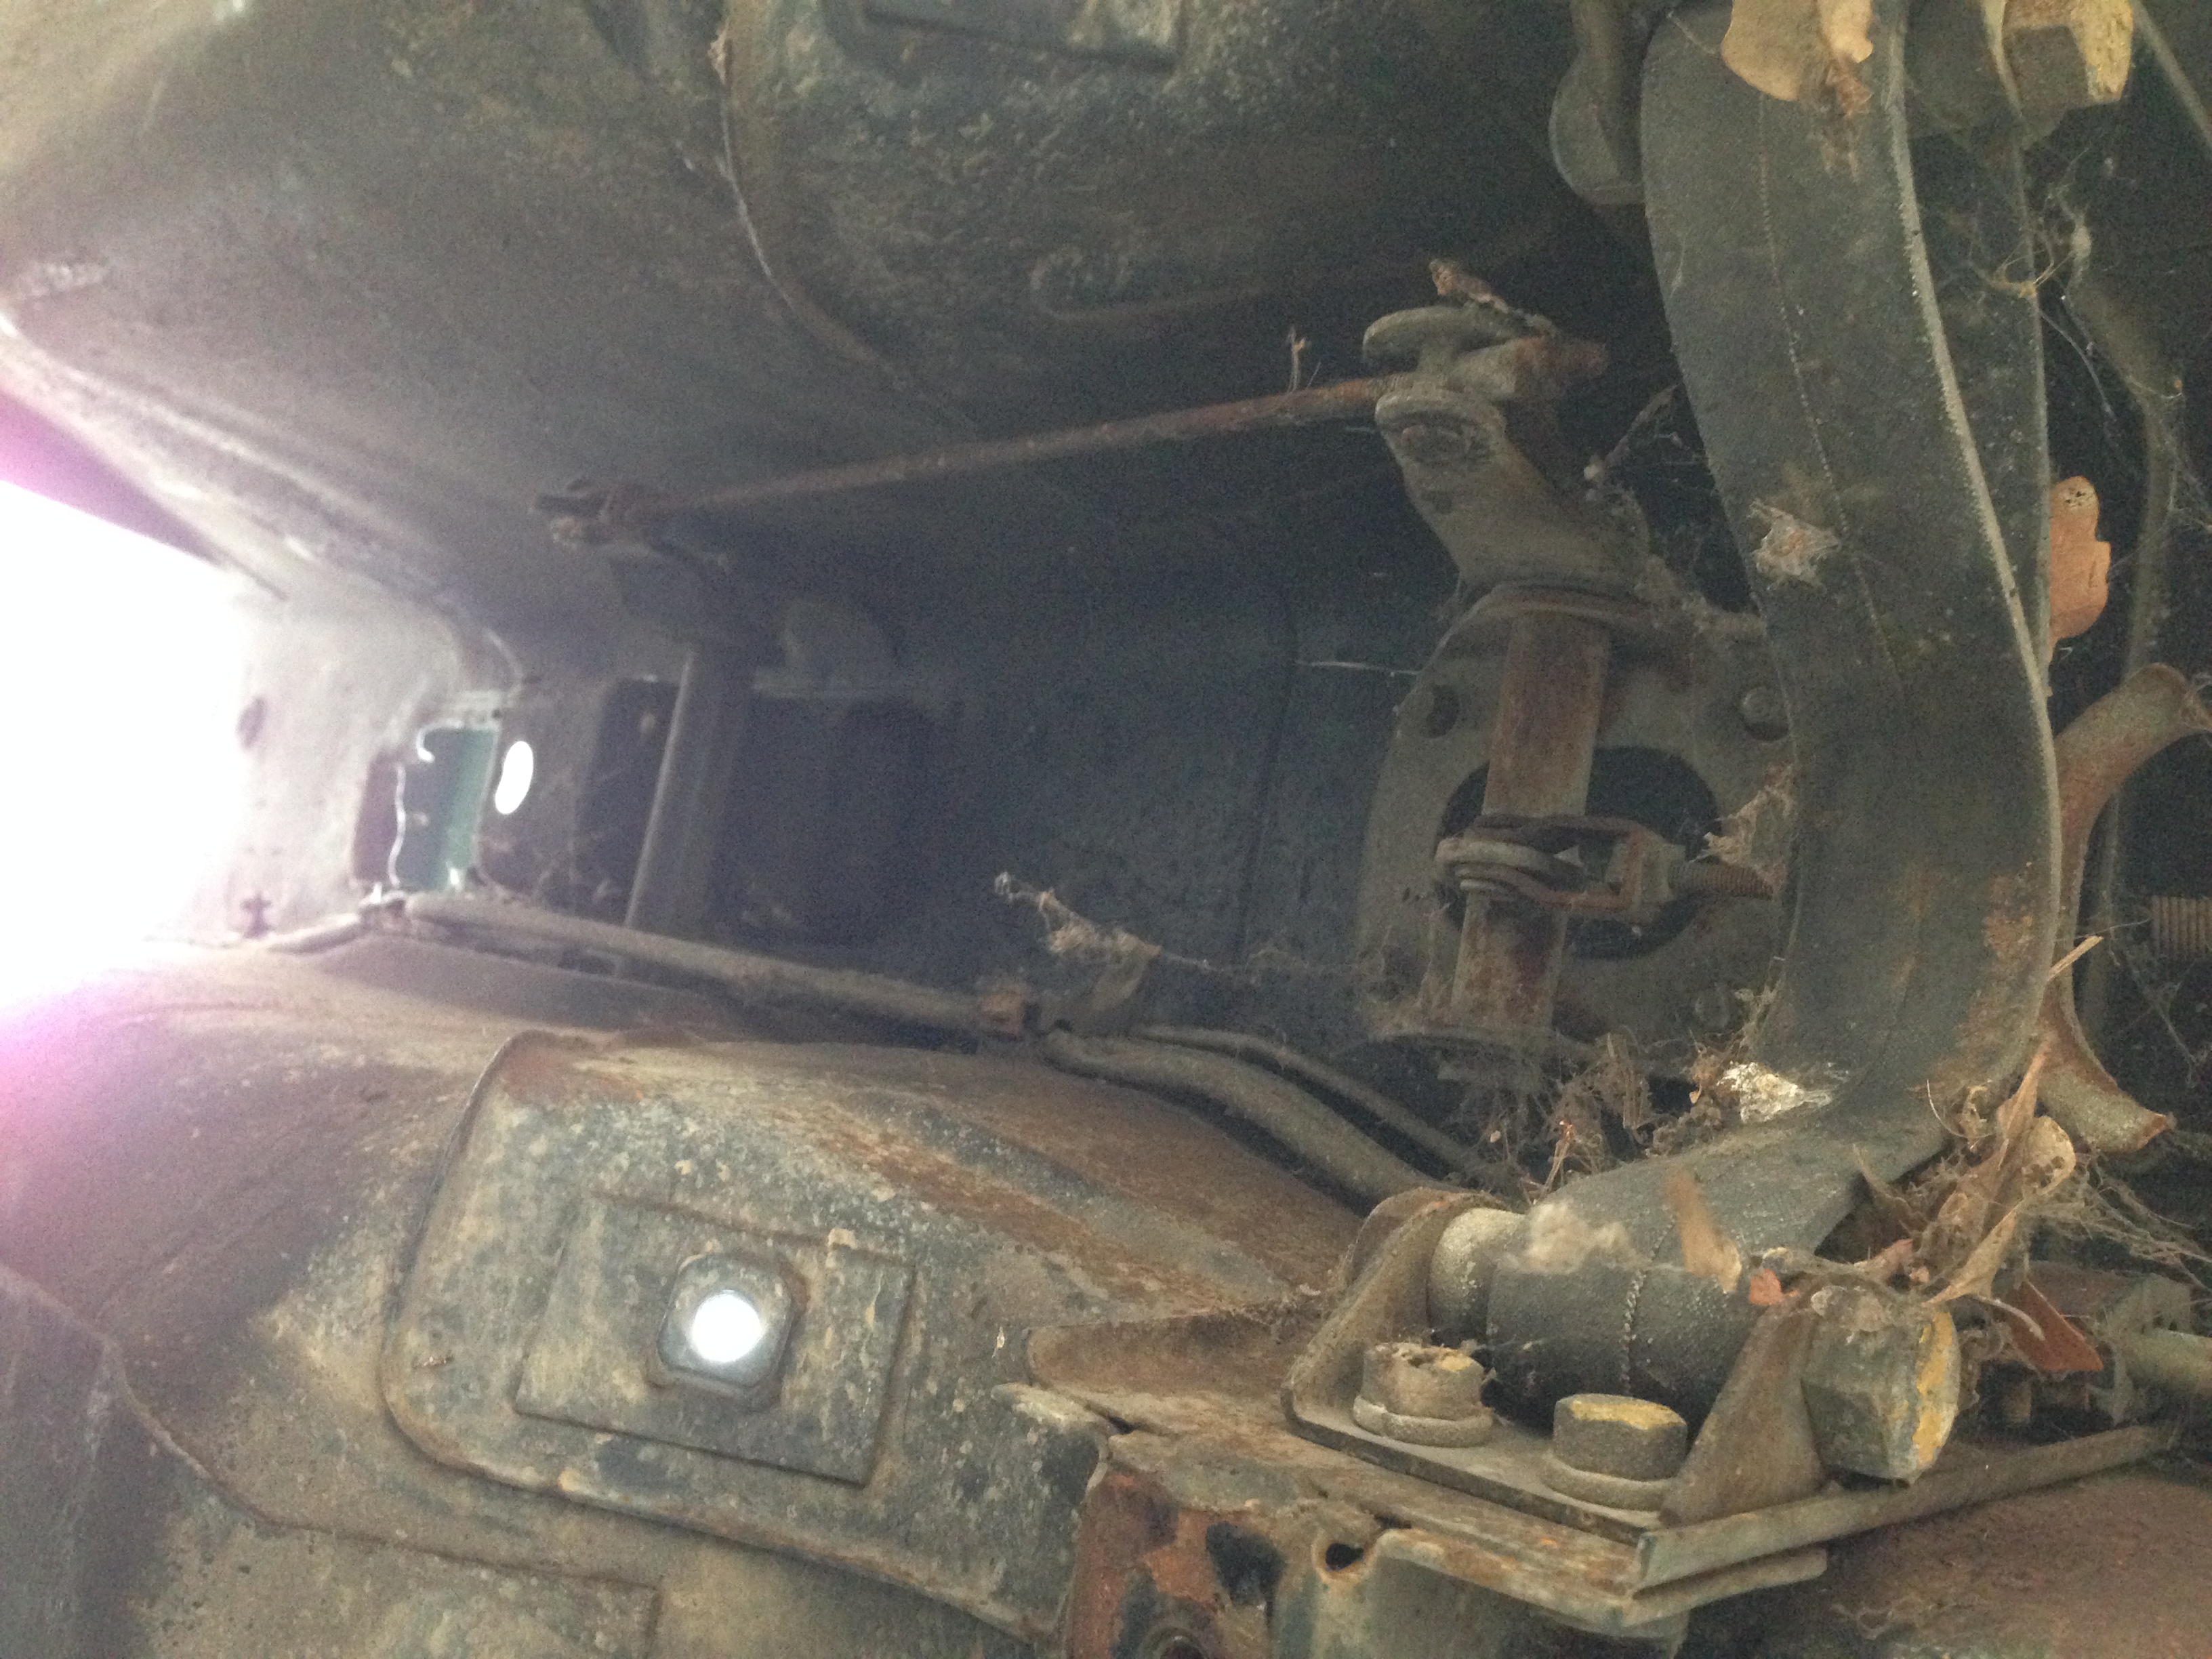
The rear fenders were cut badly to fit flares, revealing an inner fender gap that would allow air/fuel vapors to entire cabin:
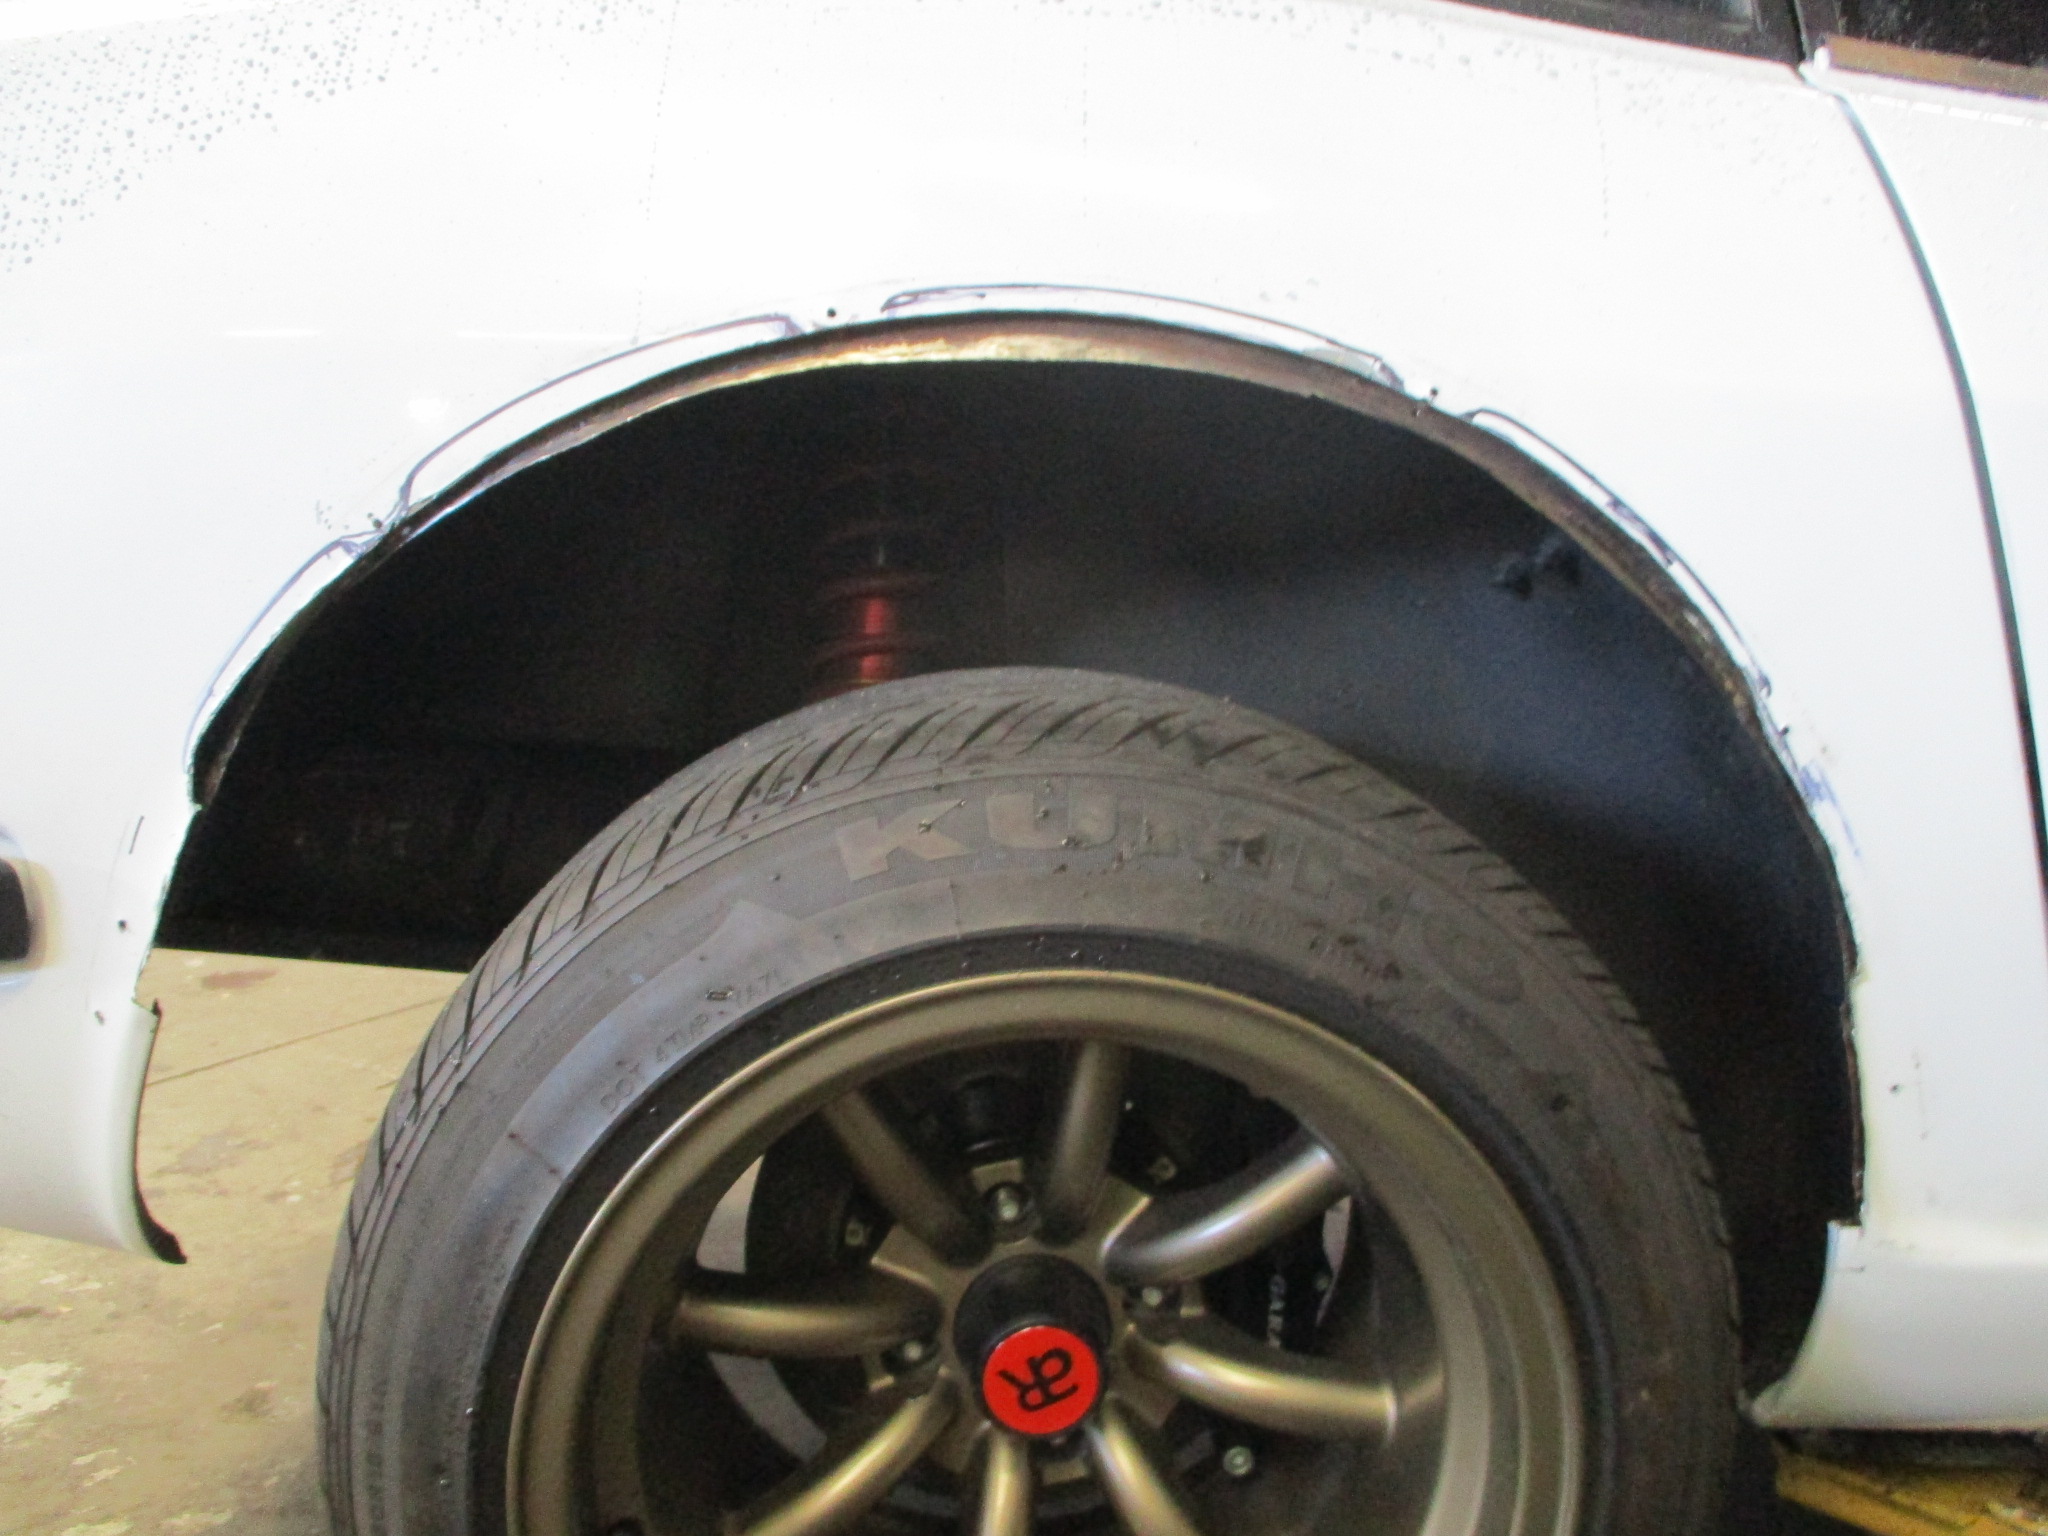
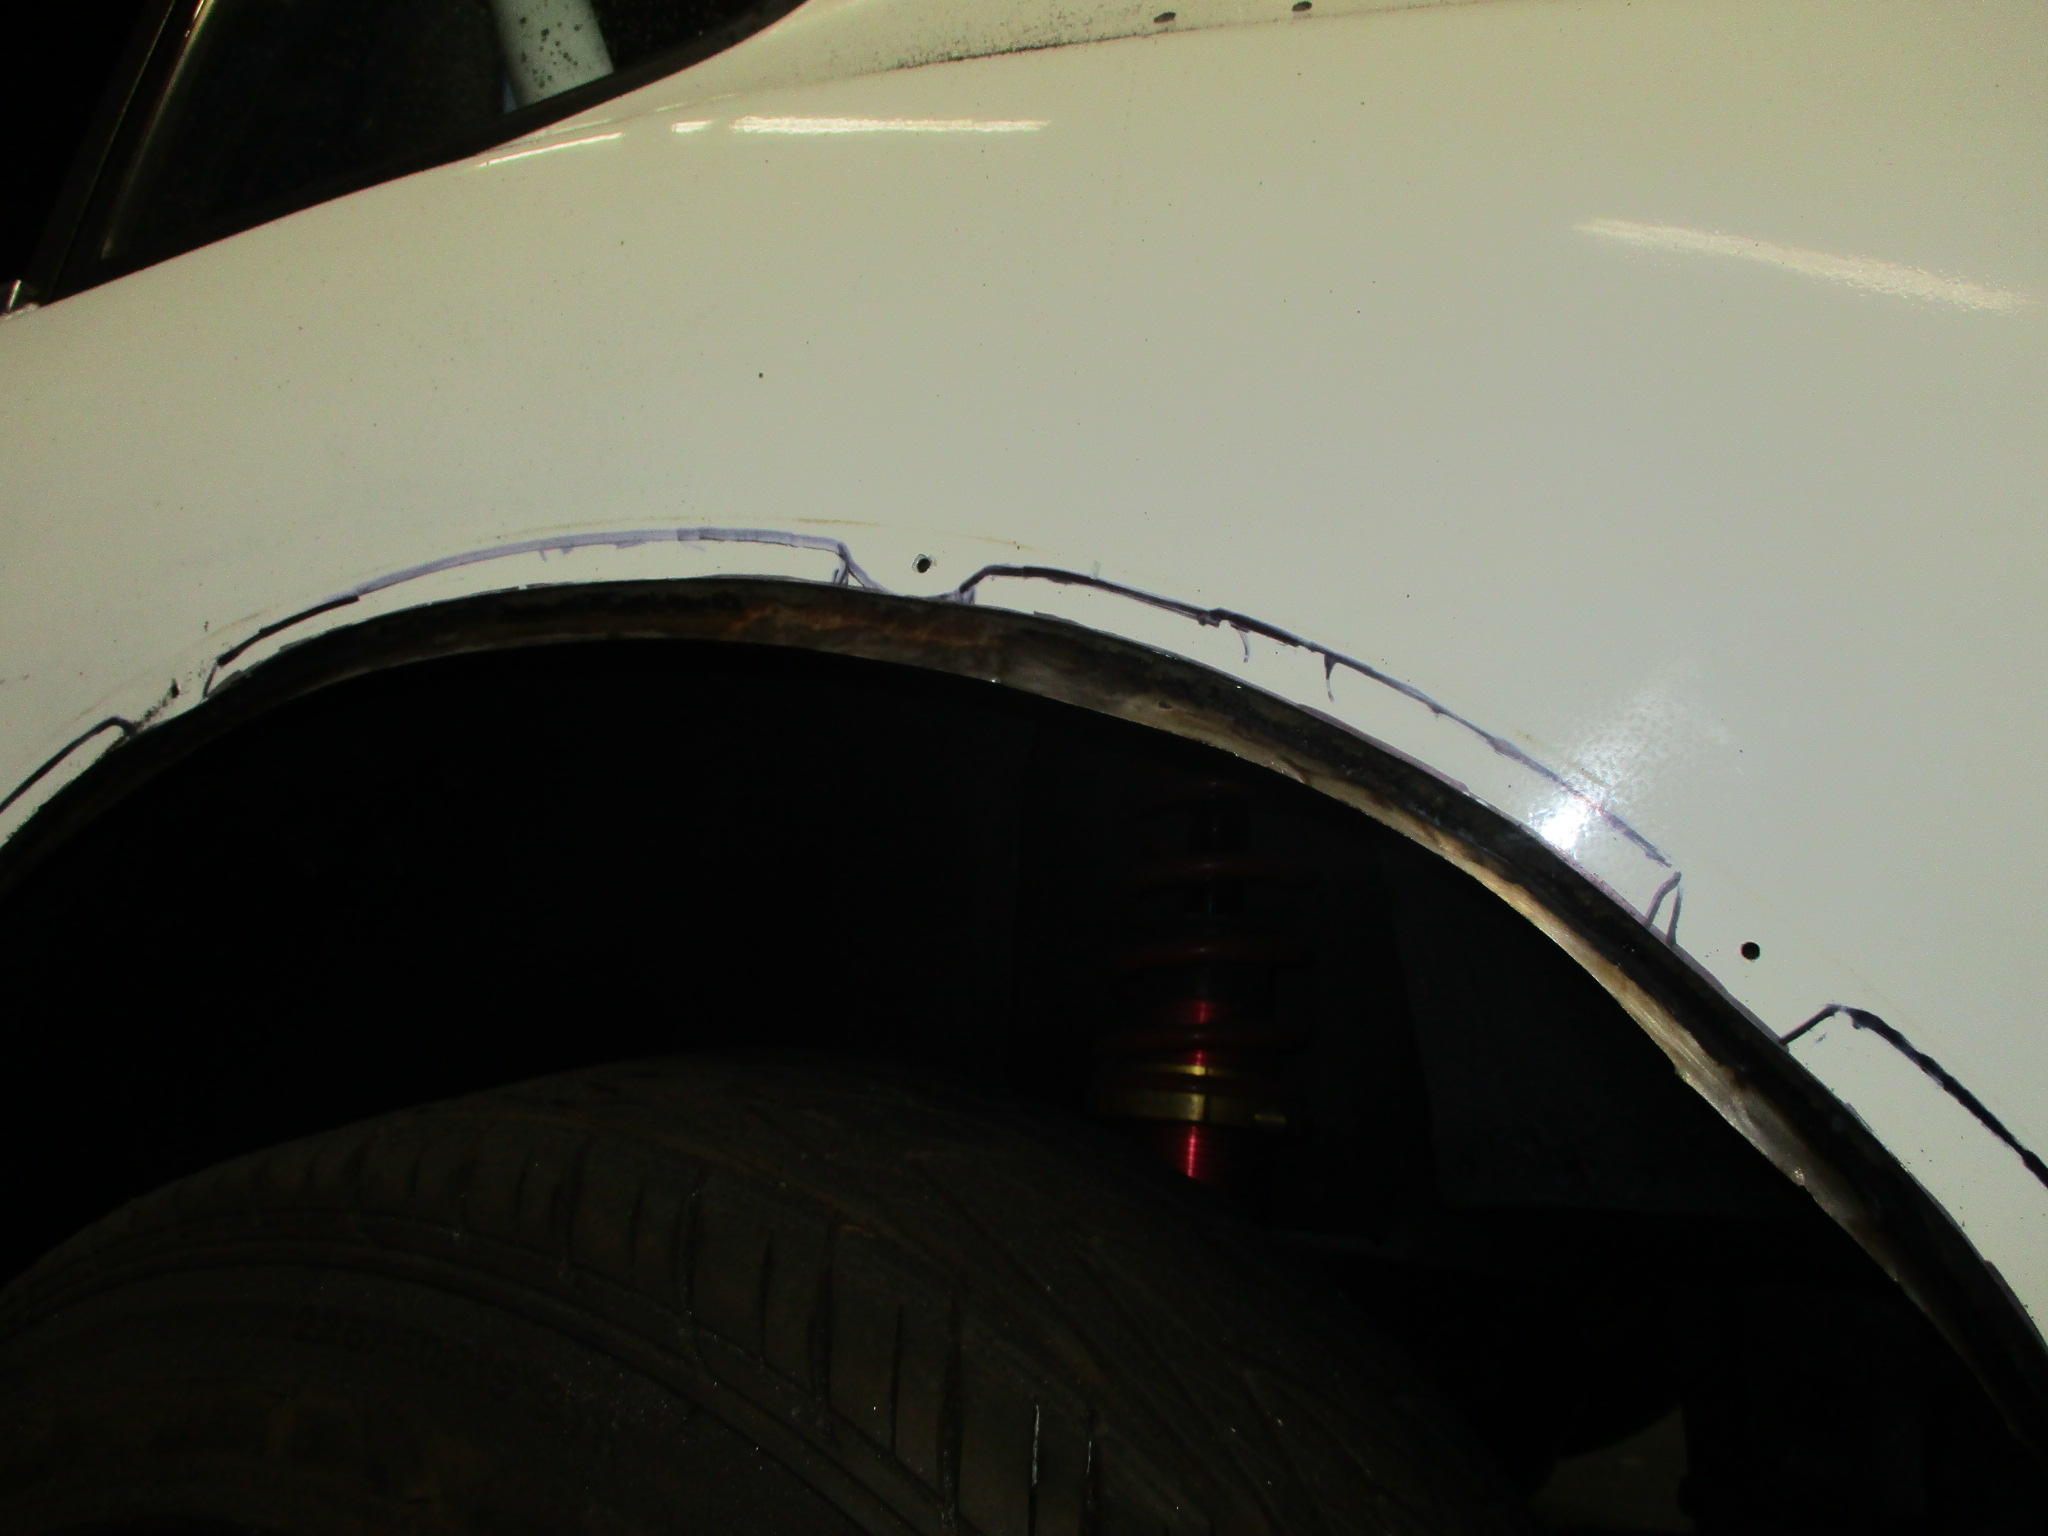
We pulled it back, welded the metal and sealed everything up. The exhaust was also rubbing at the rear valance so re-fitted it.
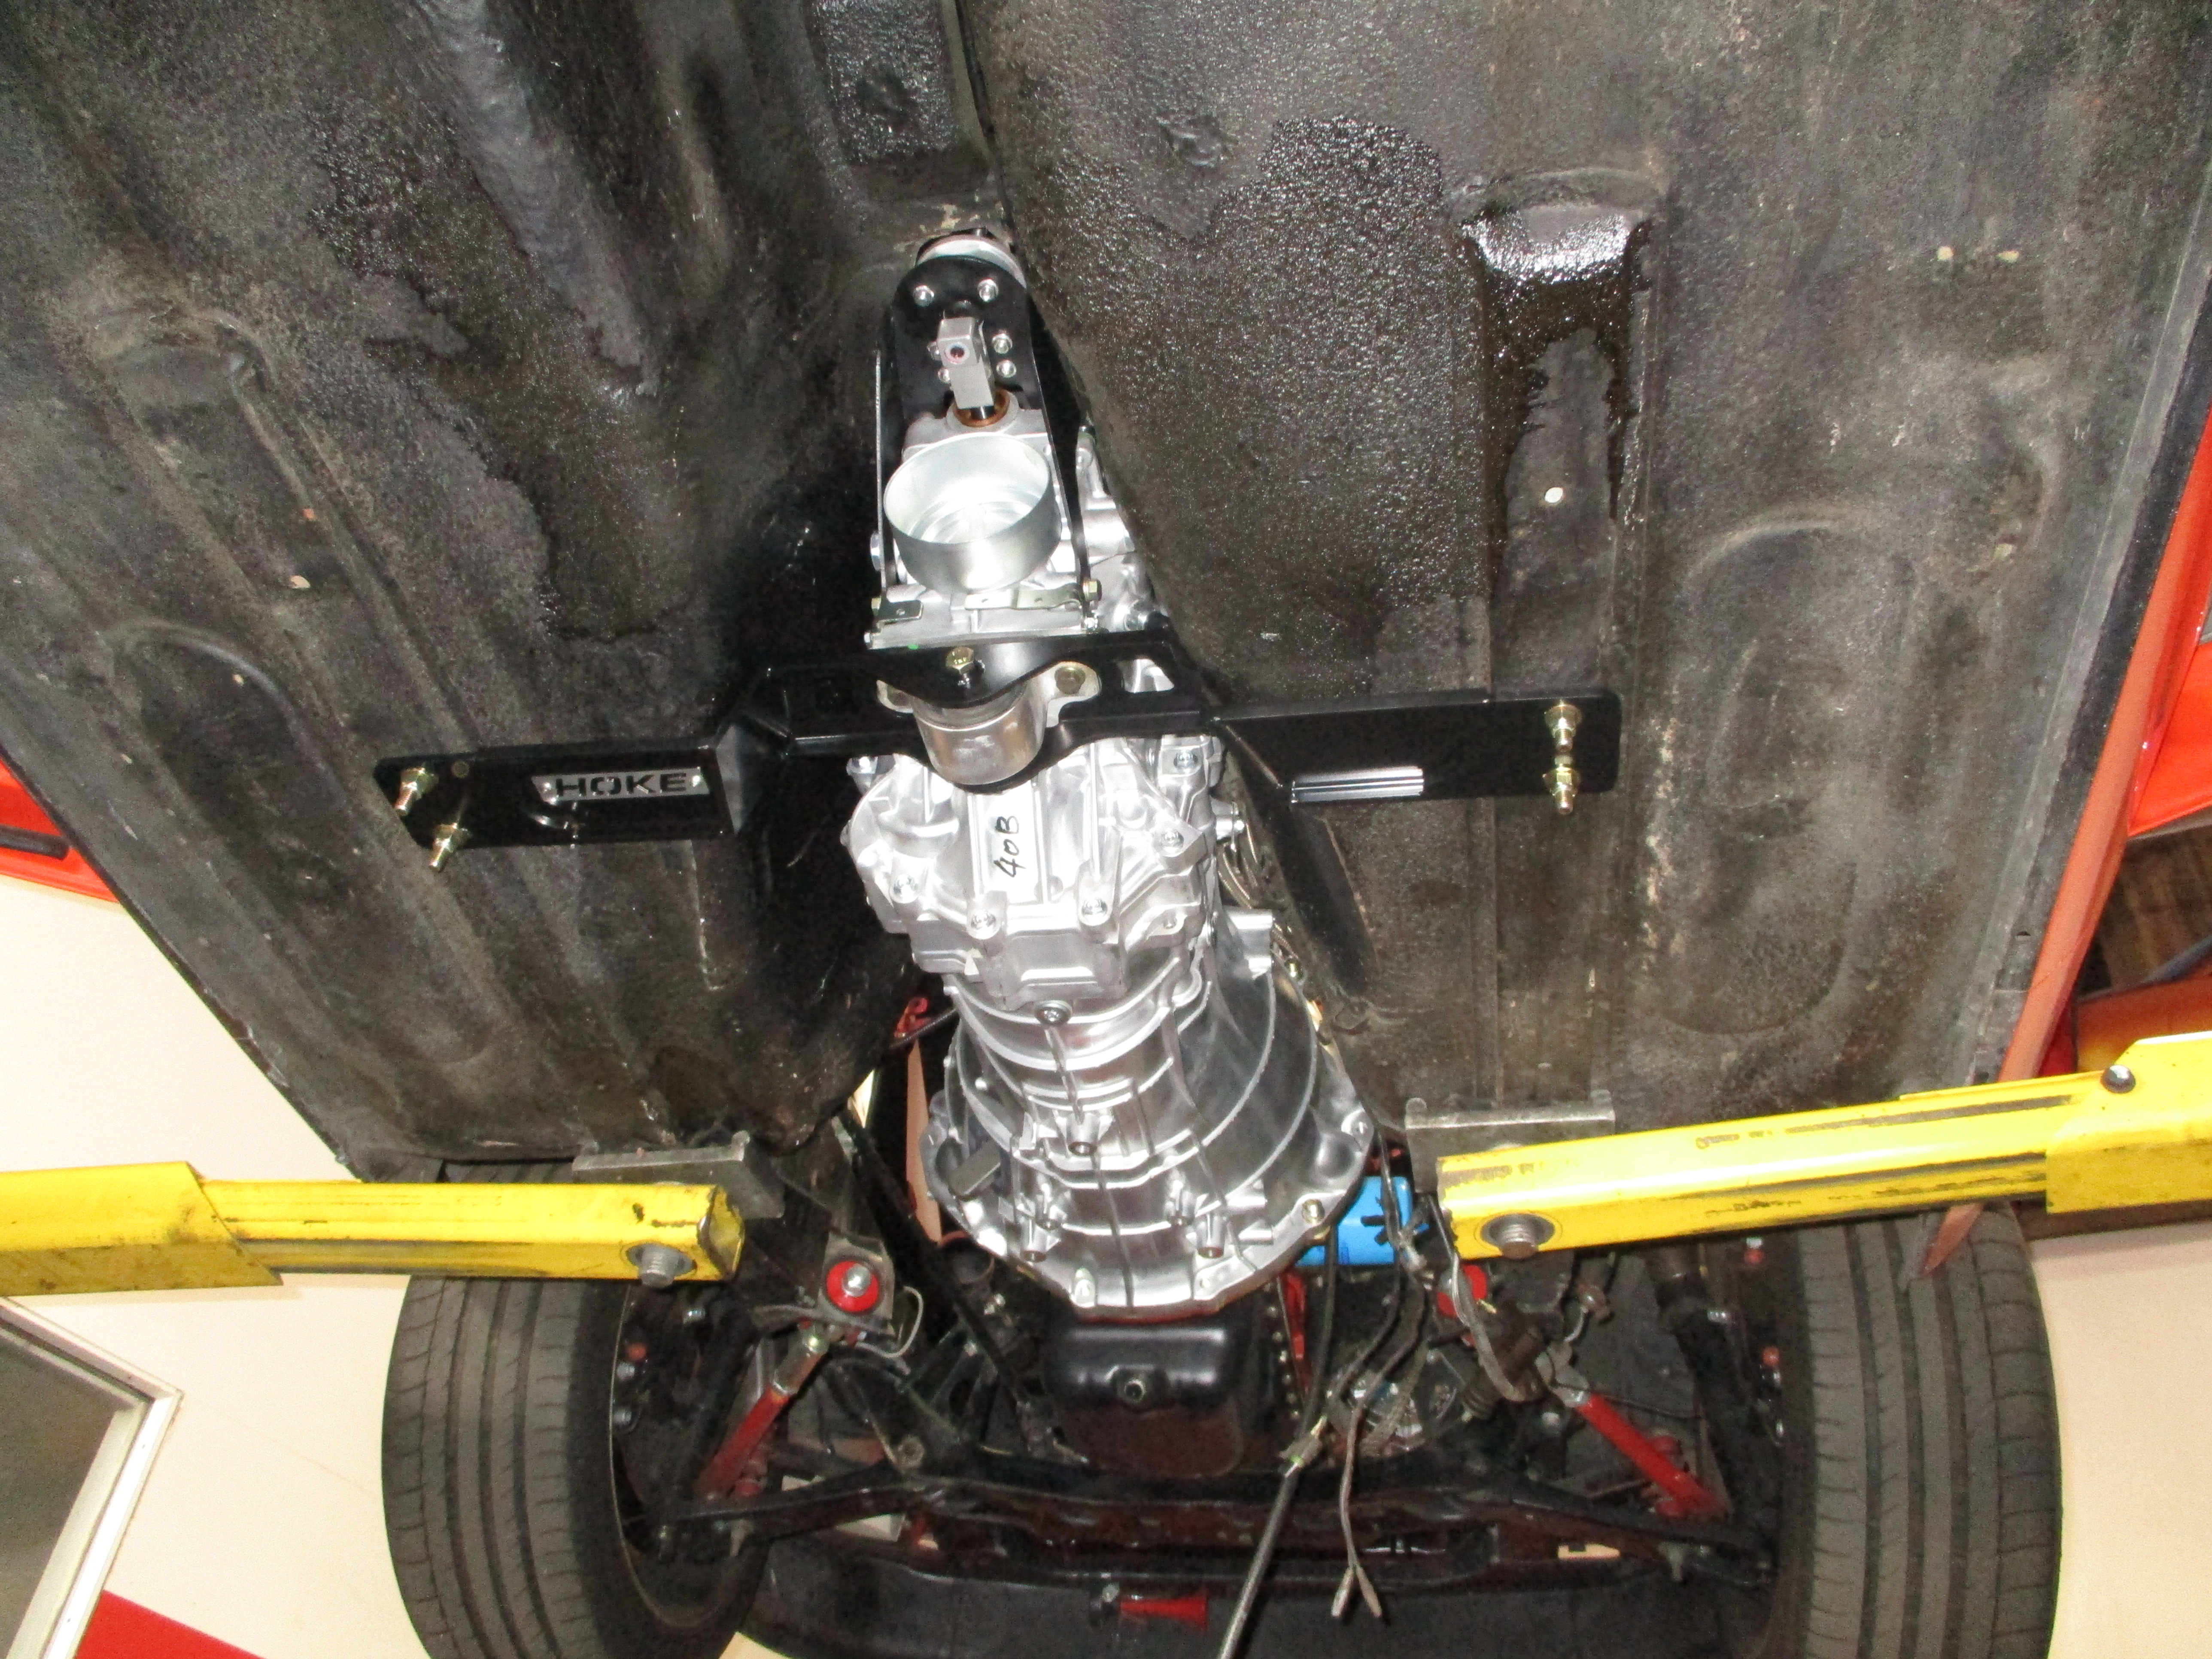
Chassis
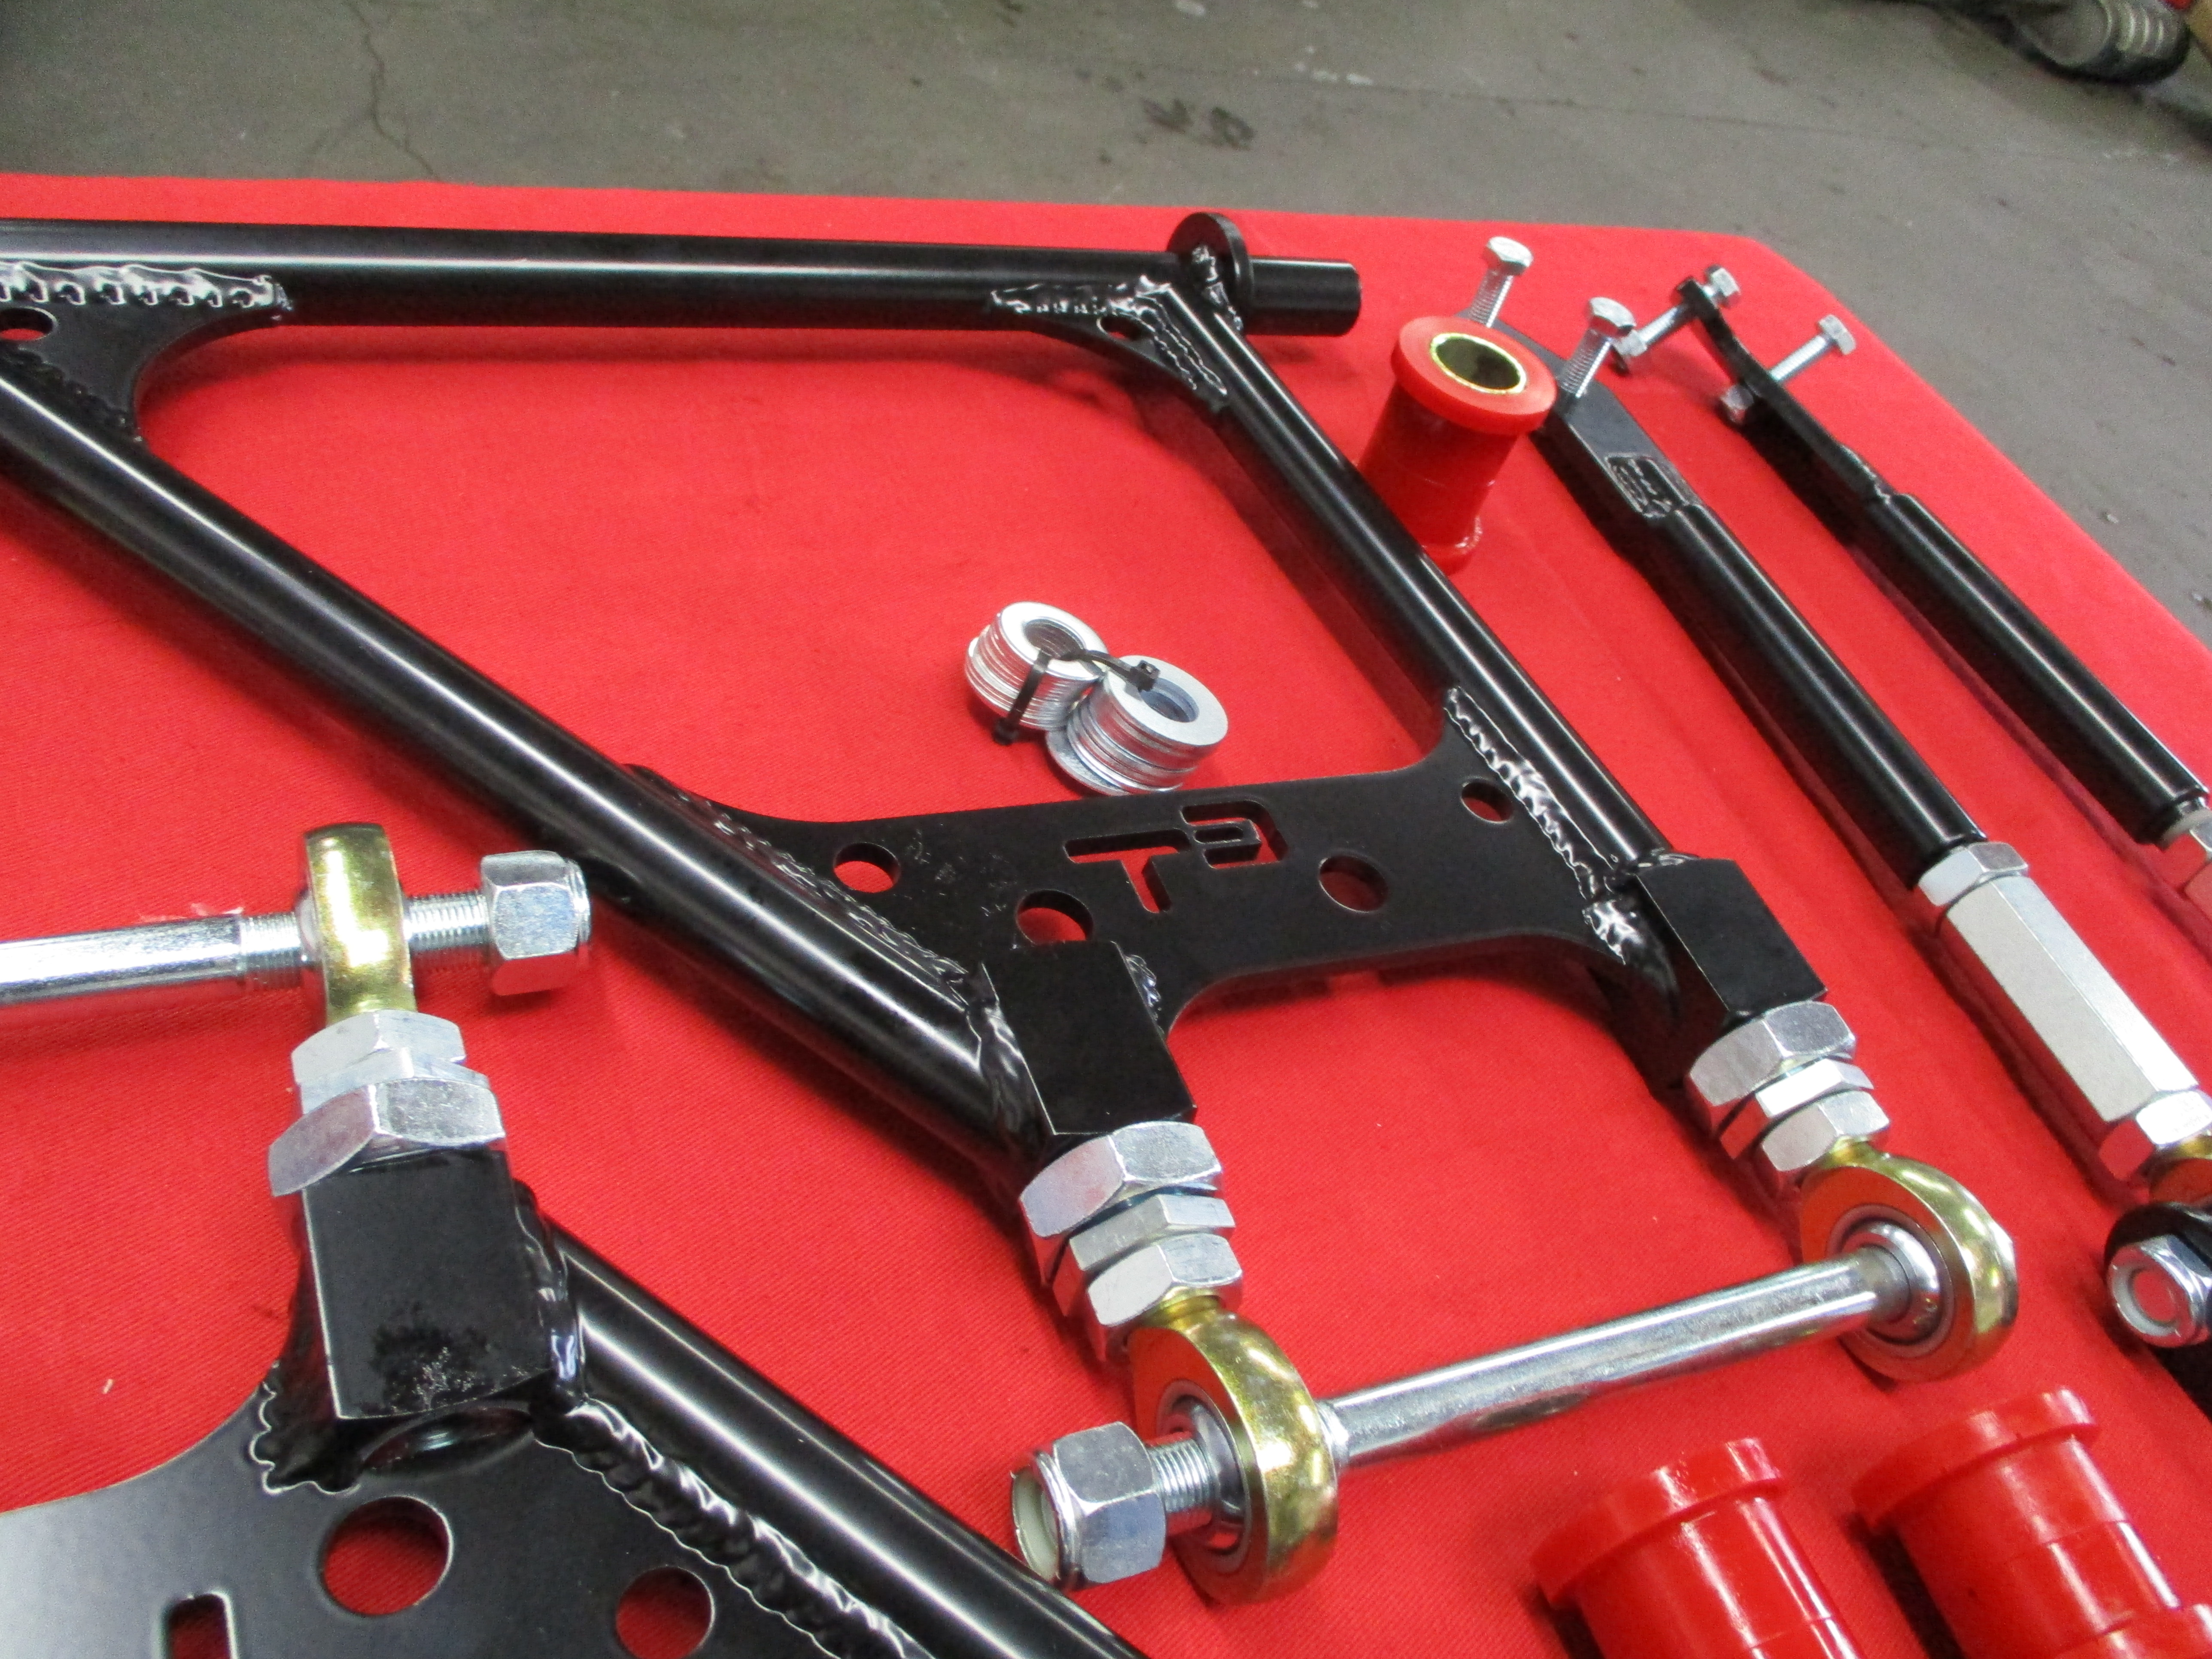
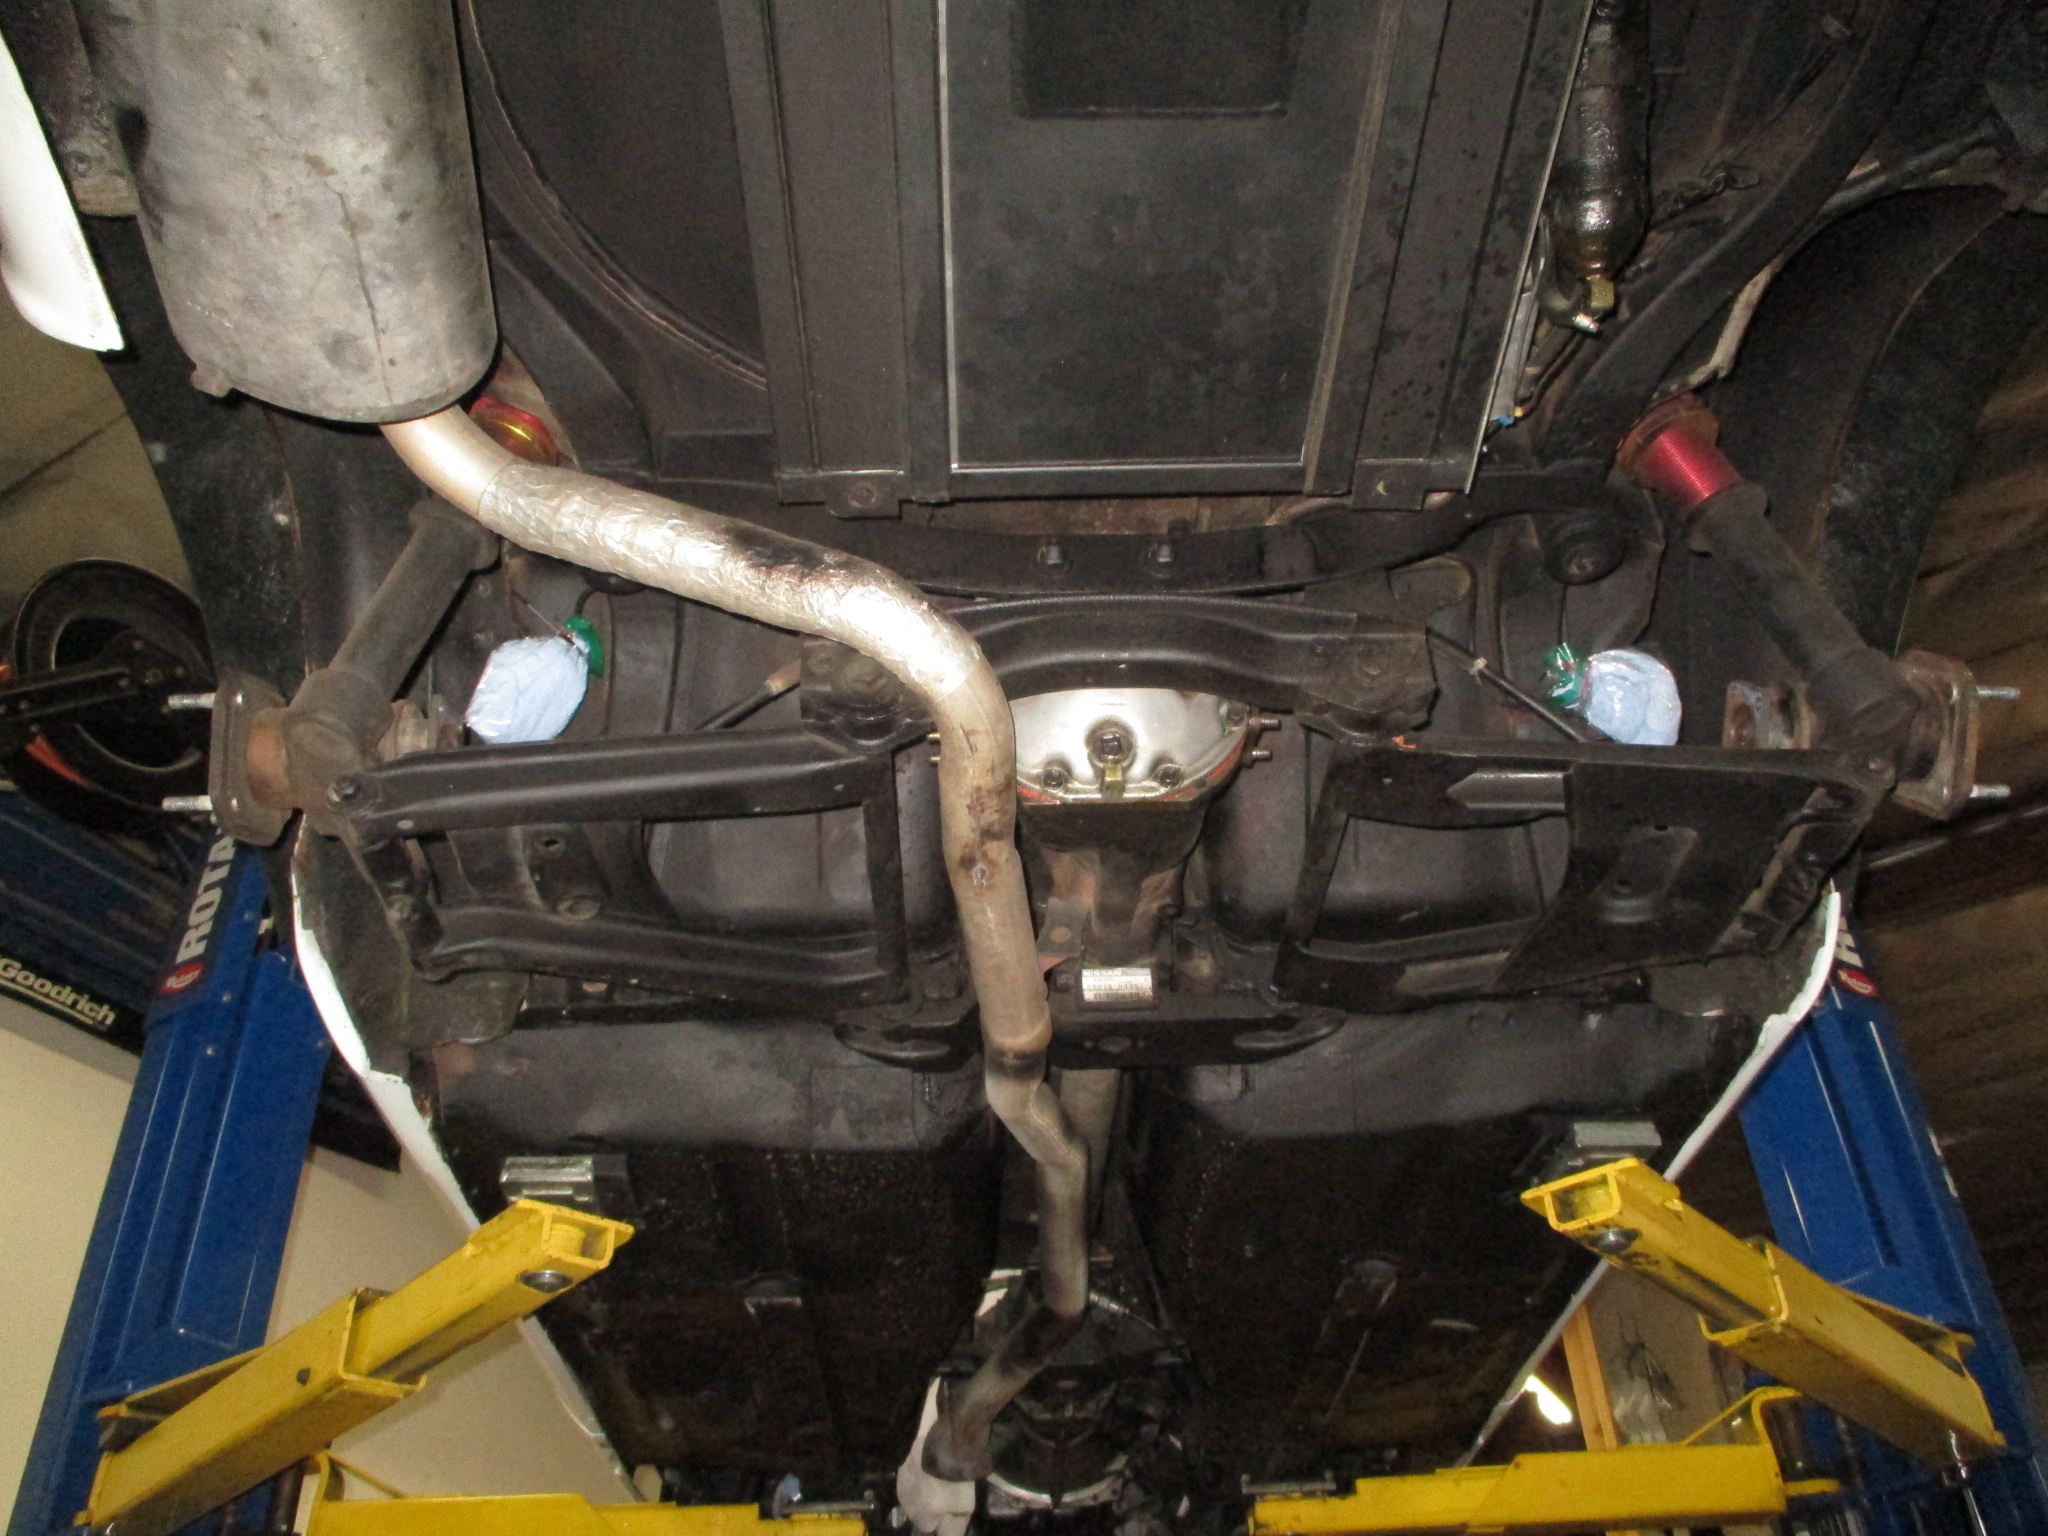
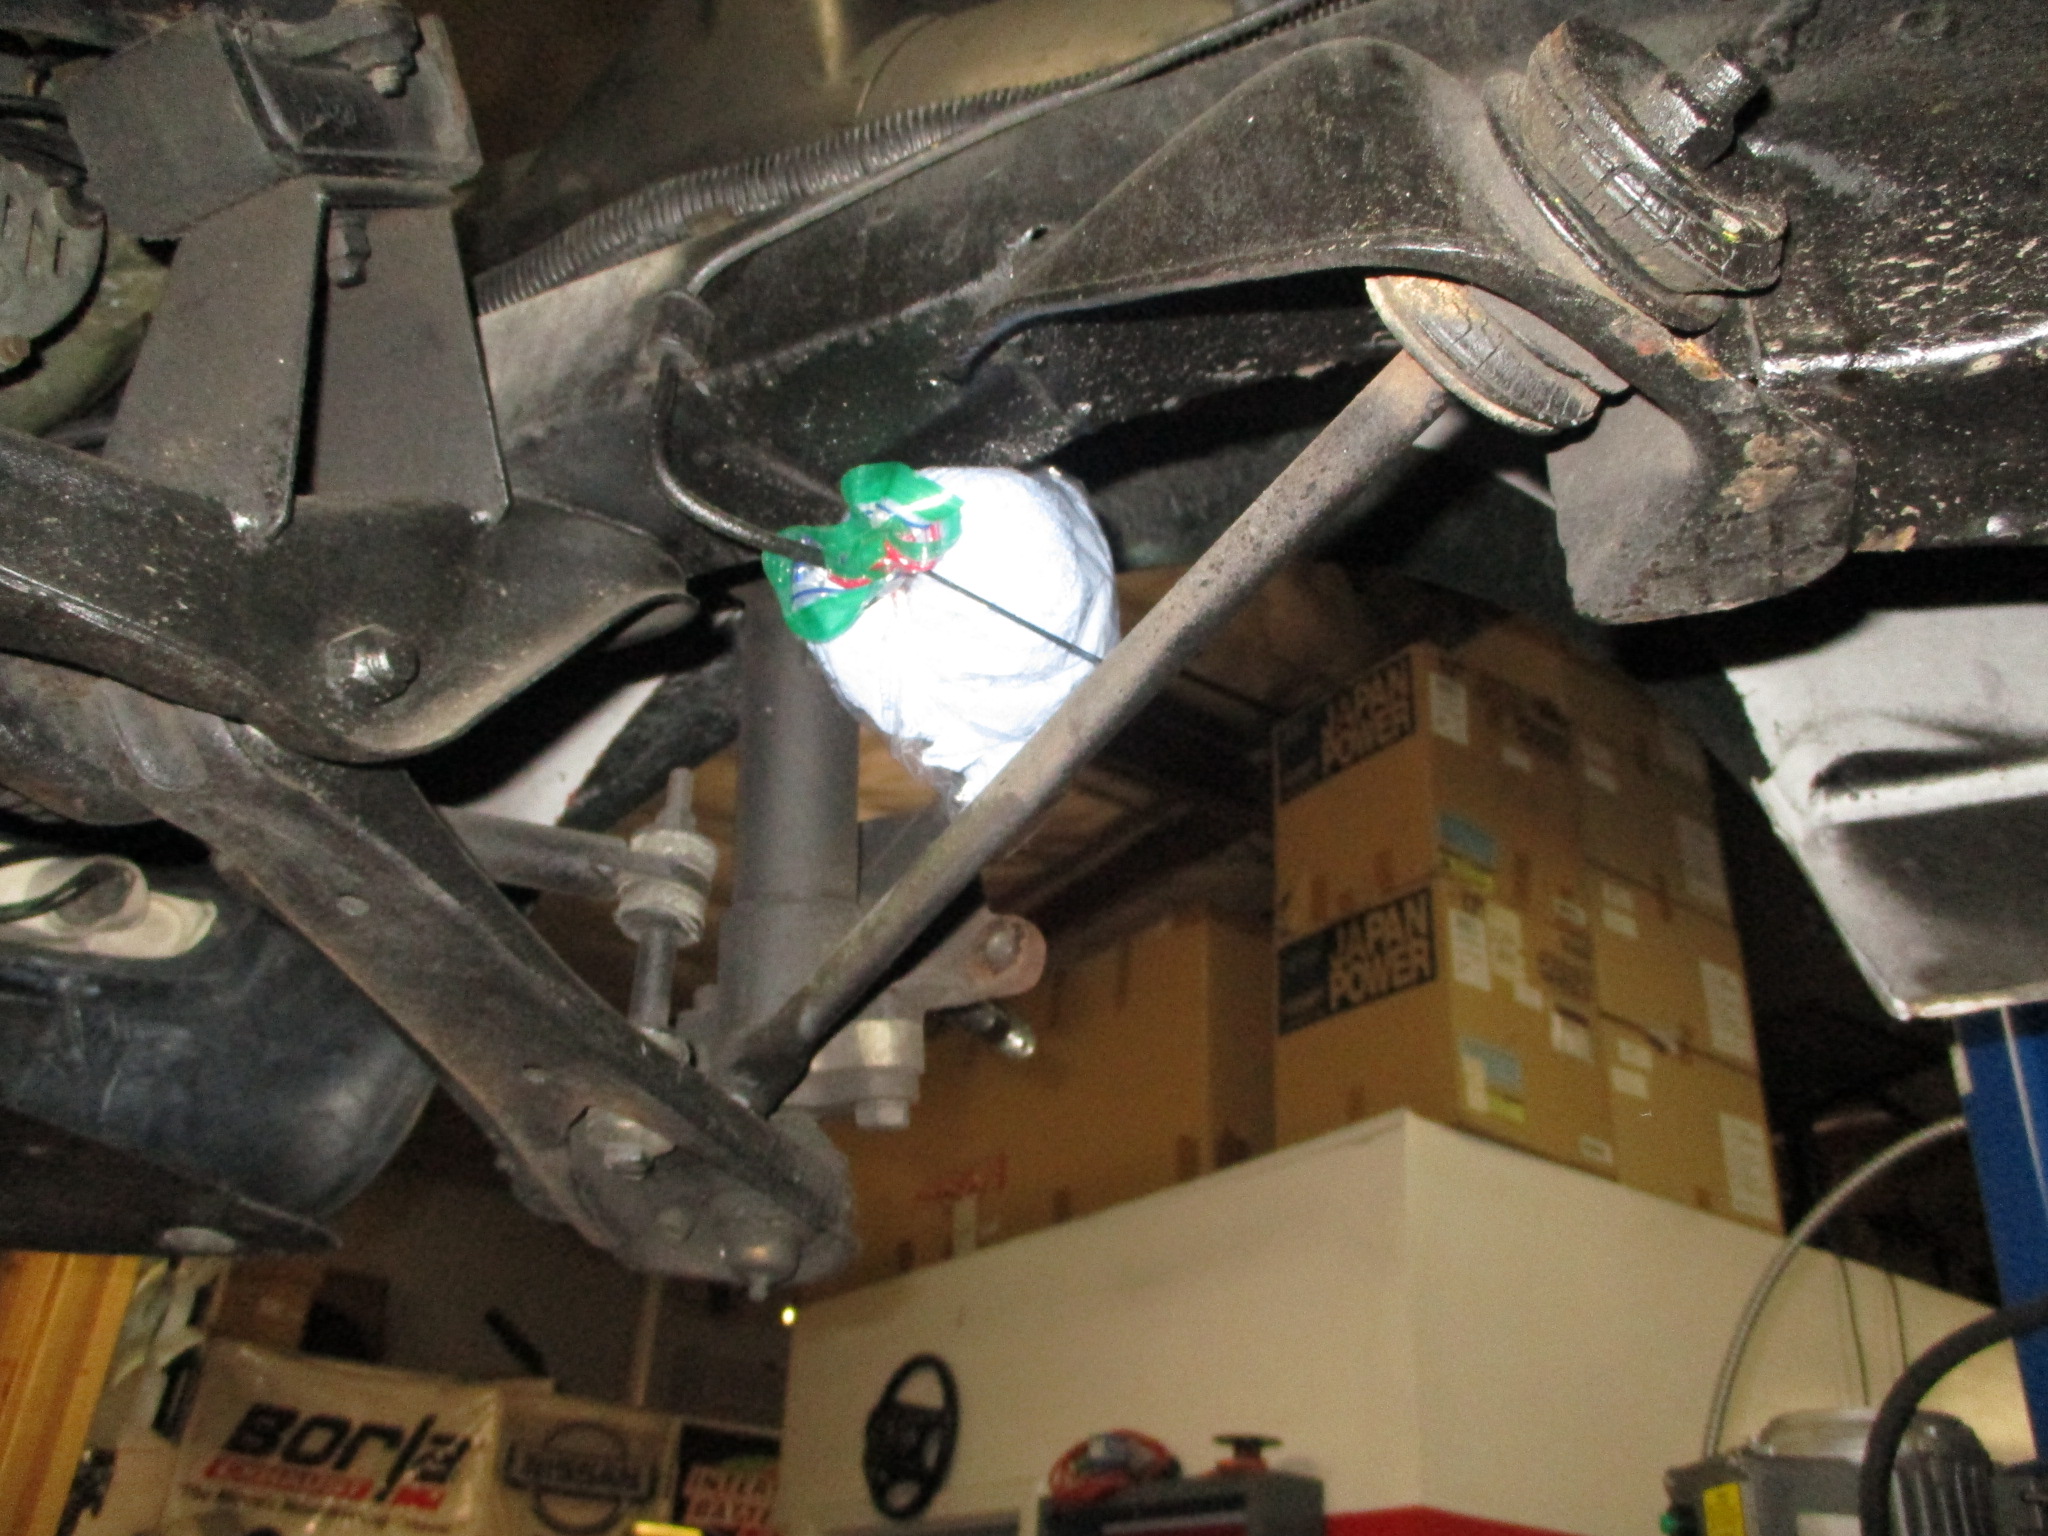
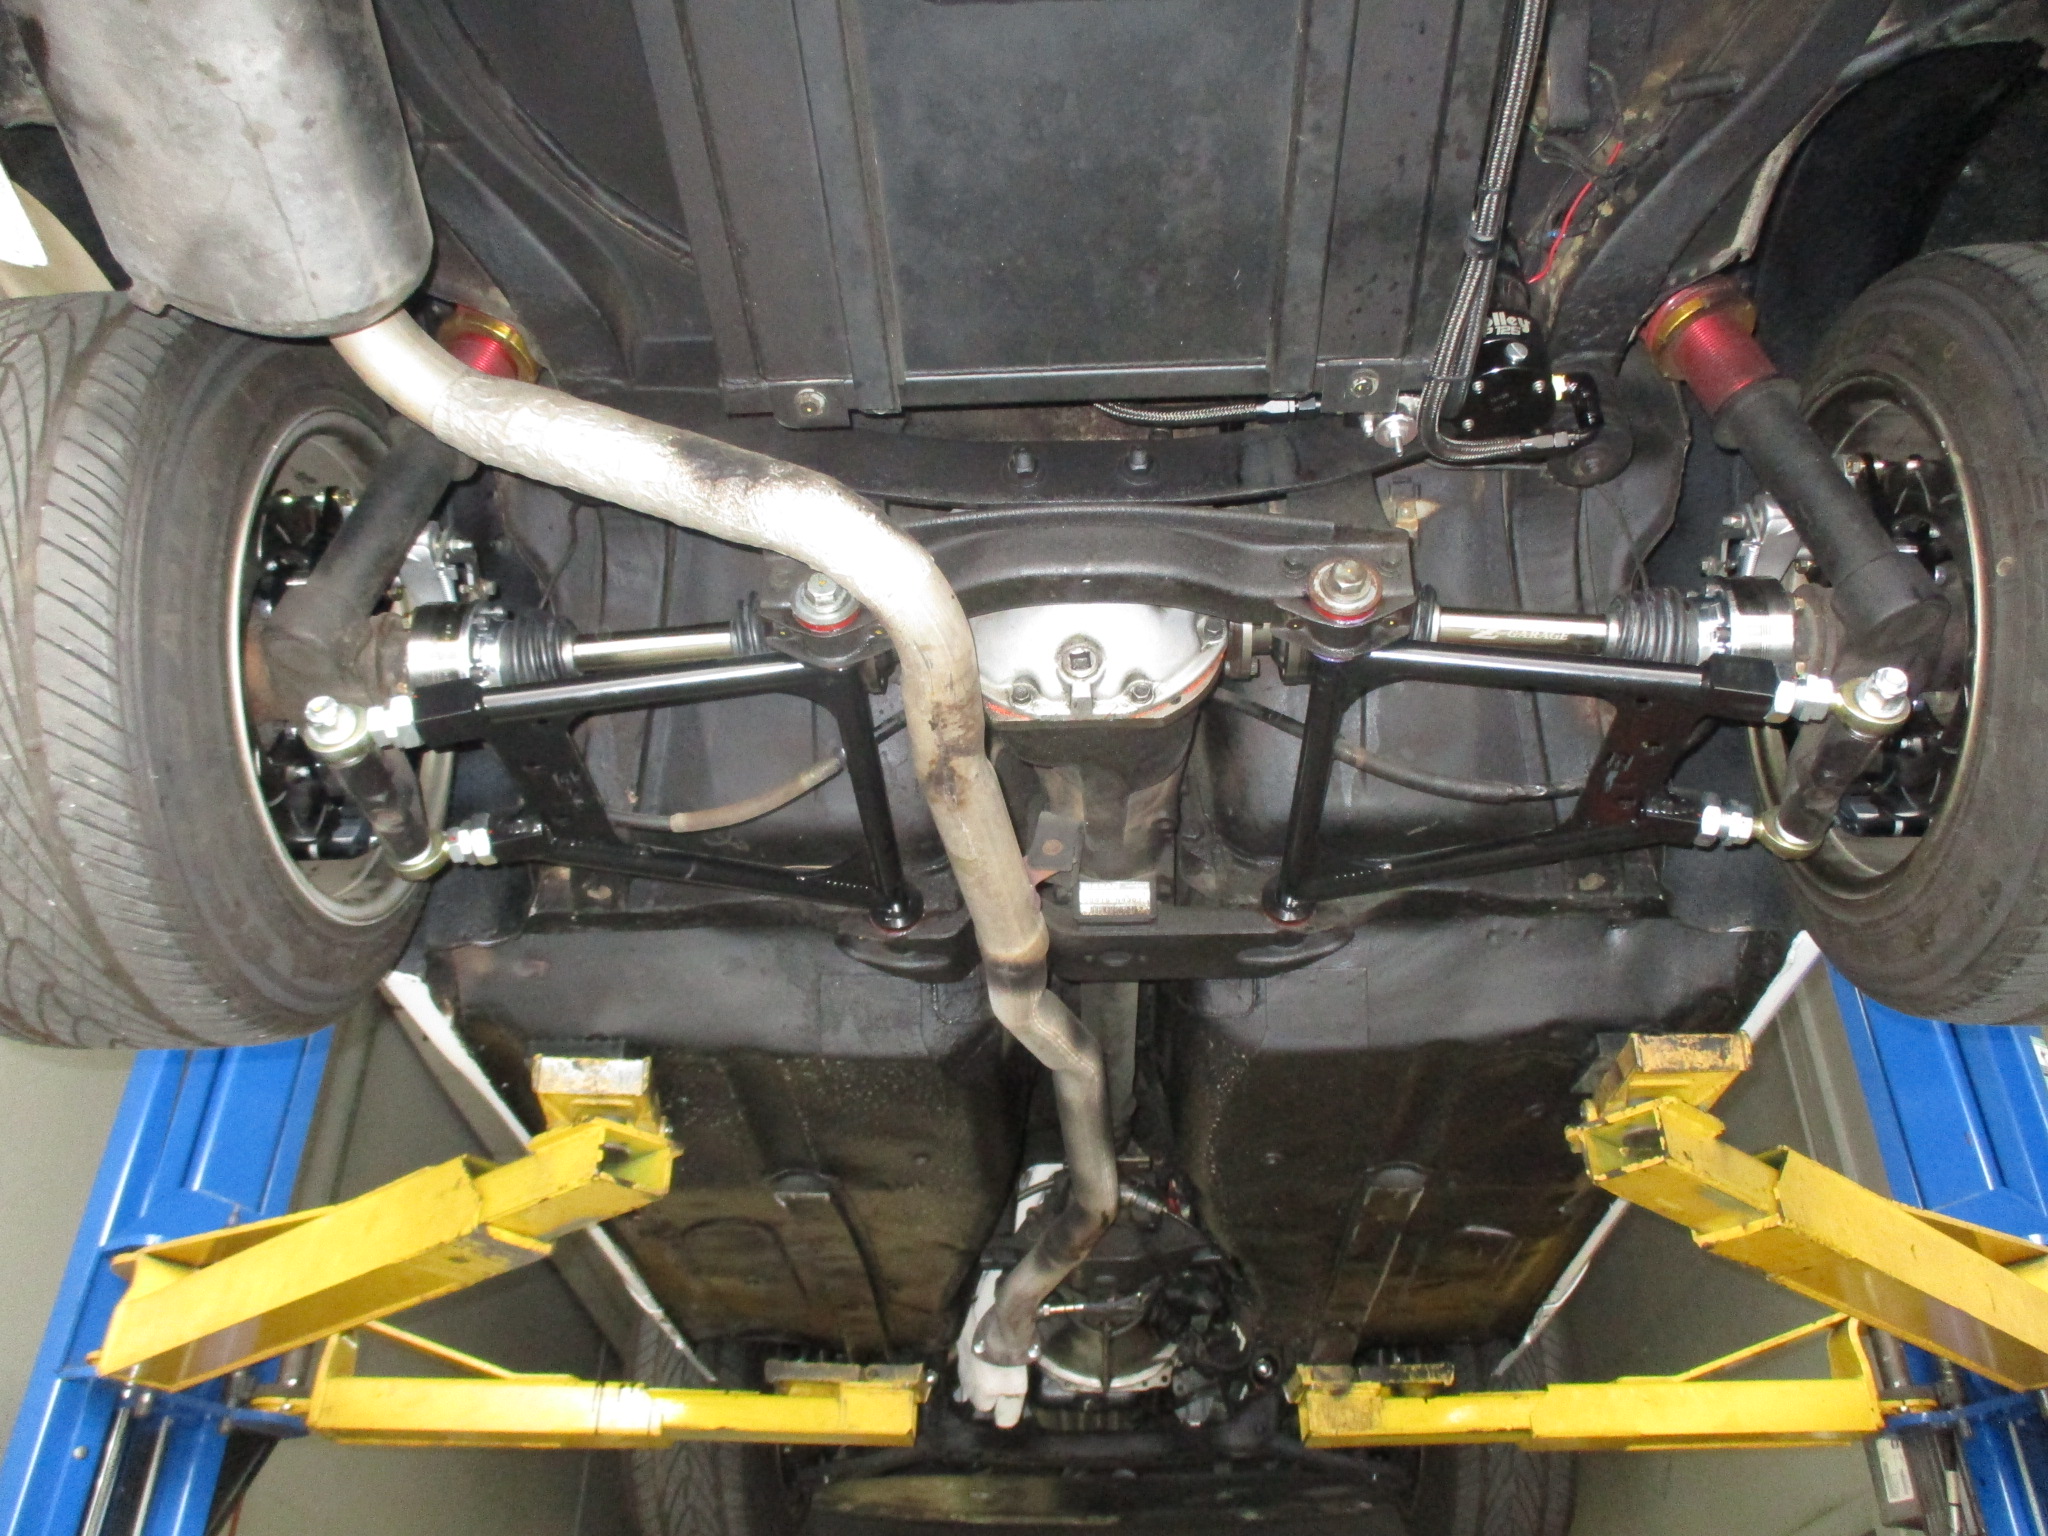
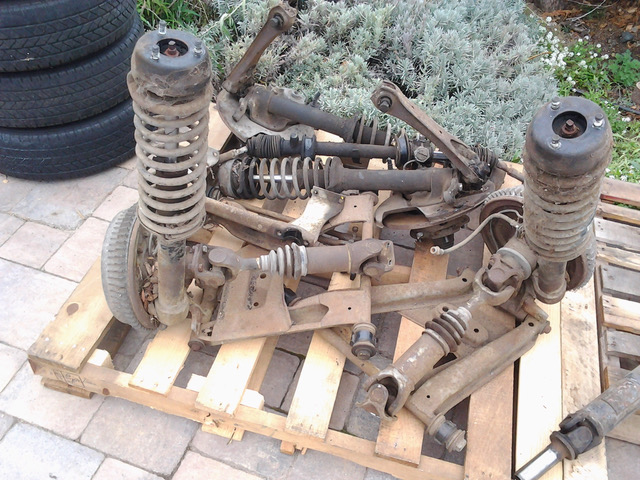
The chassis was treated to a suspension refresh. We installed lower adjustable control arms and T/C rods from Techno Toy Tuning. T3 finishes the suspension in our signature color and we really appreciate Gabriel and his staff. They make some of the best suspension parts out there for Z cars. Lower control arms replacing OEM parts:
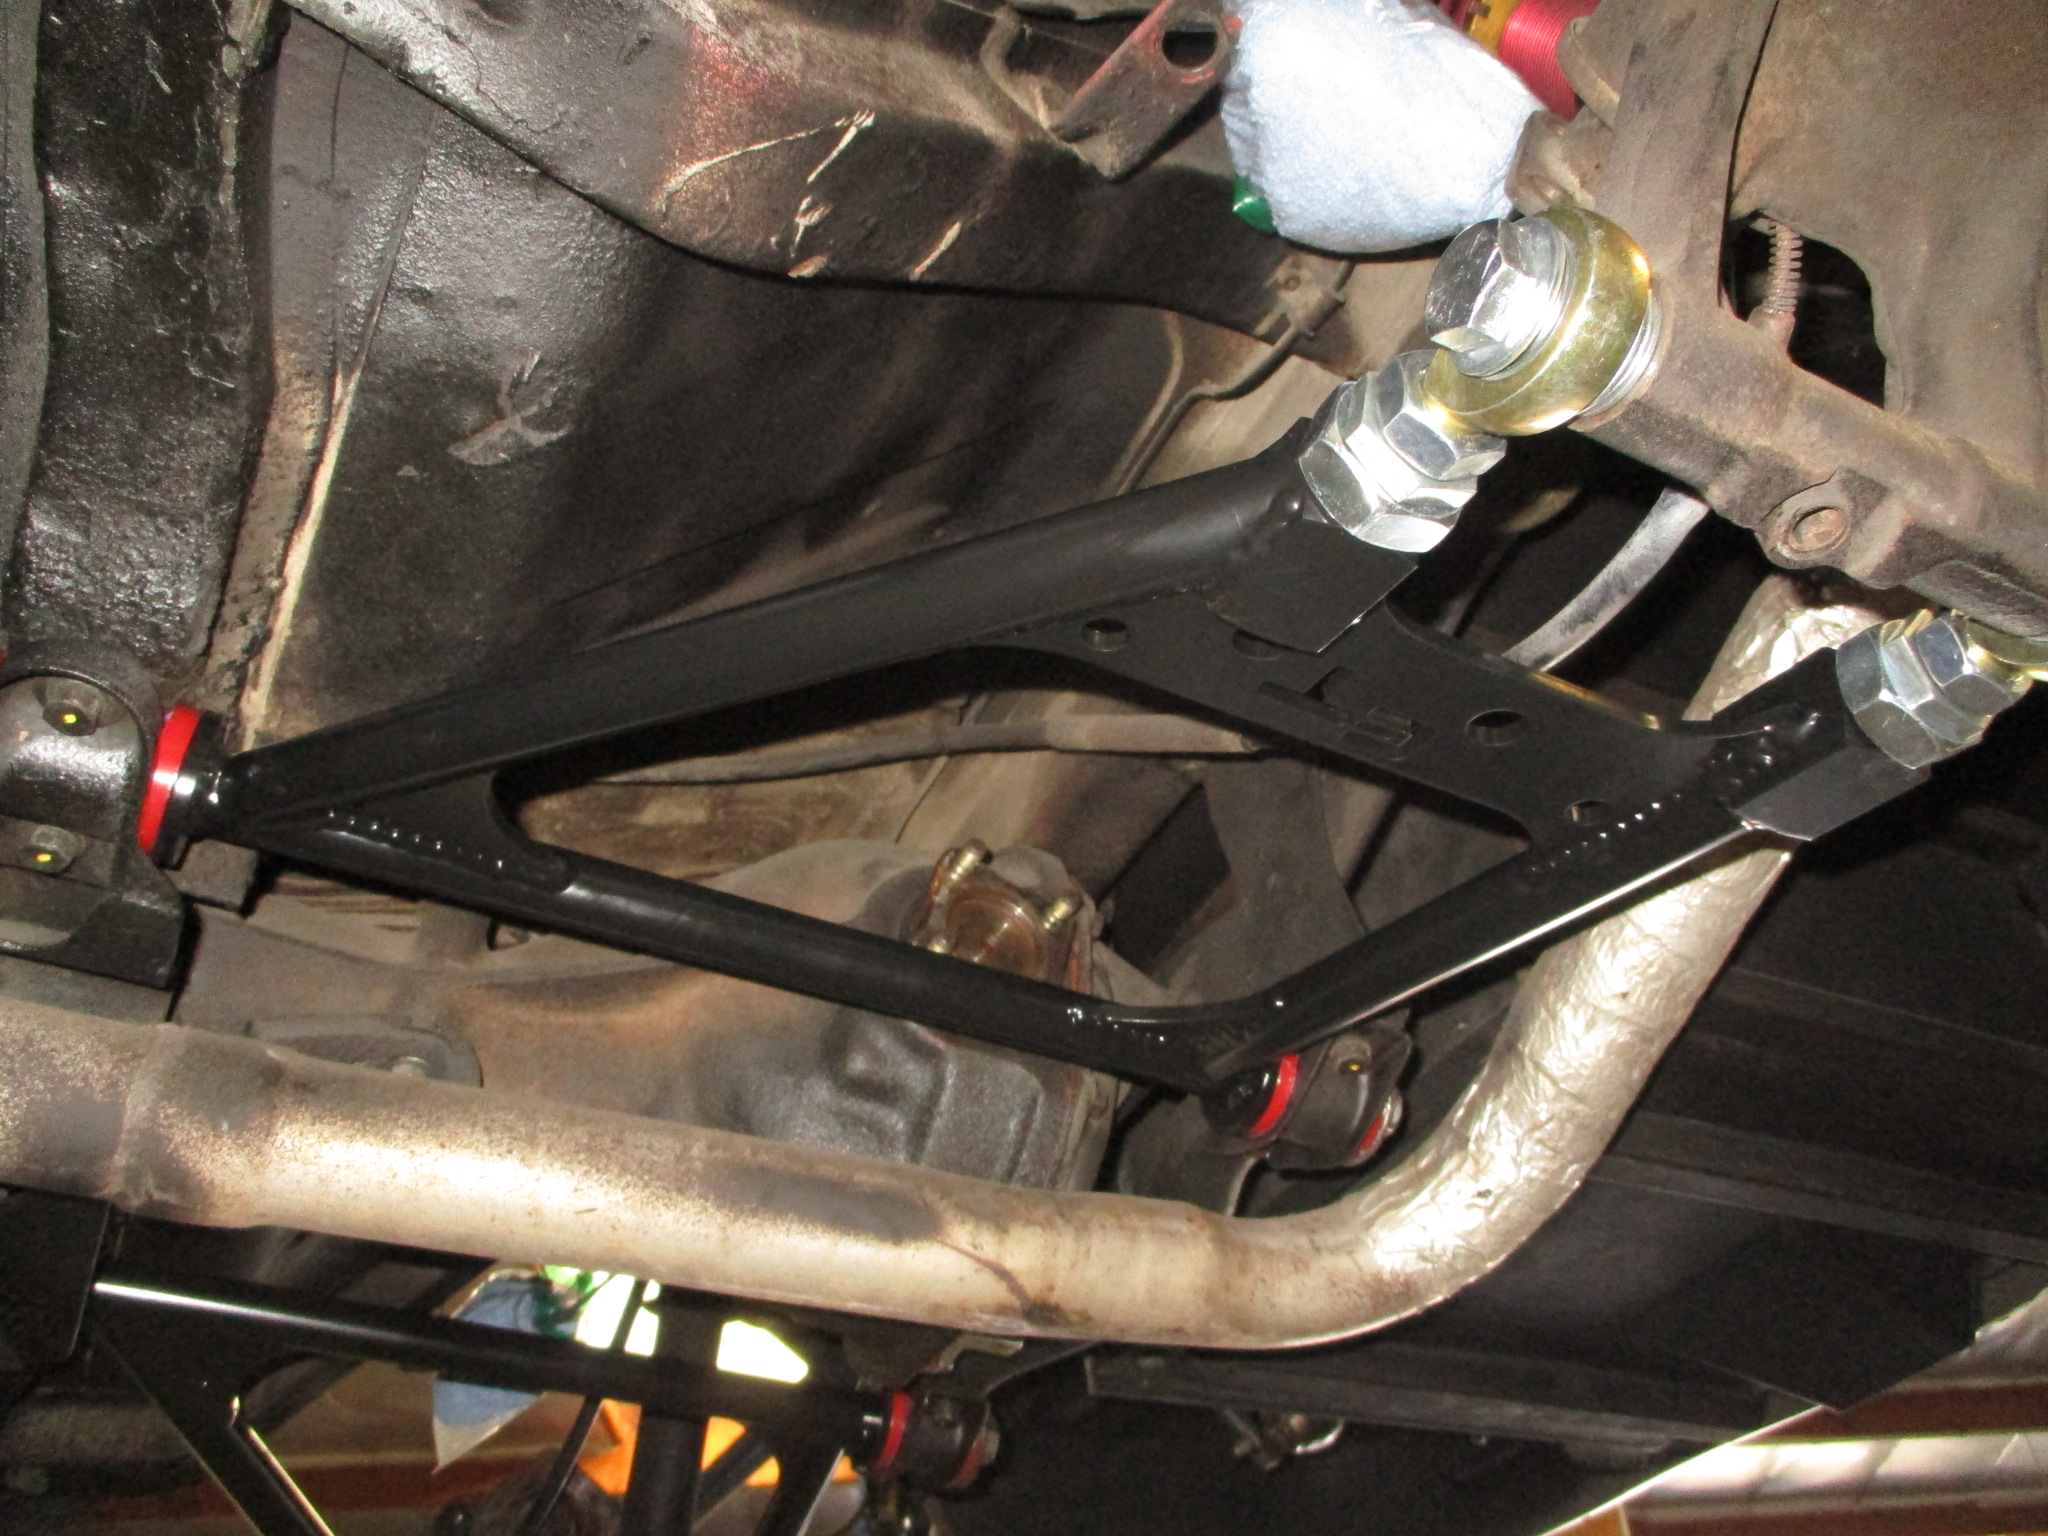
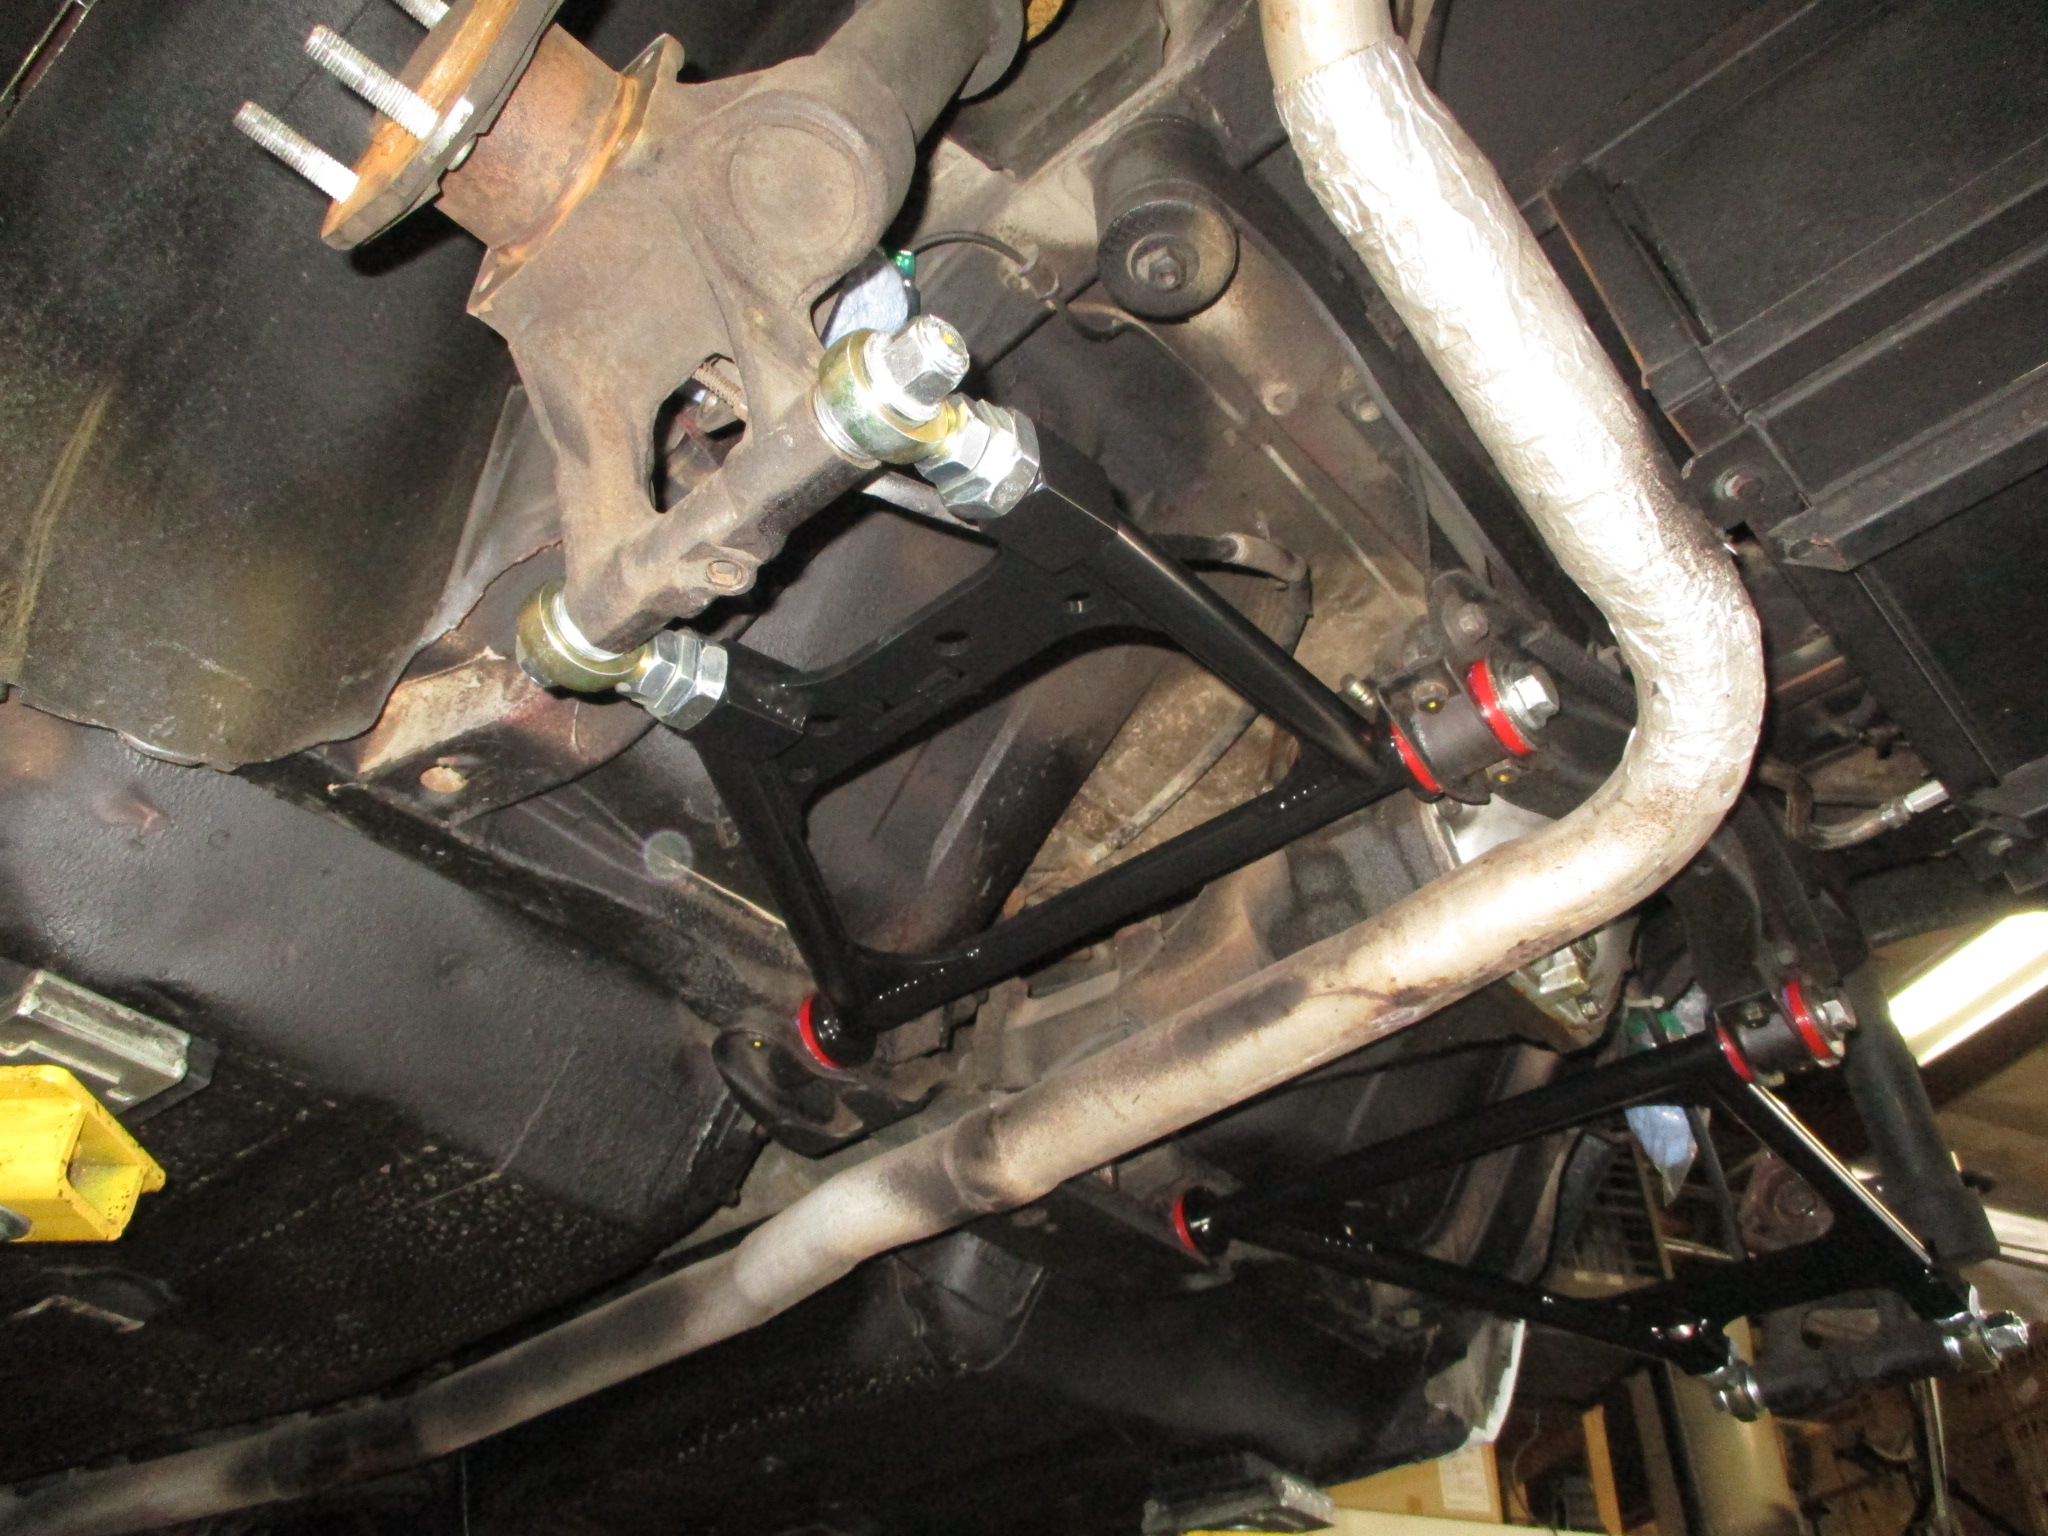
Front T/C rods replacing OEM units:
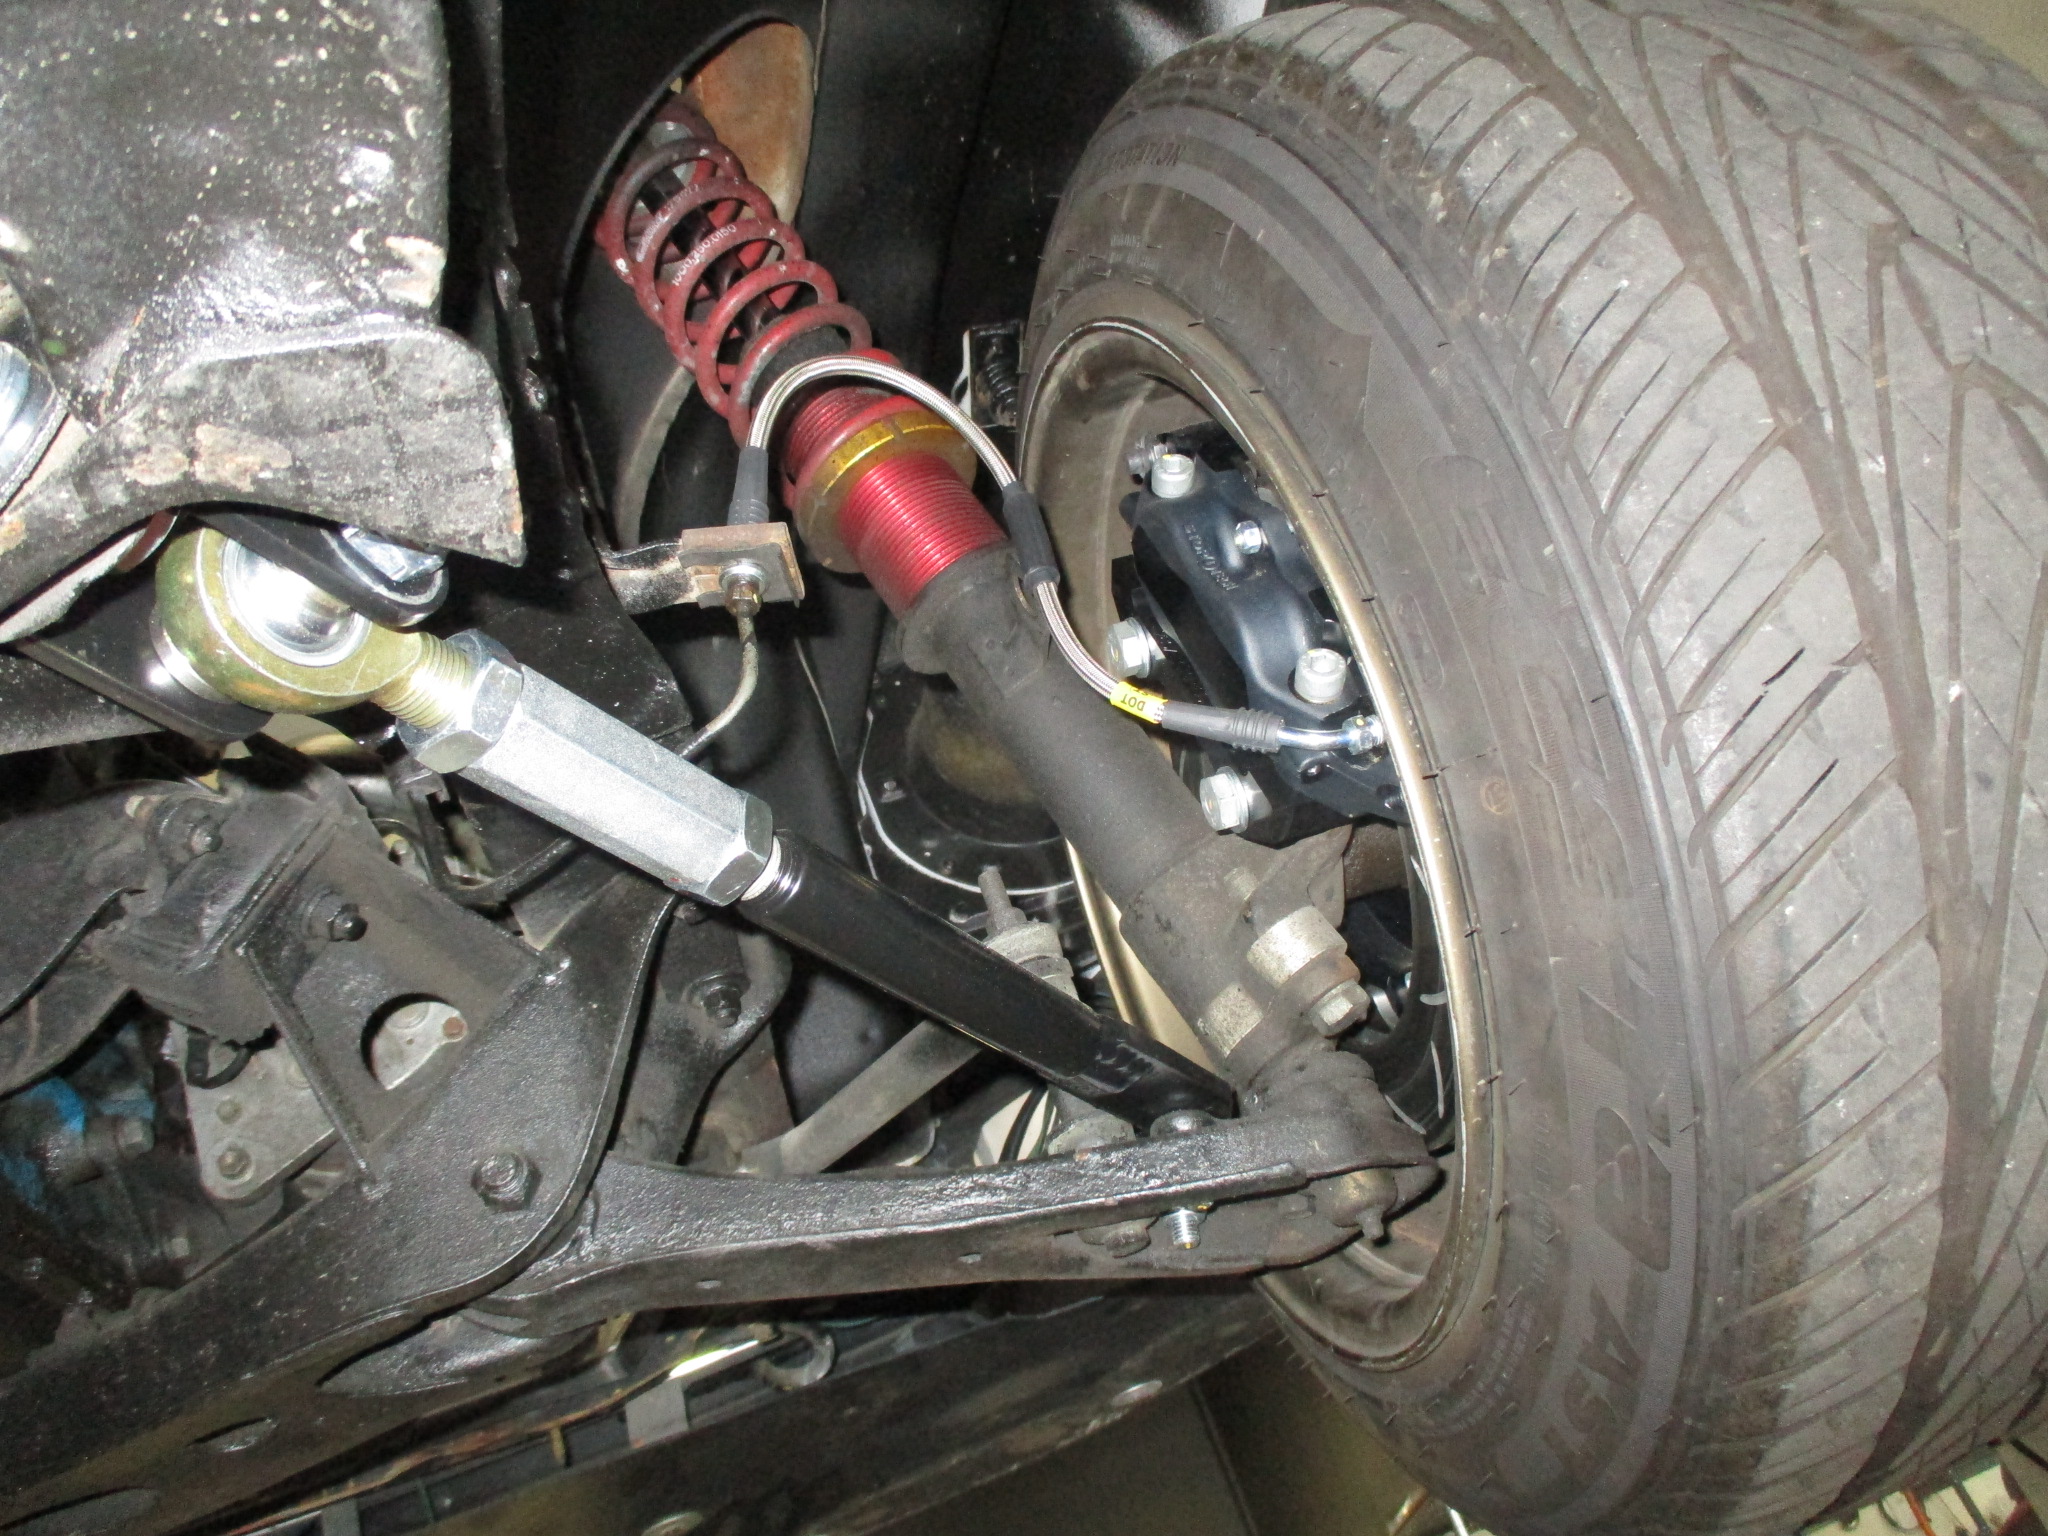

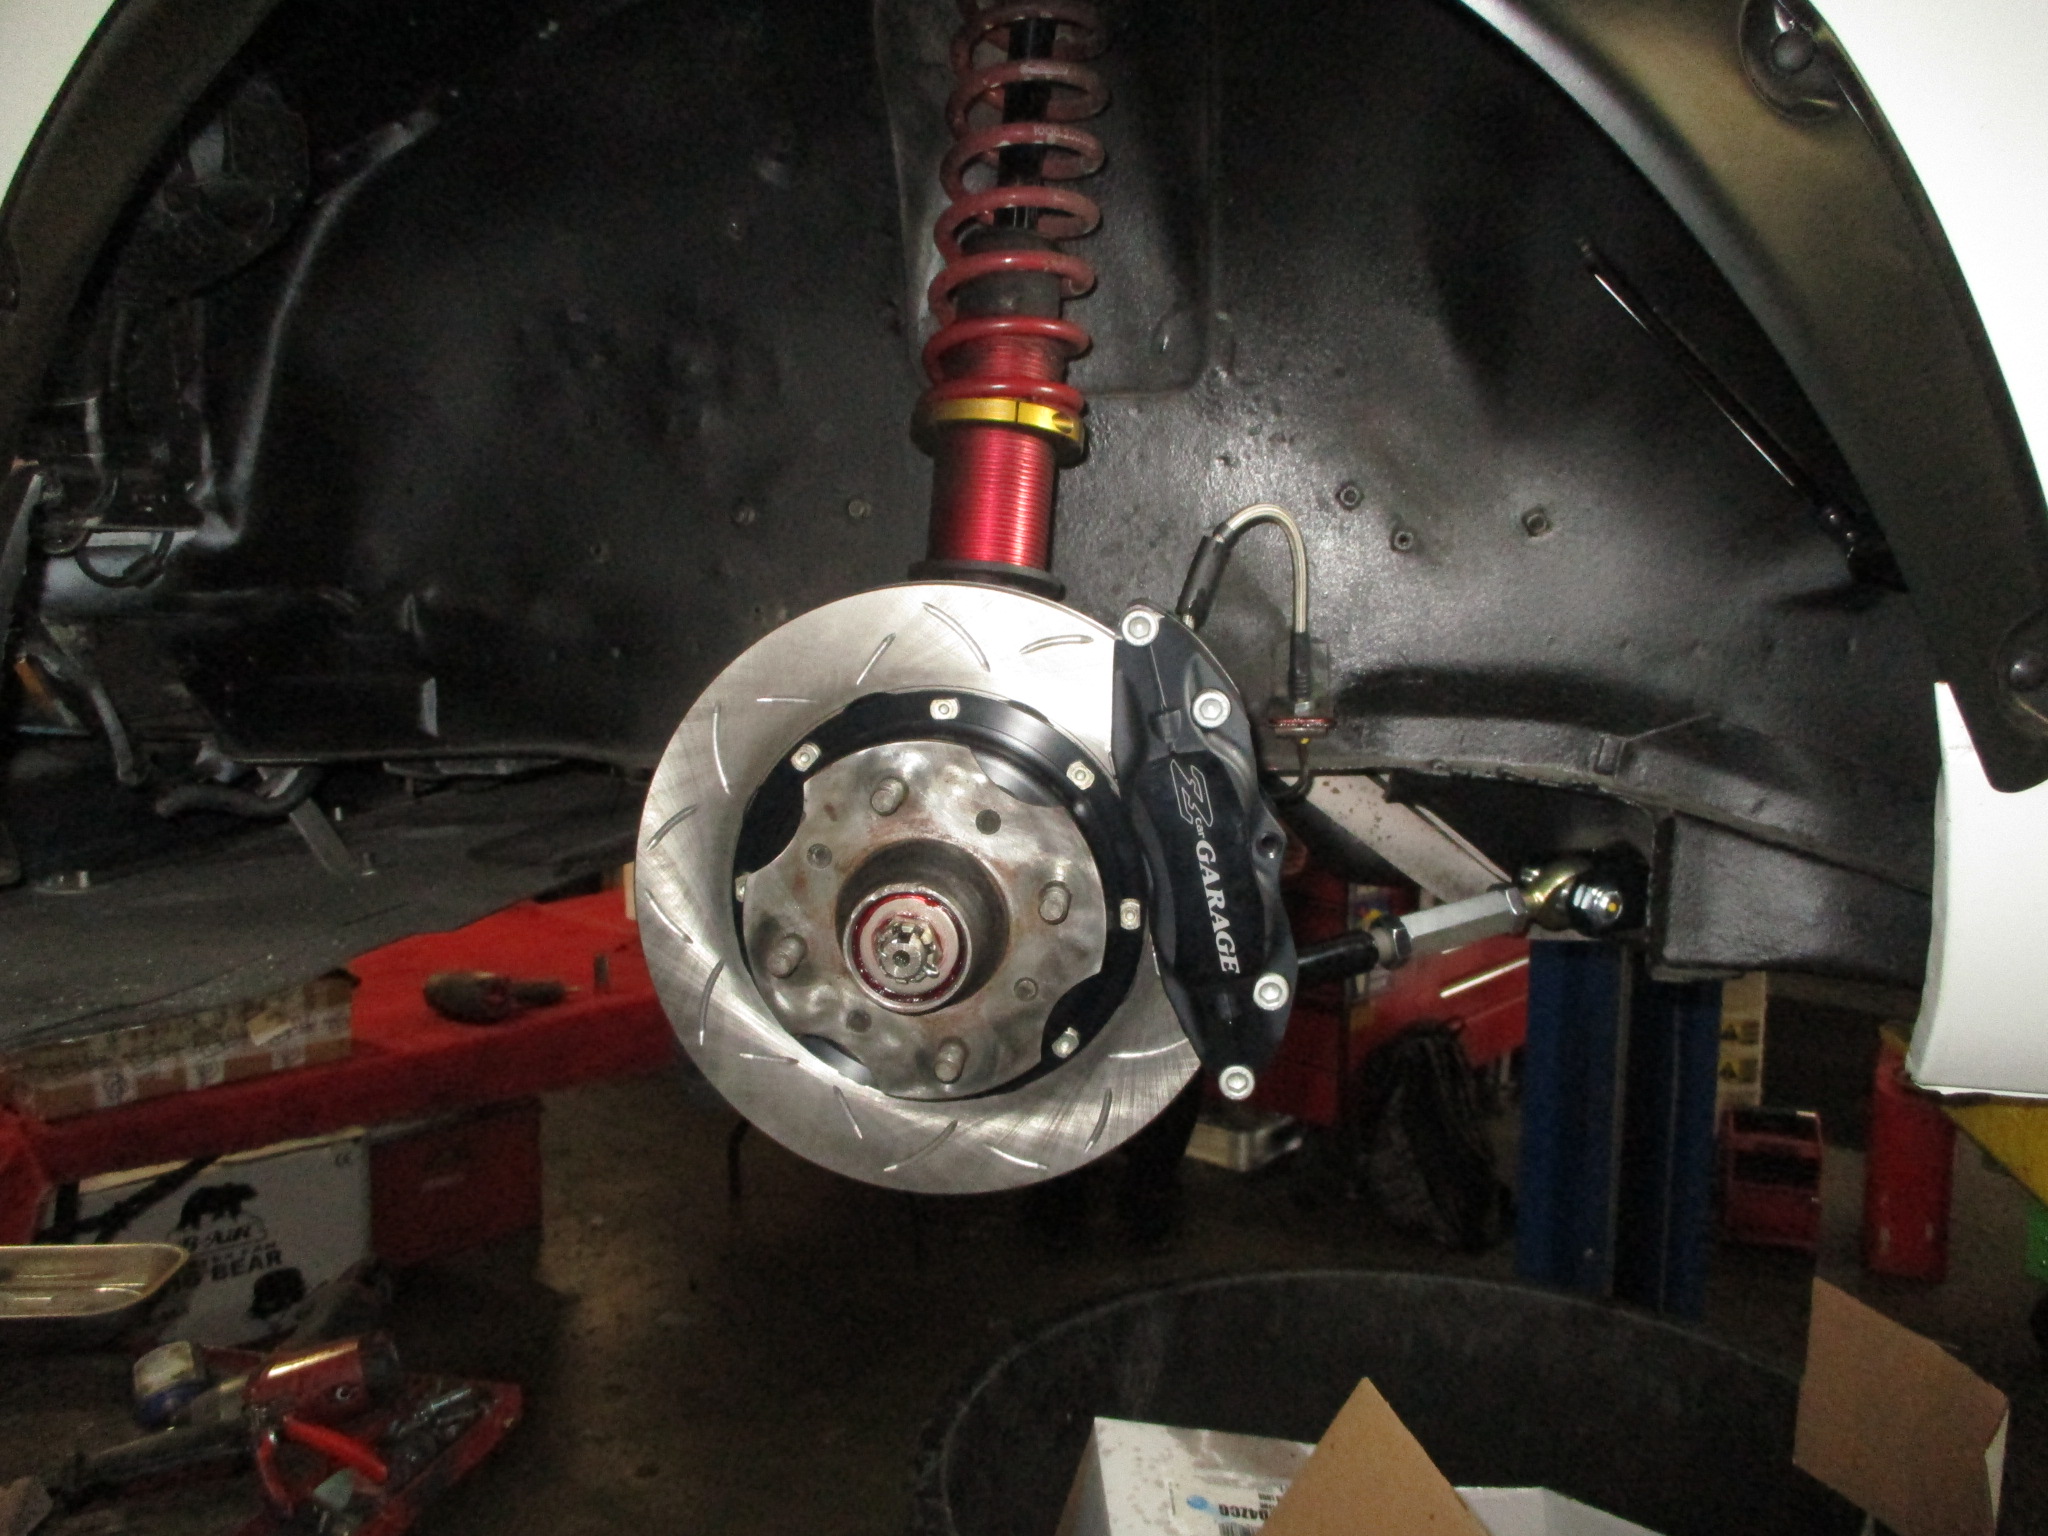
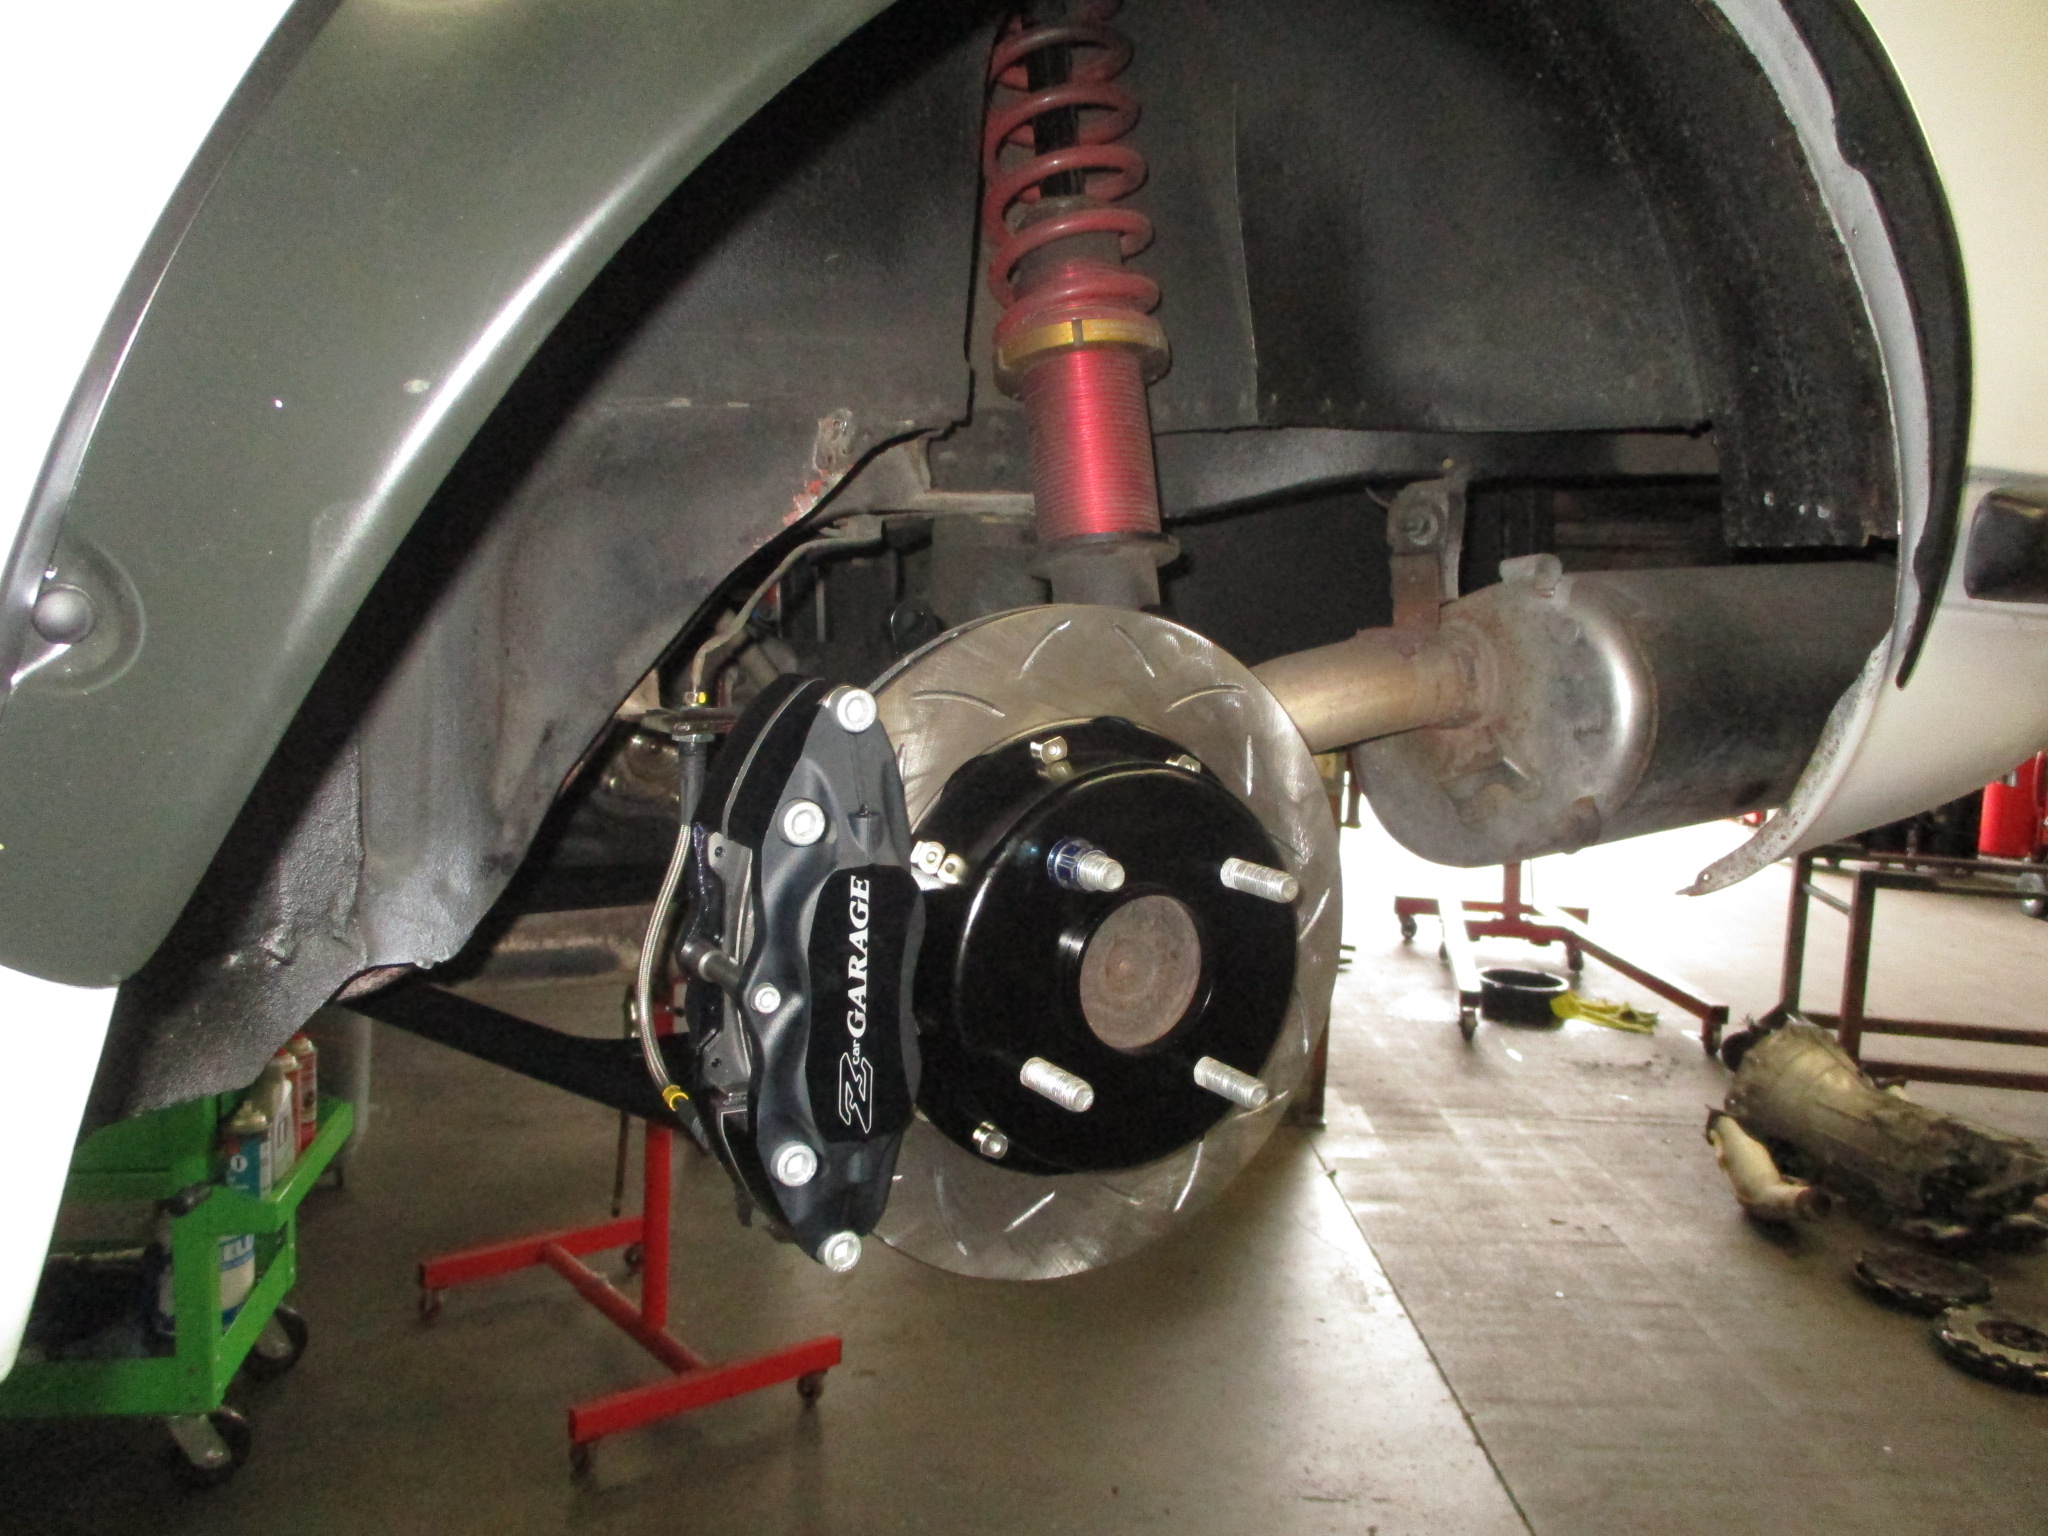
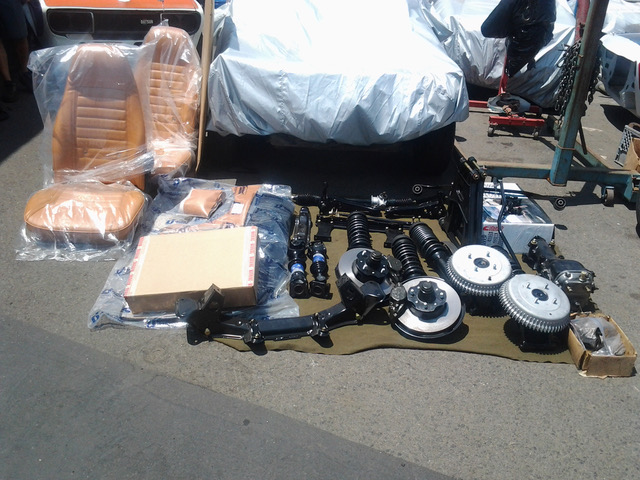
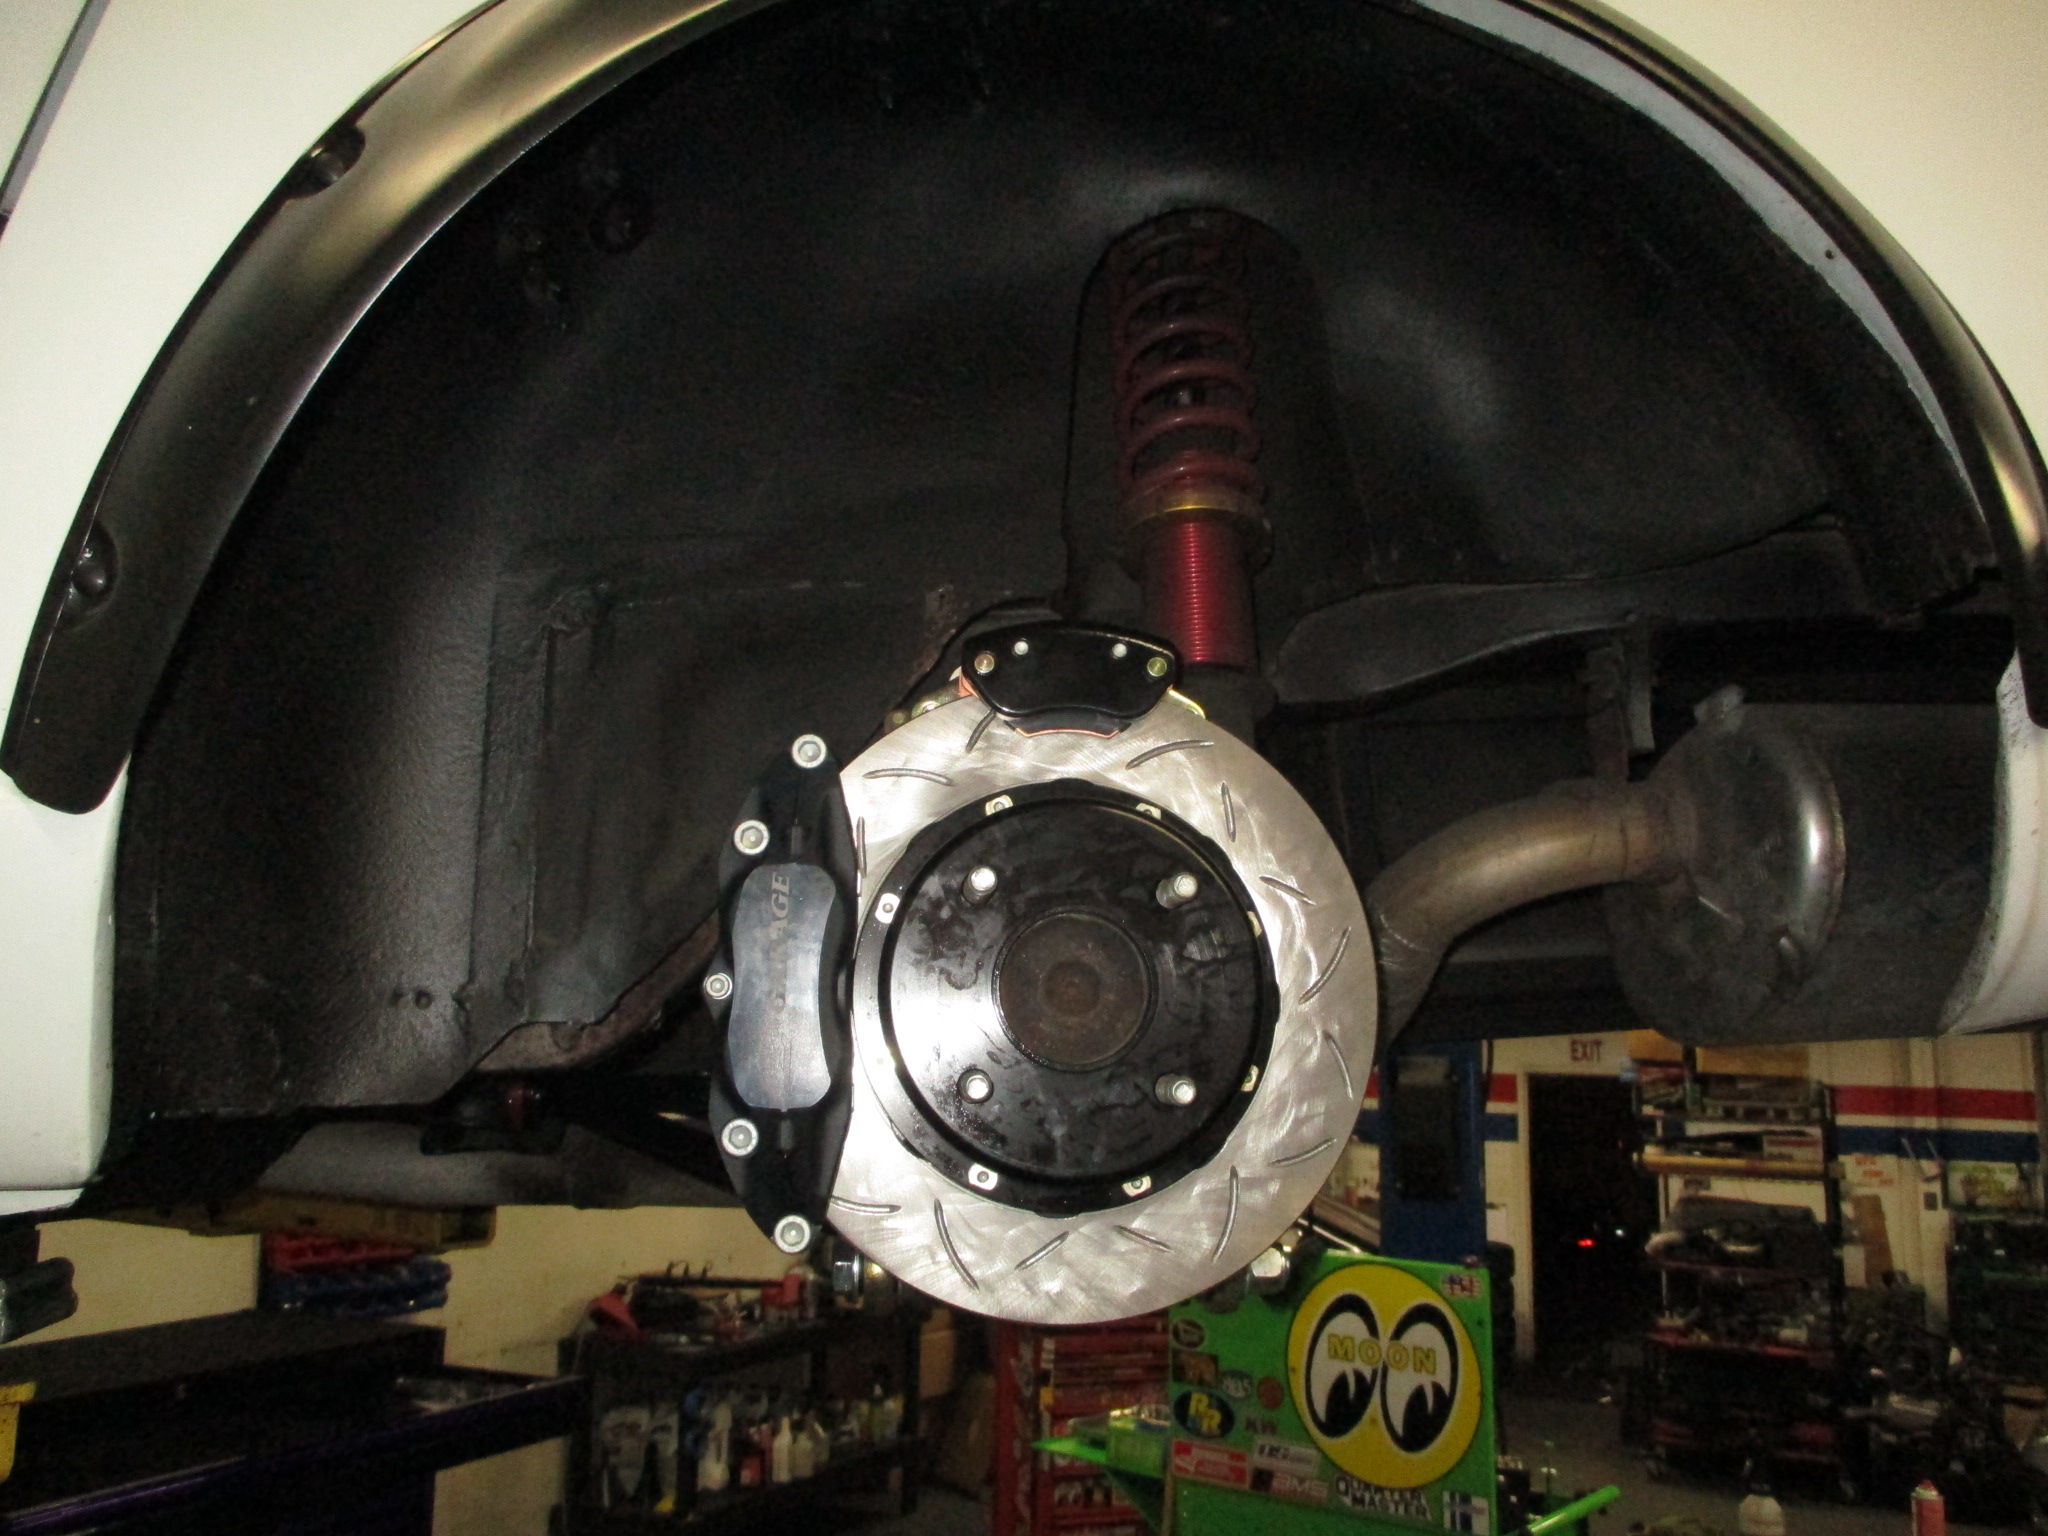
ZCG Big-Brakes and CV Axles
We installed our Z Car Garage Big-Brakes (for small wheels) and Z Car Garage CV Axles!
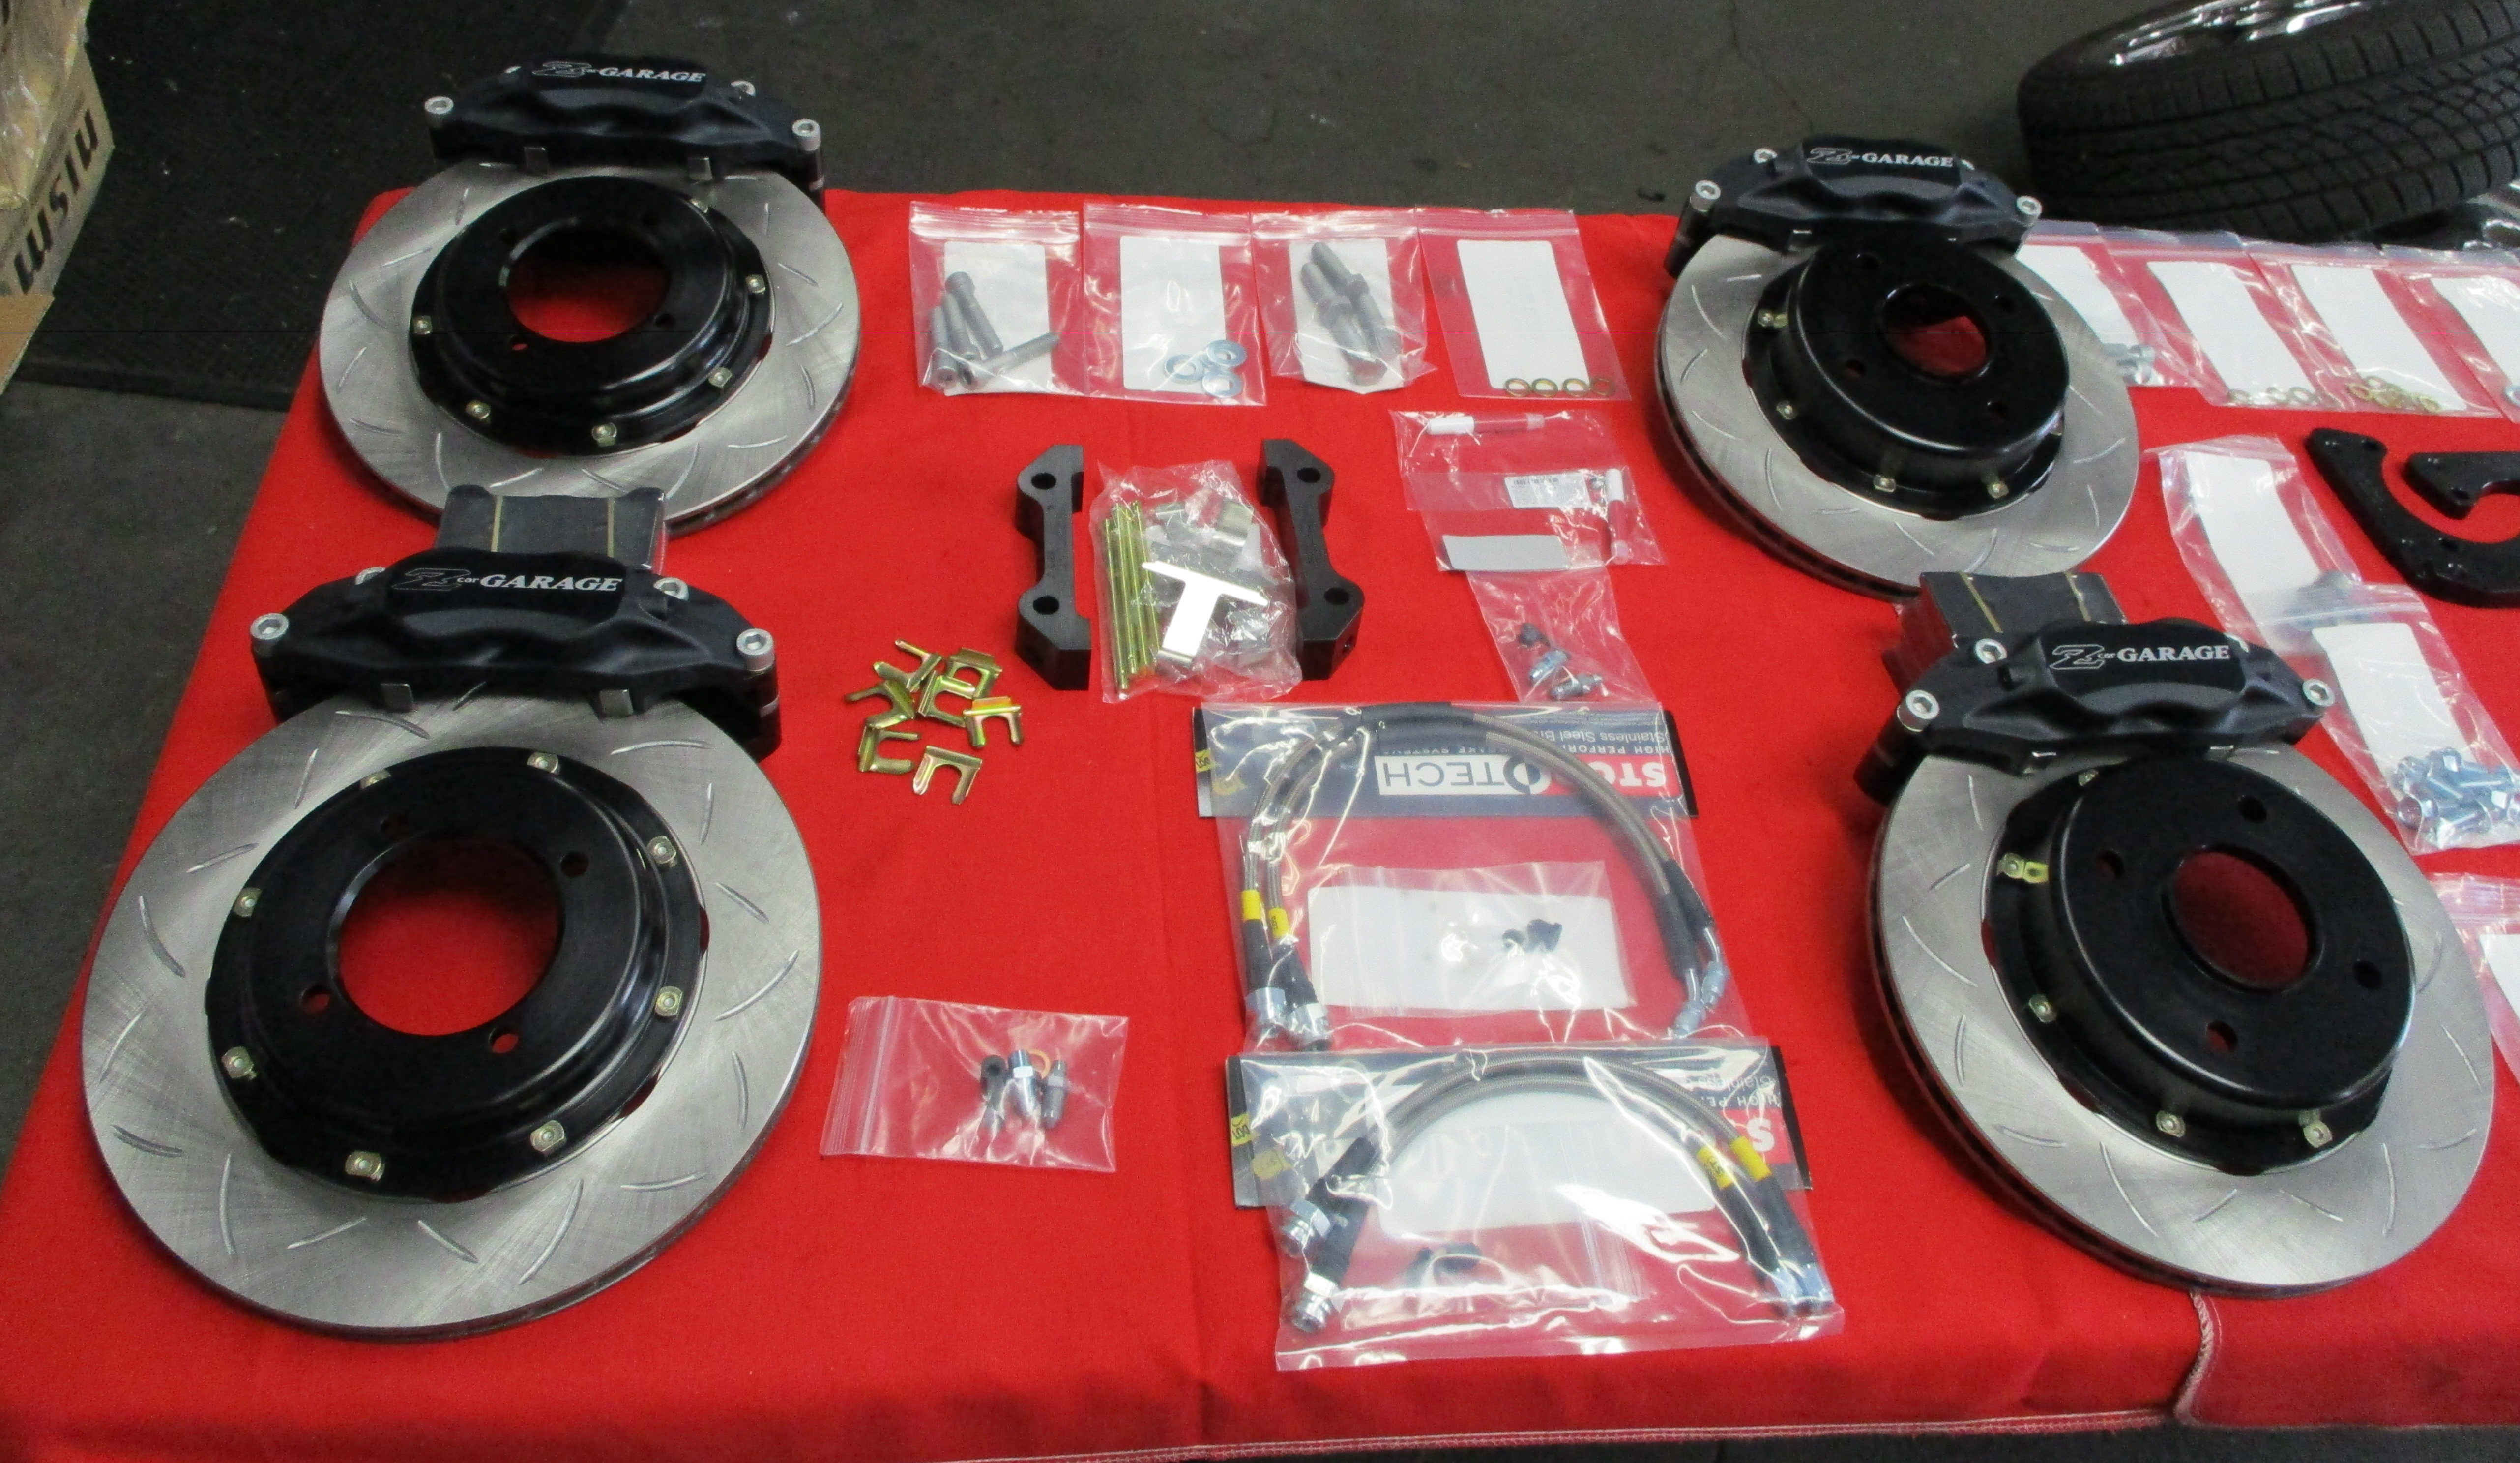
As fellow S30 owner/racer Glenn C mentioned in his review, on top of braking performance, pedal feel is extremely important and our Big-Brakes deliver. This is a direct result of working with Stoptech to create a totally bolt-in solution requiring no M/C change or additional proportioning valve/adjustments. All fitting behind a 15″ Watanabe or Panasport wheel and retaining factory emergency brake lever! A few details below:
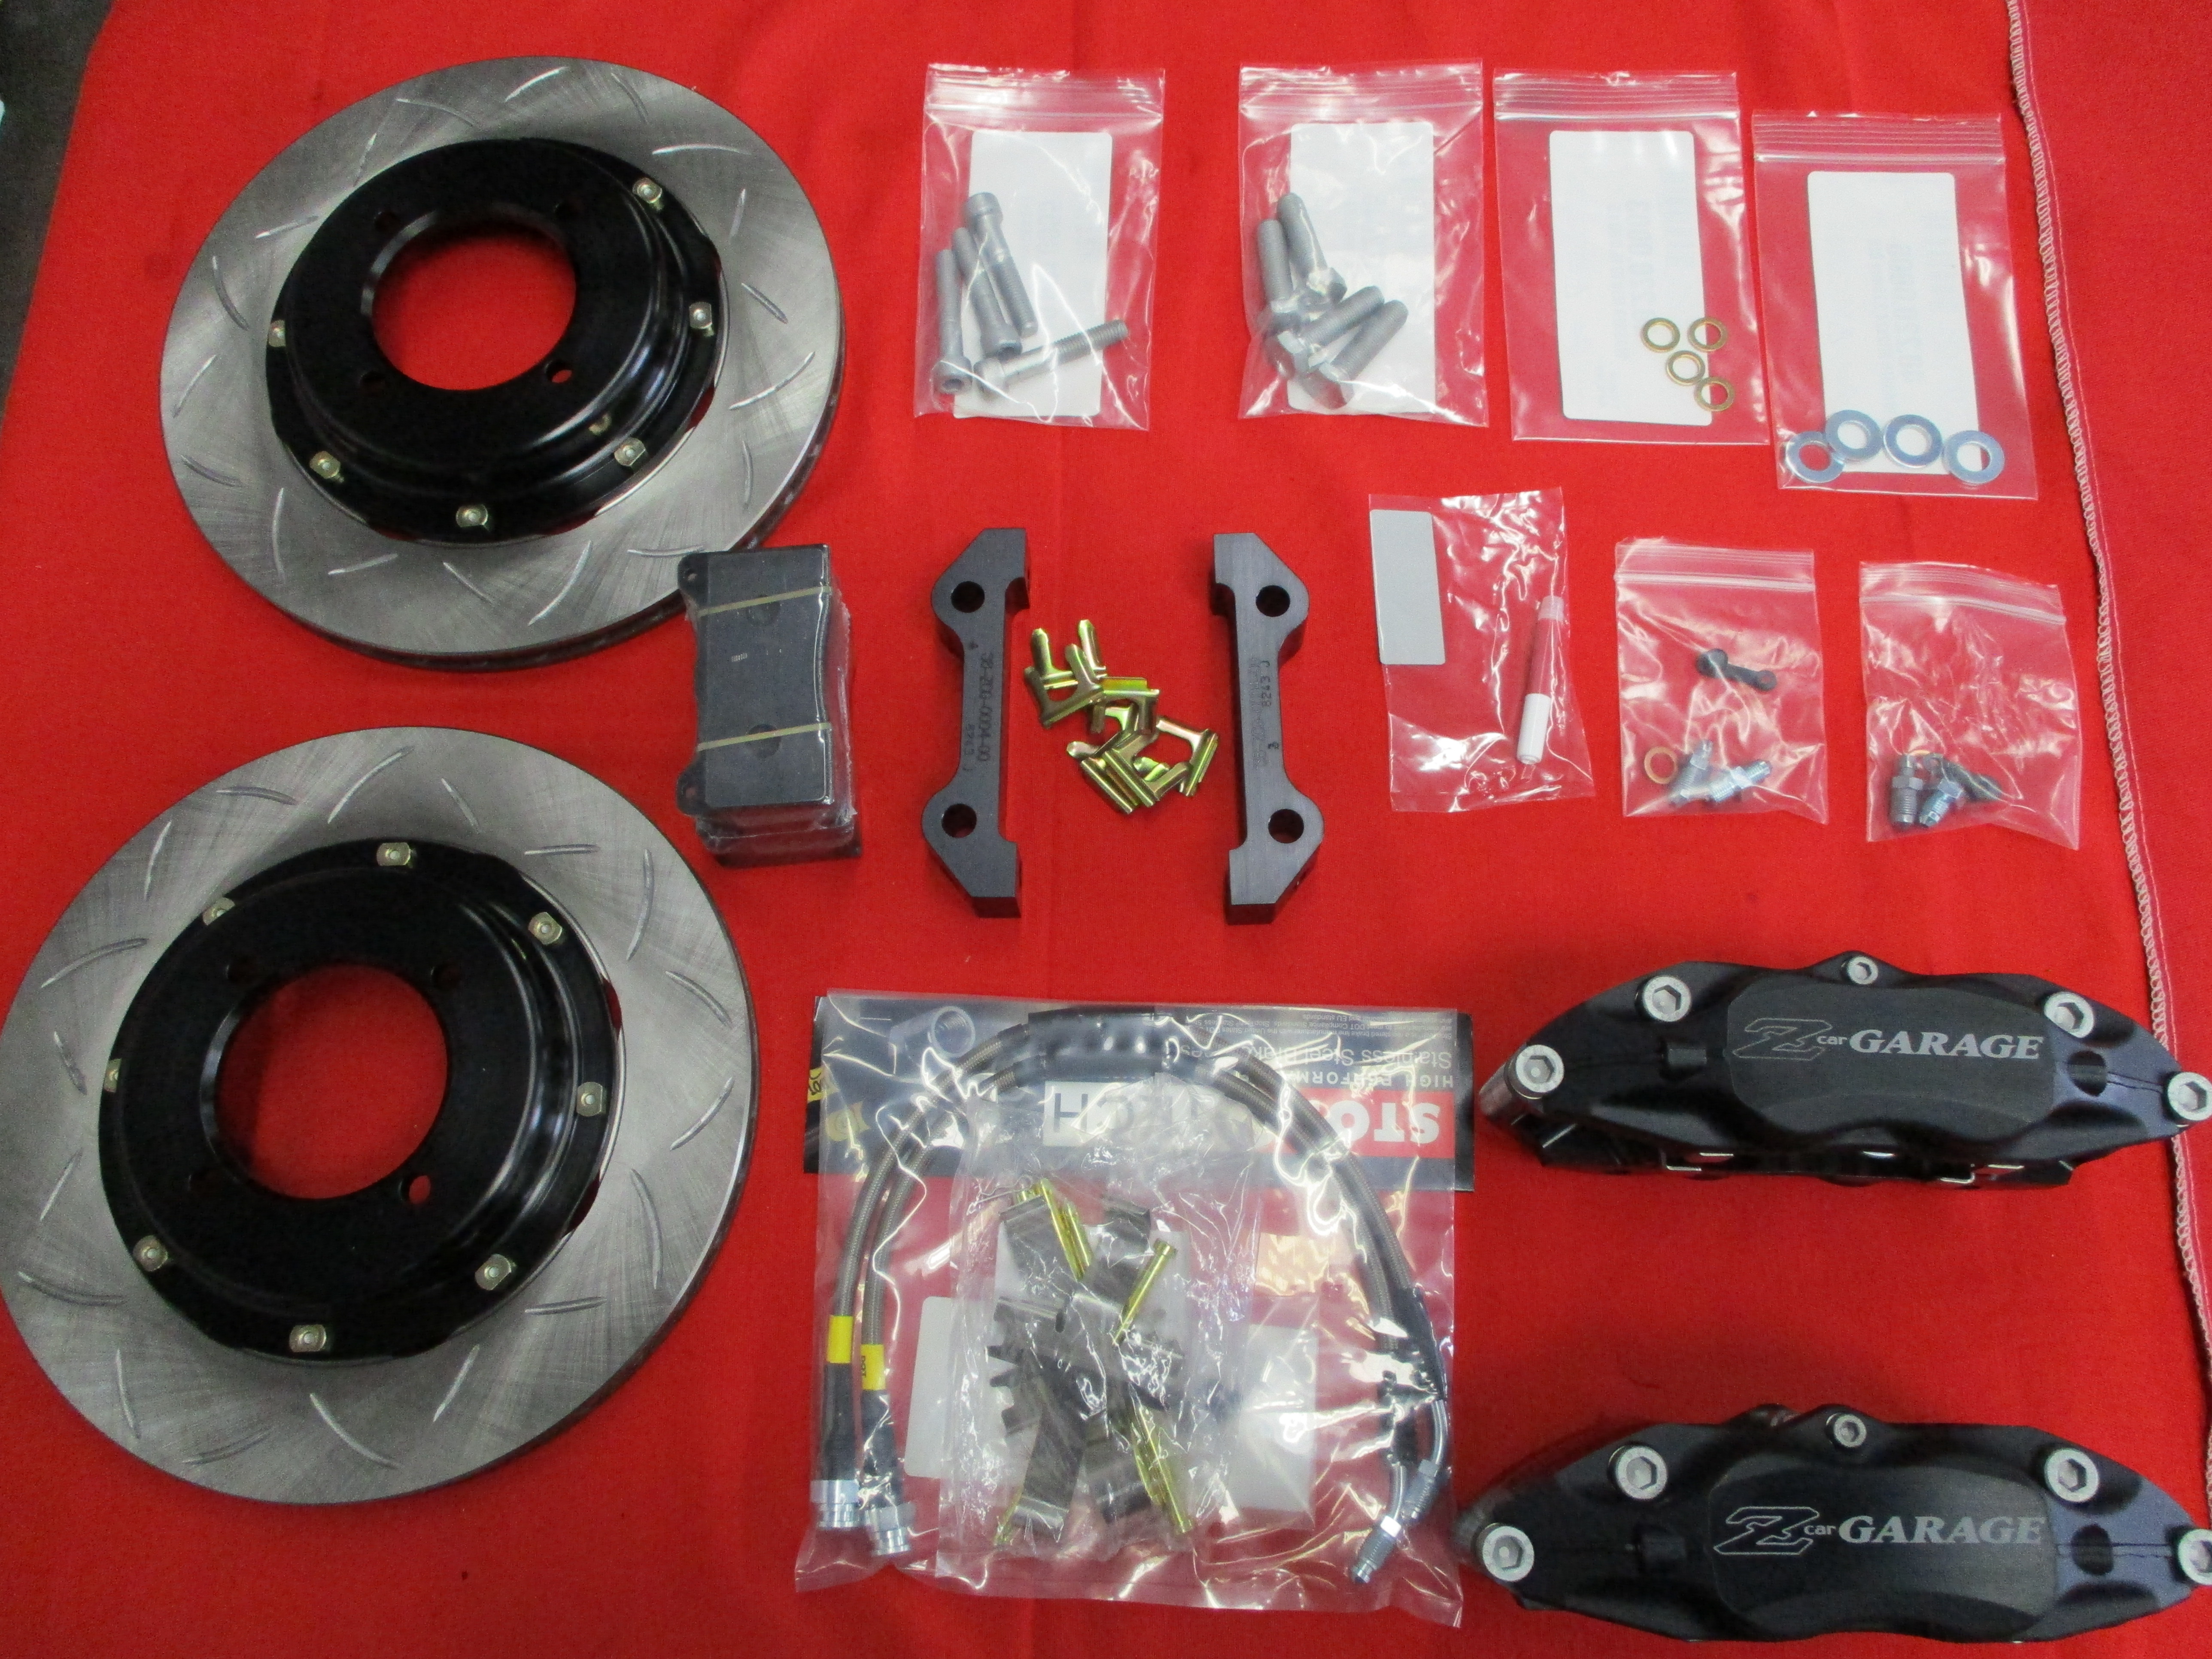
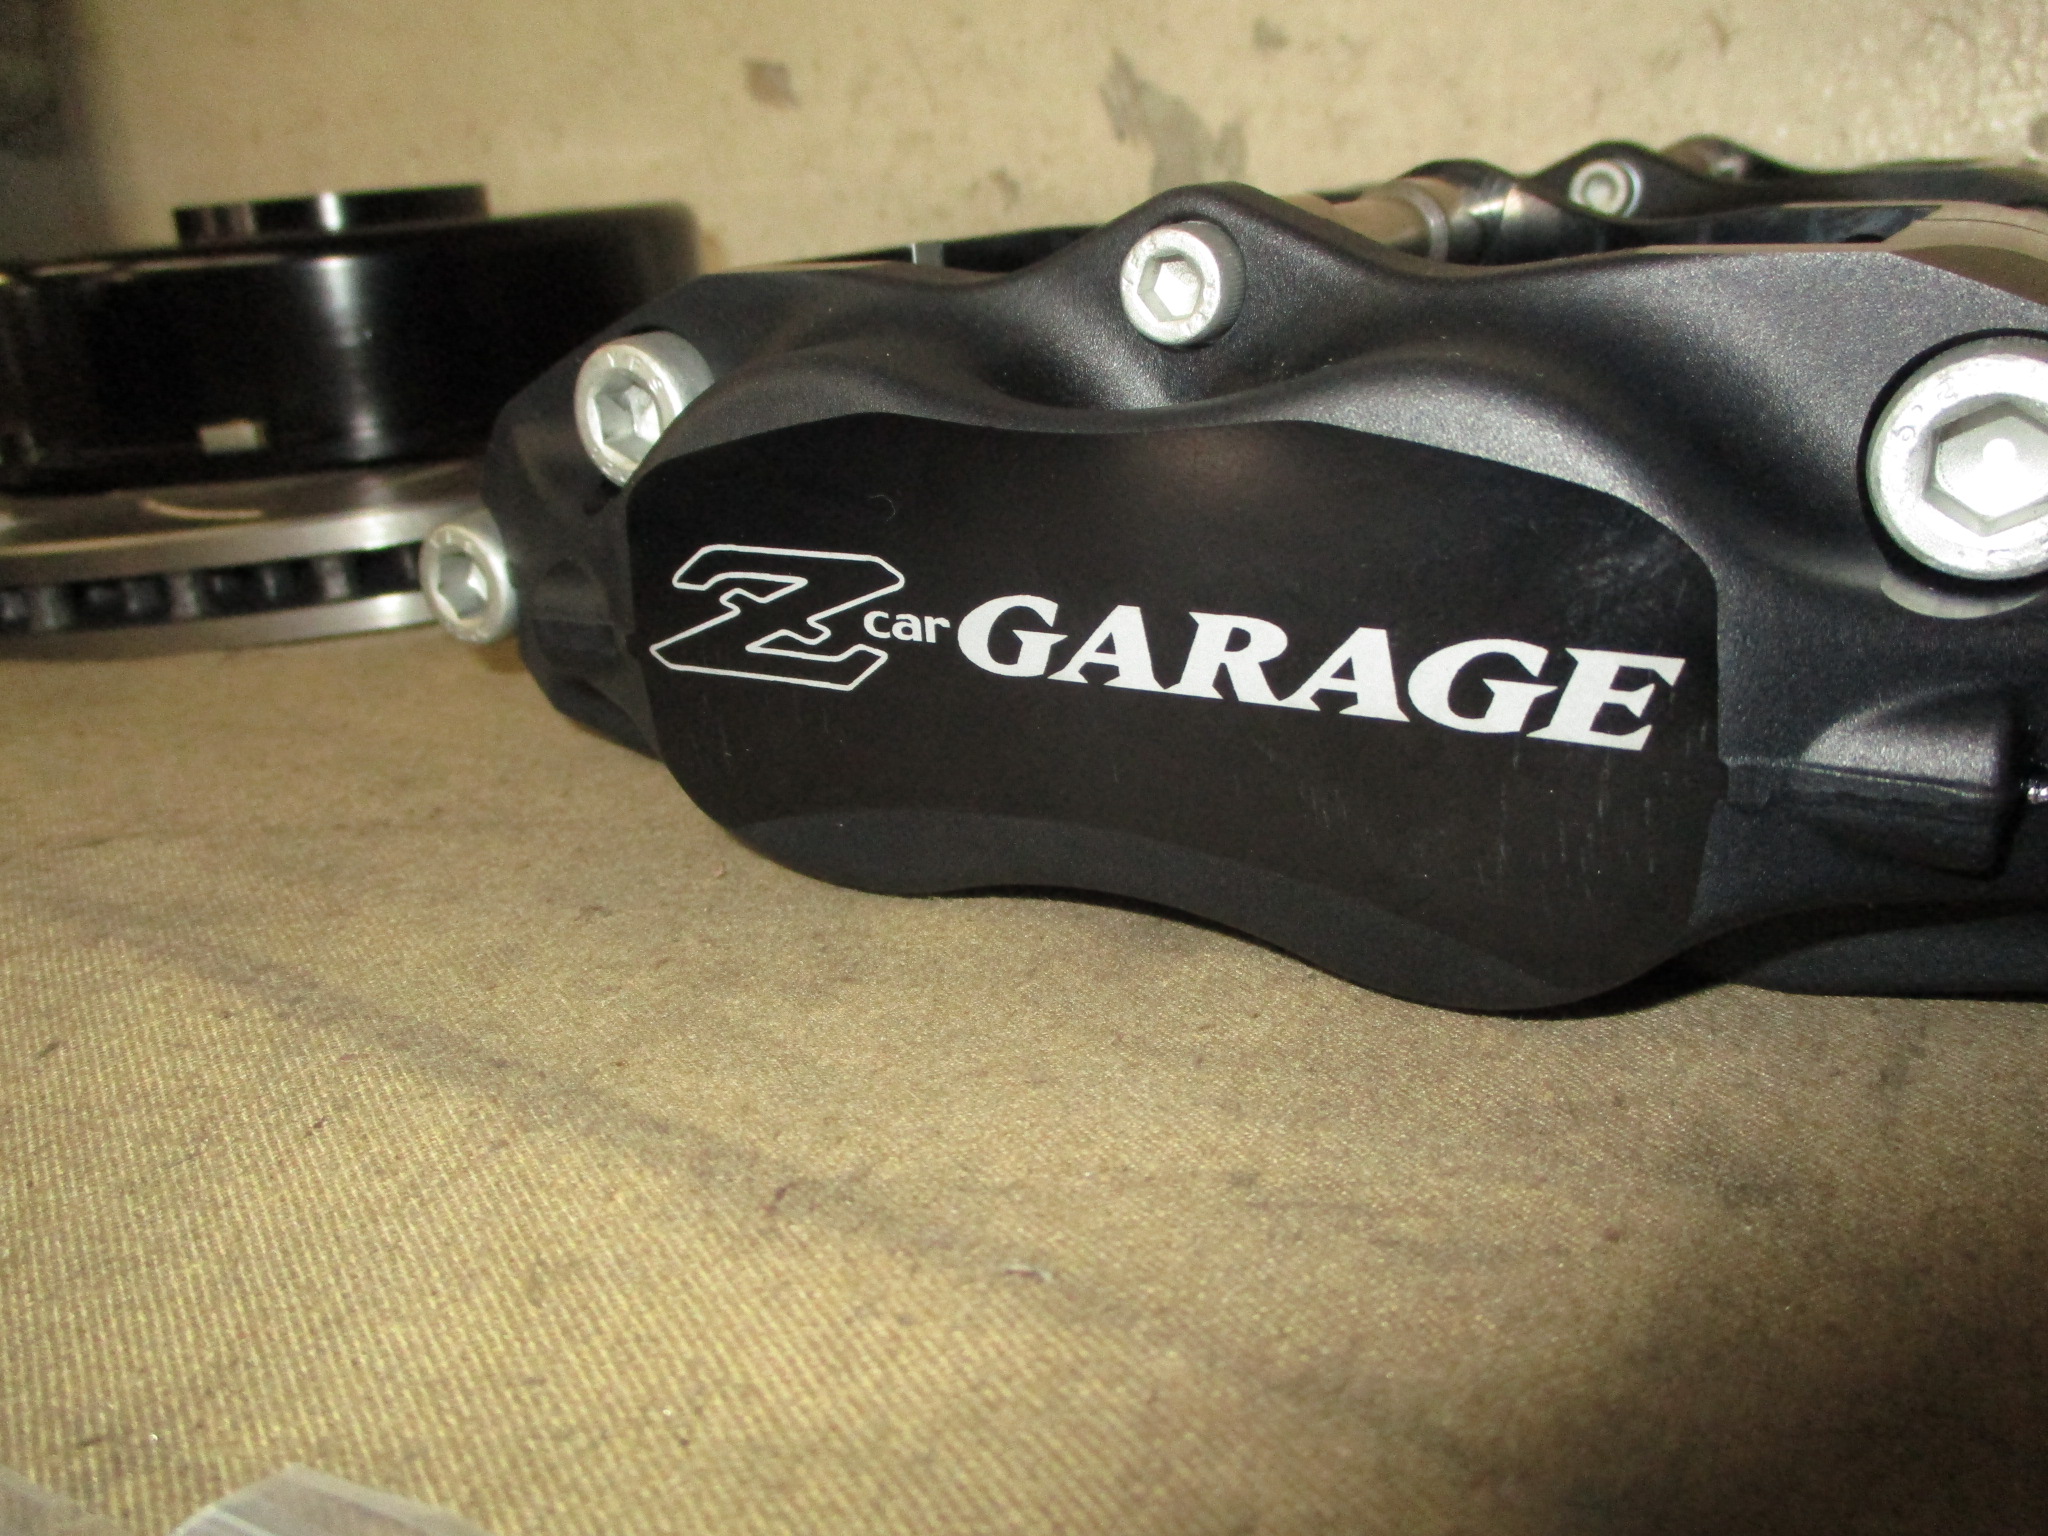
Calipers: Stoptech ST42 4-piston front & rear race calipers (Alum 6061 mil-spec Type III anodized)
Rotors: 280mm x 20.6 with Alum 7075 hats
Pads: Stoptech 309 sport street pads
Blog posts documenting all of our customers running the ZCG Big-Brakes can be found HERE.
A few closer detail shots of the calipers, rotors and hardware:
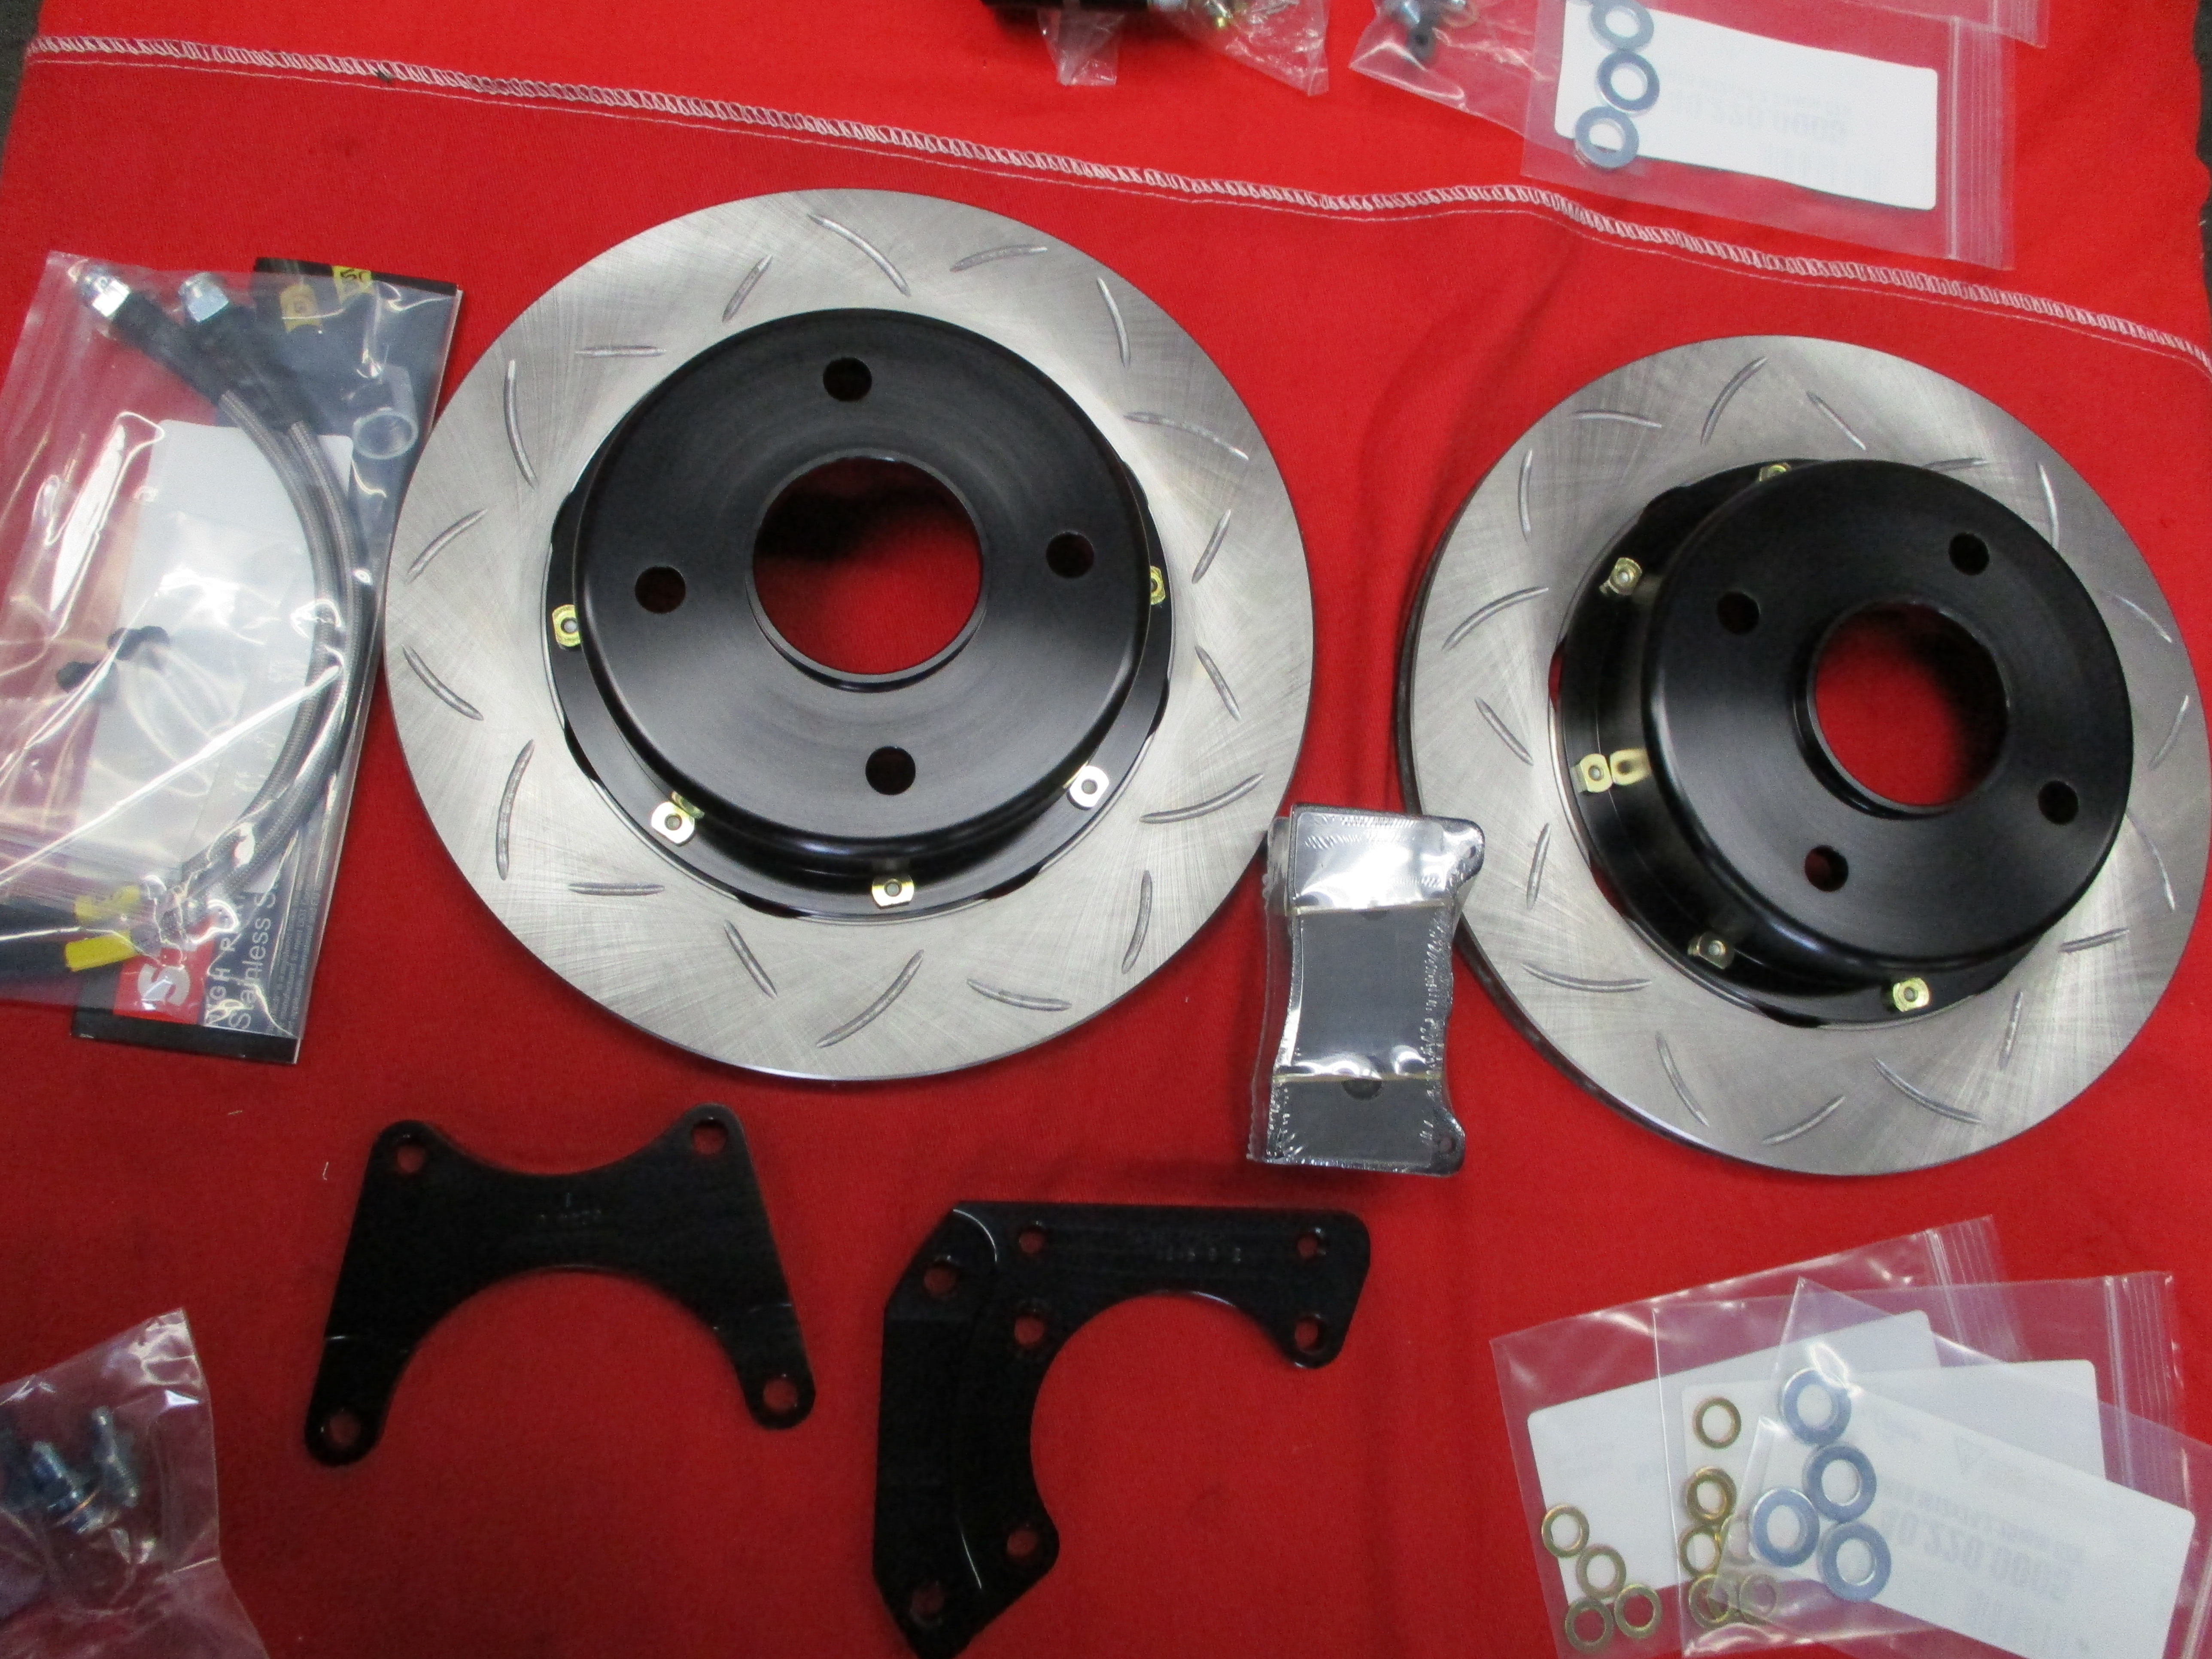
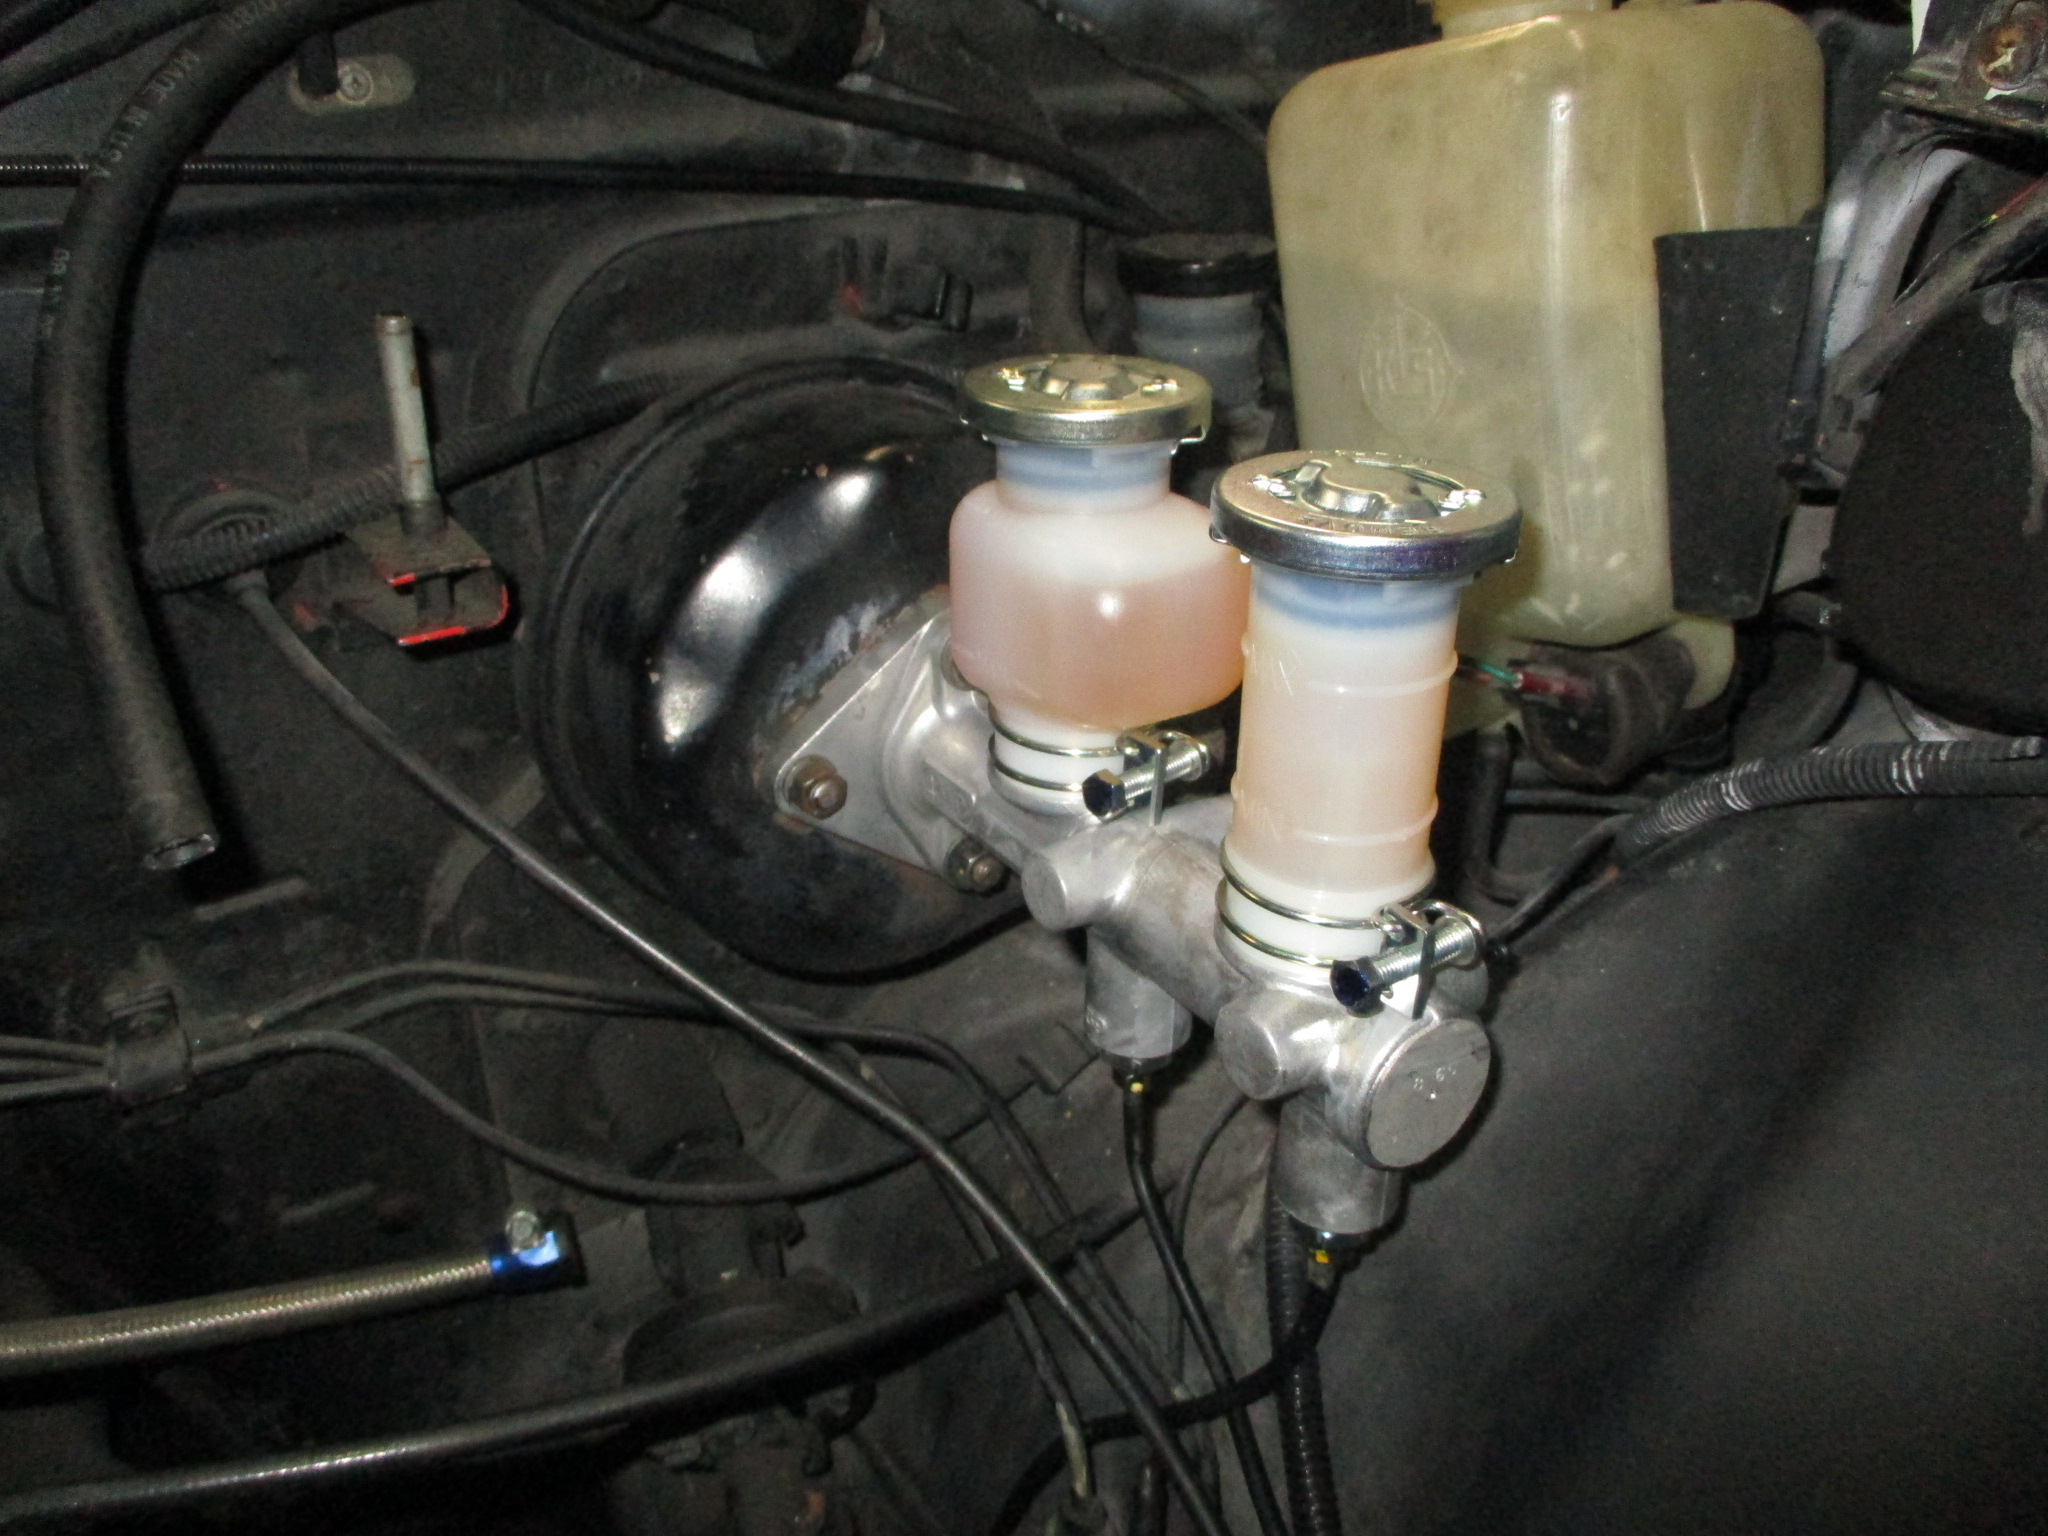
We went ahead got Mel dialed in with the ZCG big-brake kit for small wheels with parking brake and a new master cylinder. More pics in the gallery!

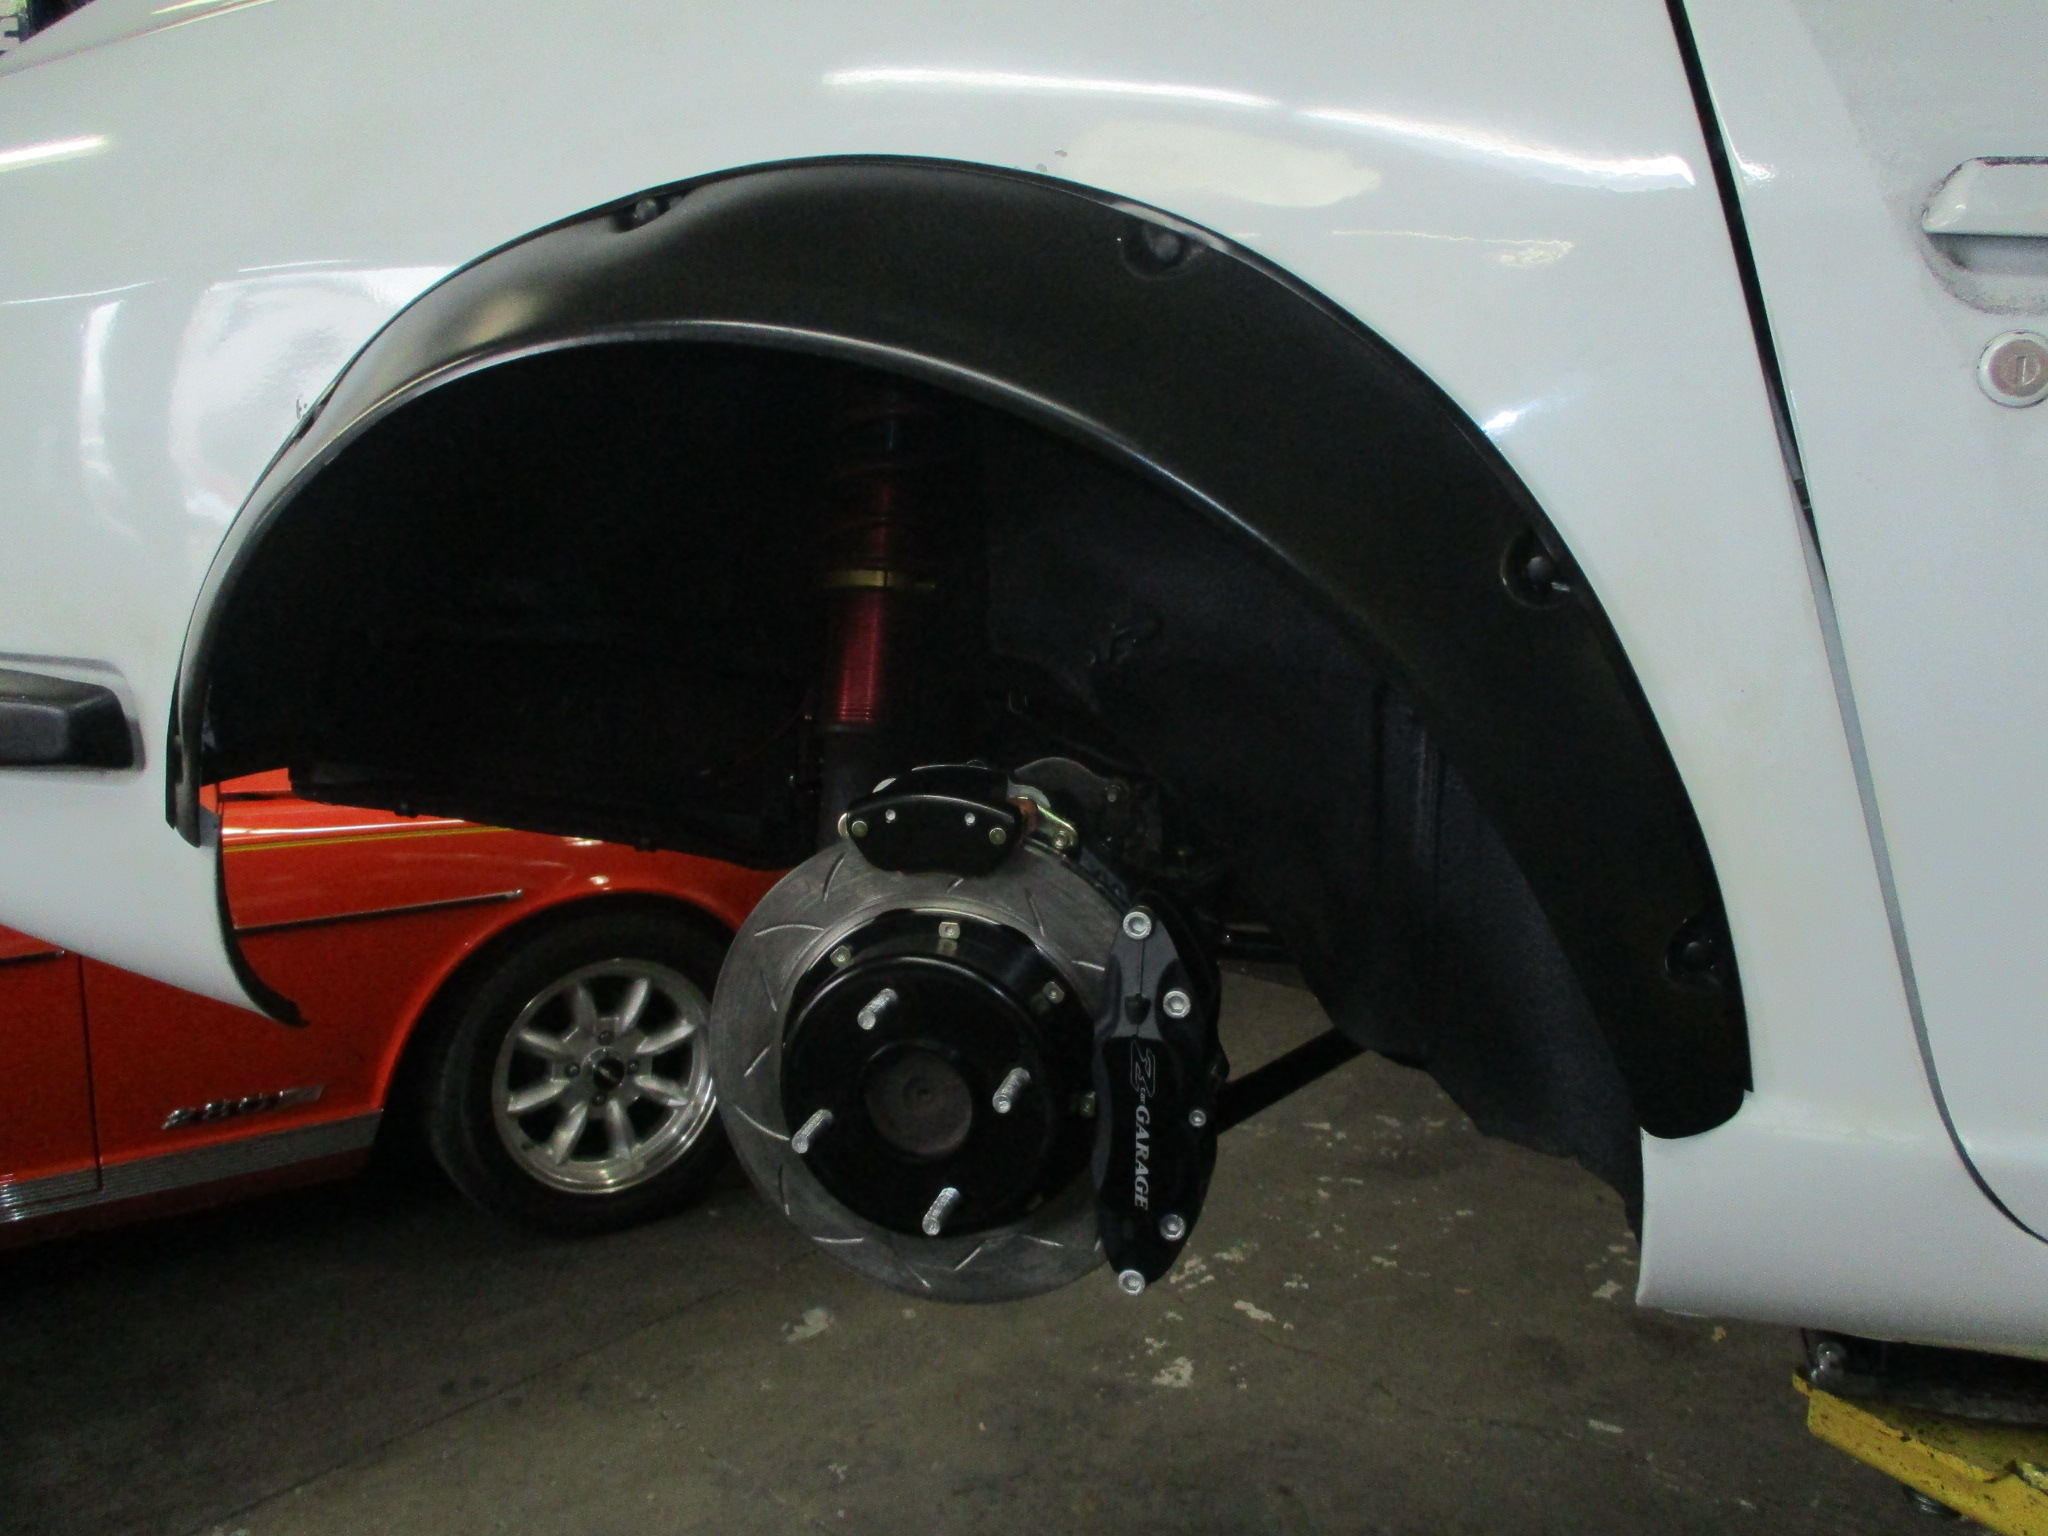
Front brake installation:
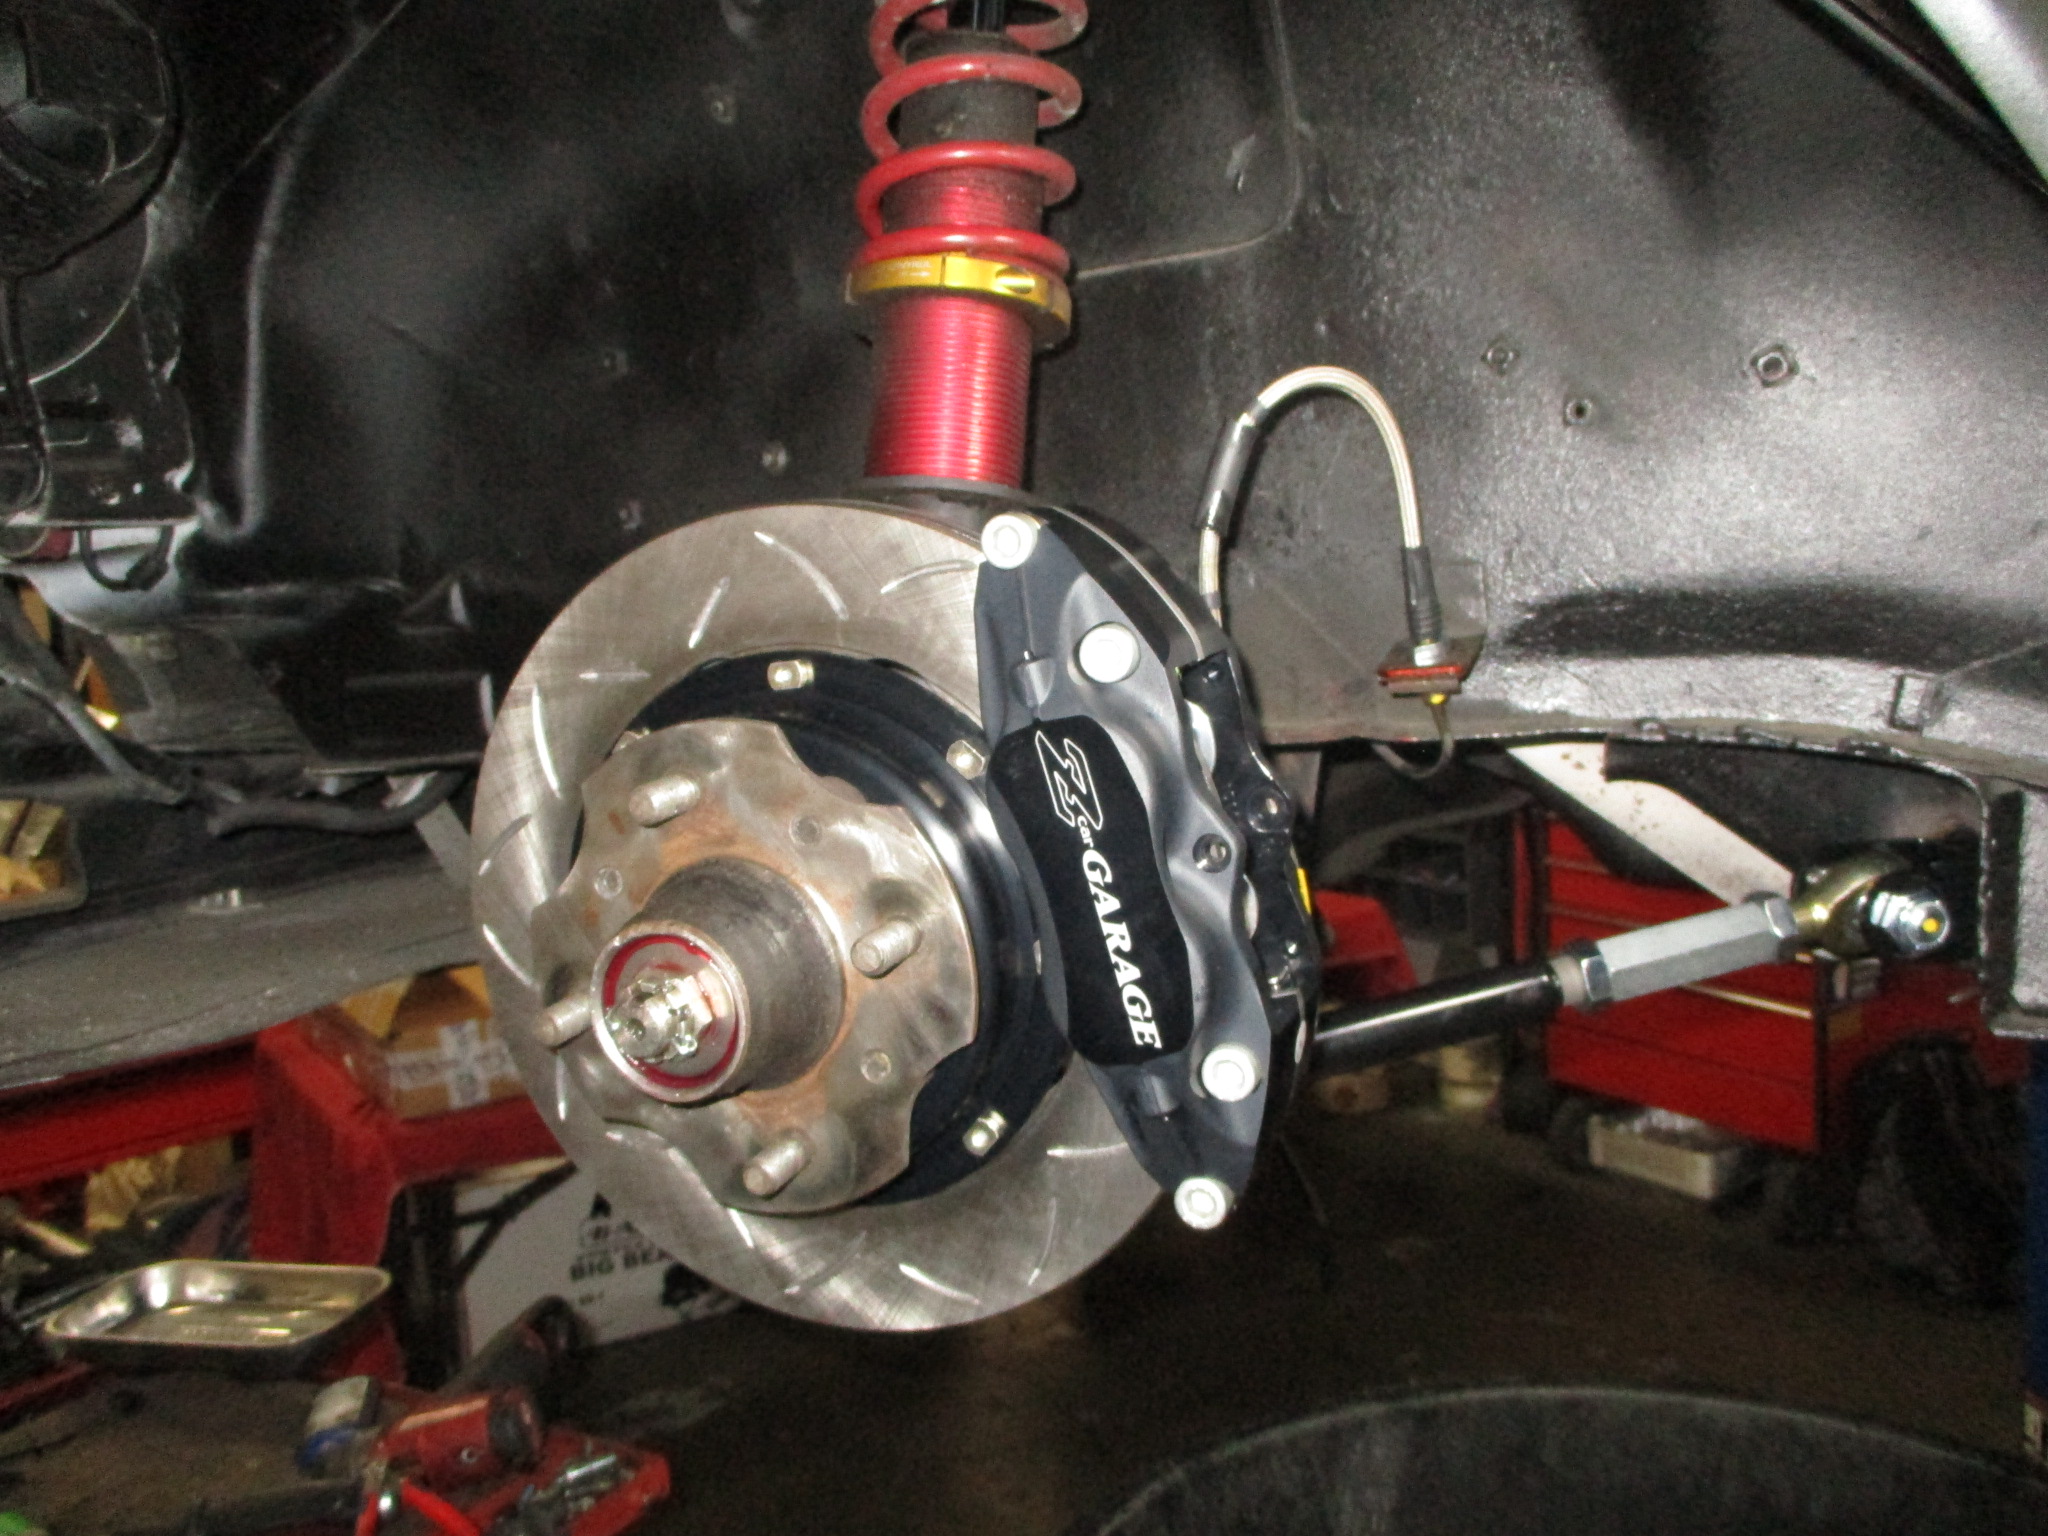
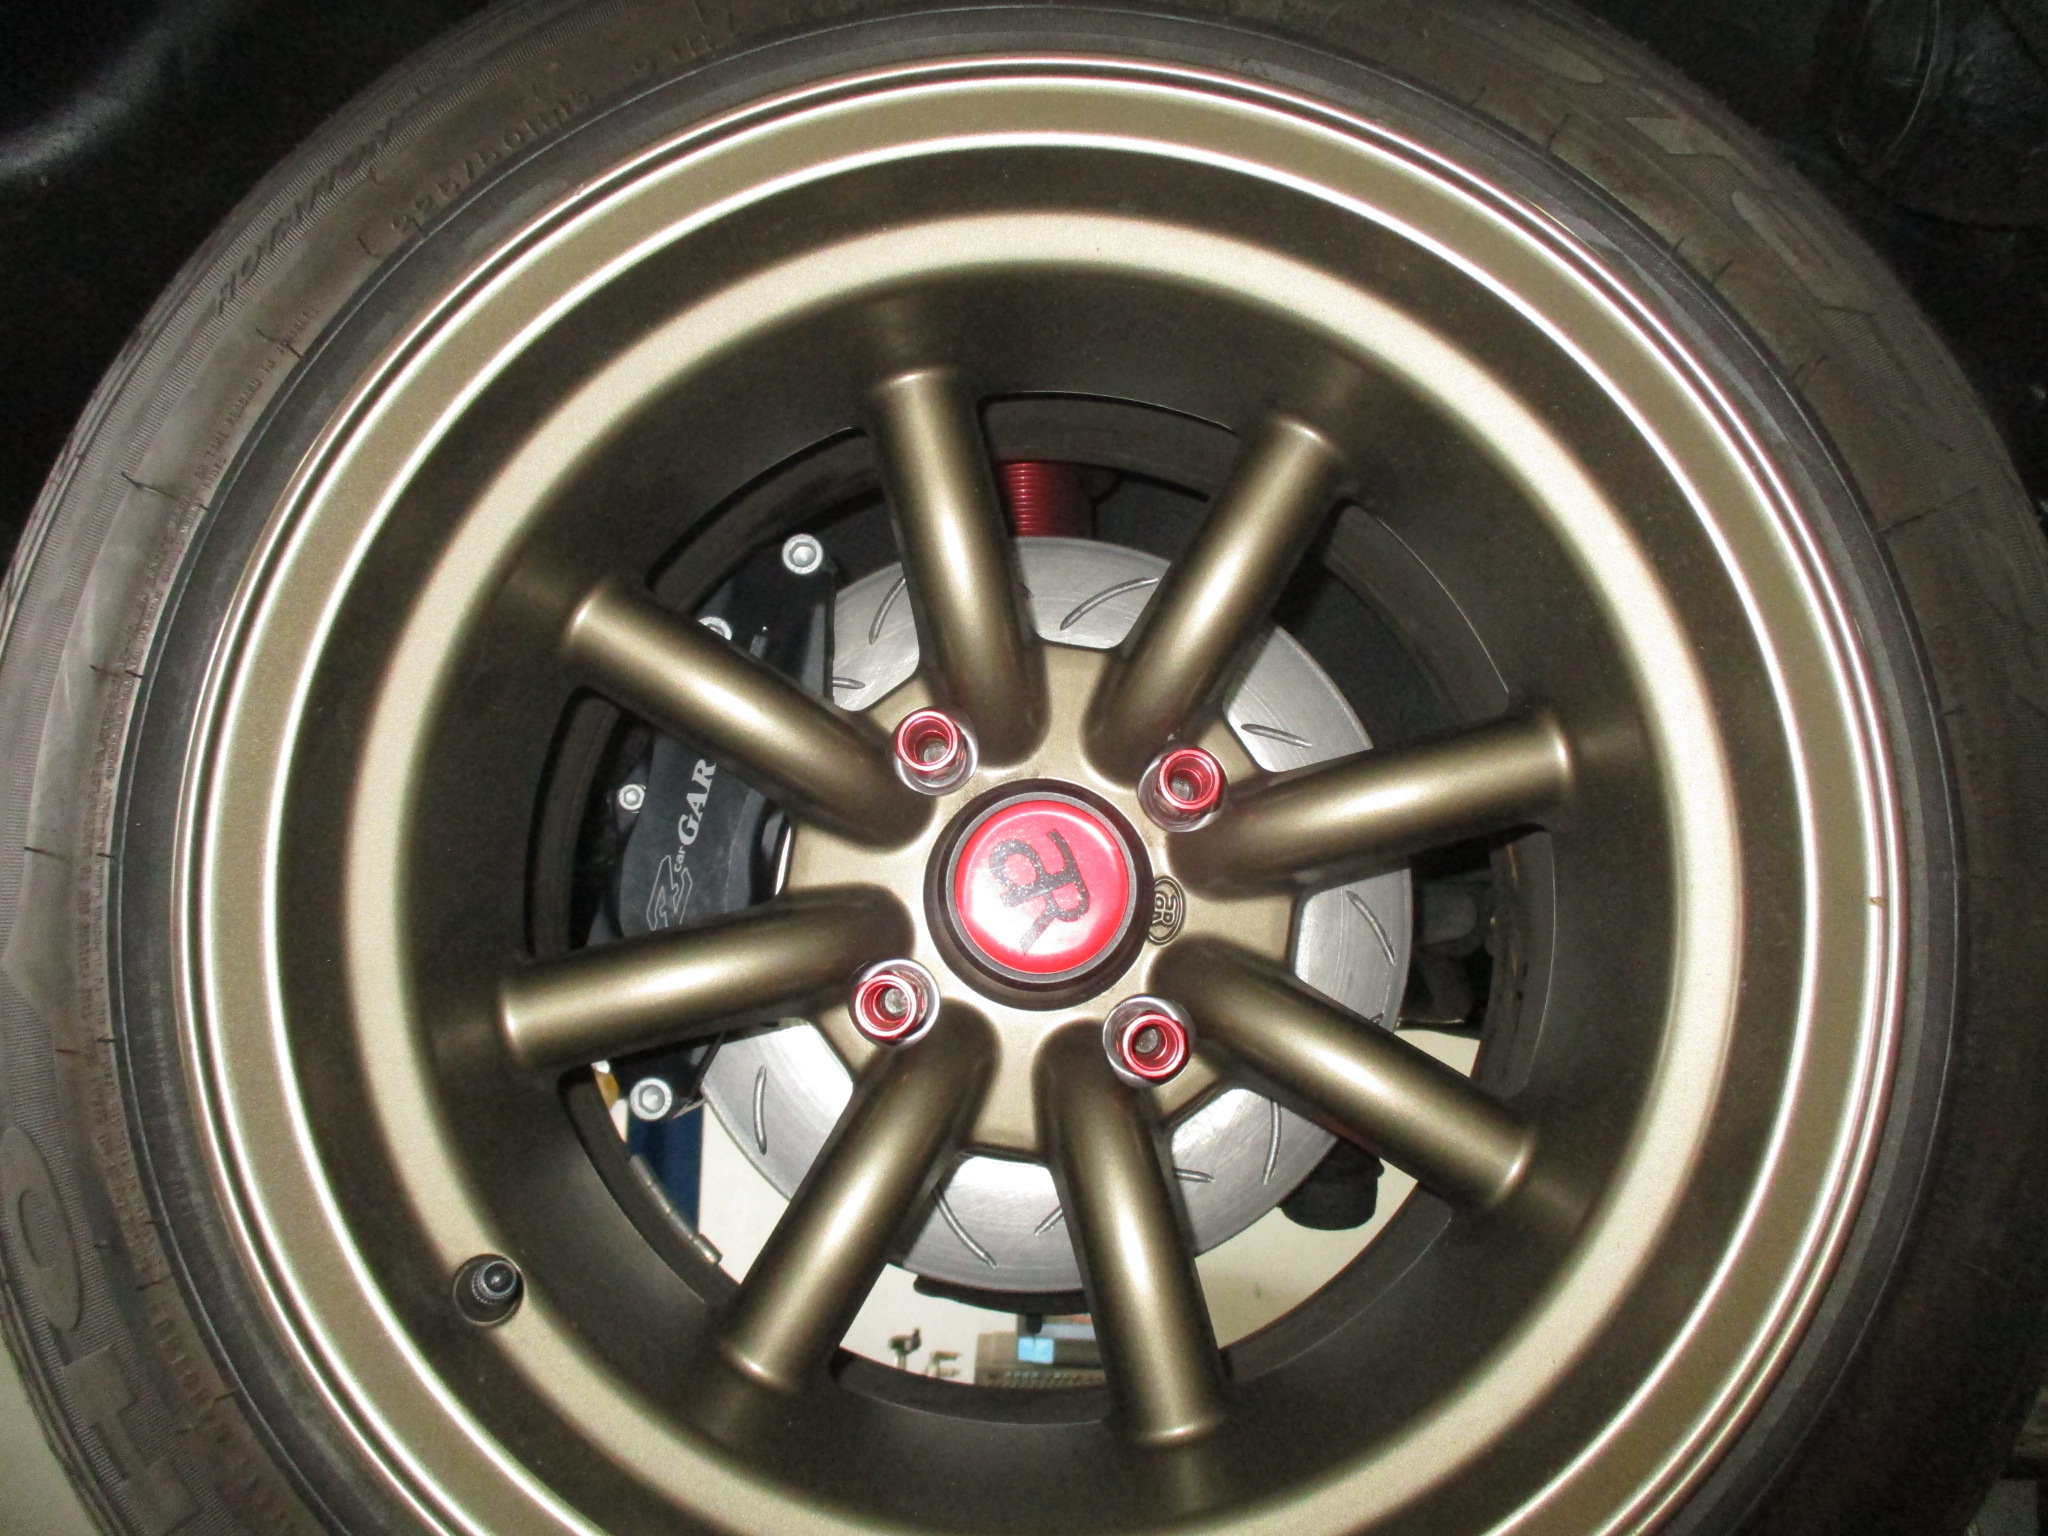
The ZCG brakes fit under the 15×9 Atara Racing wheels:
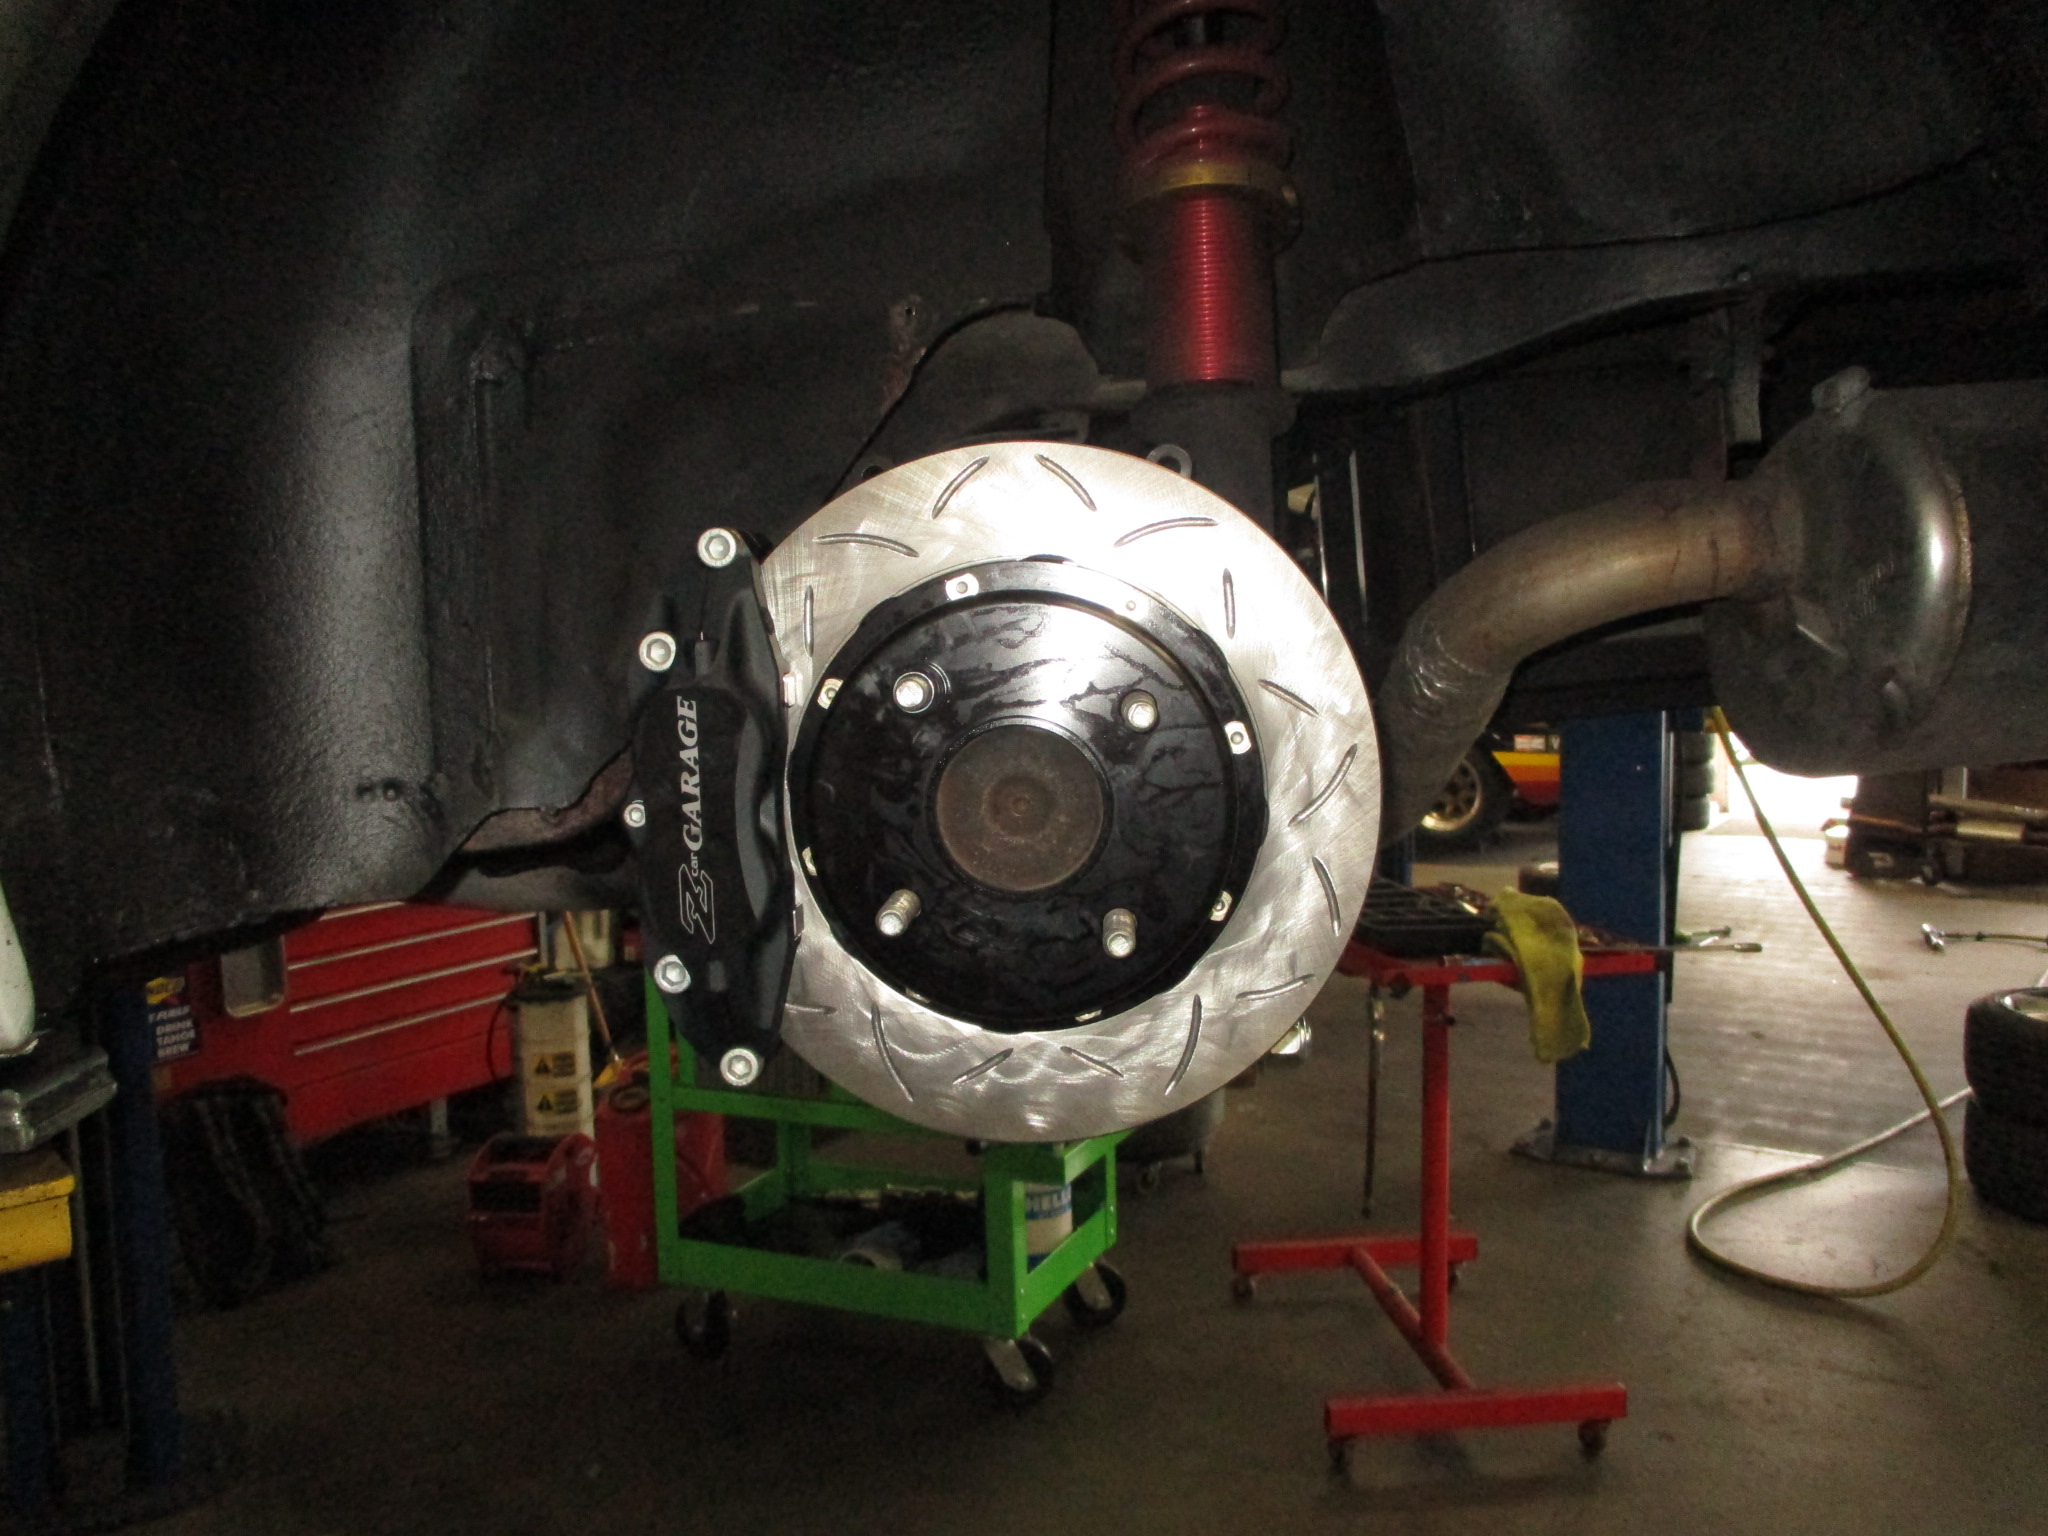
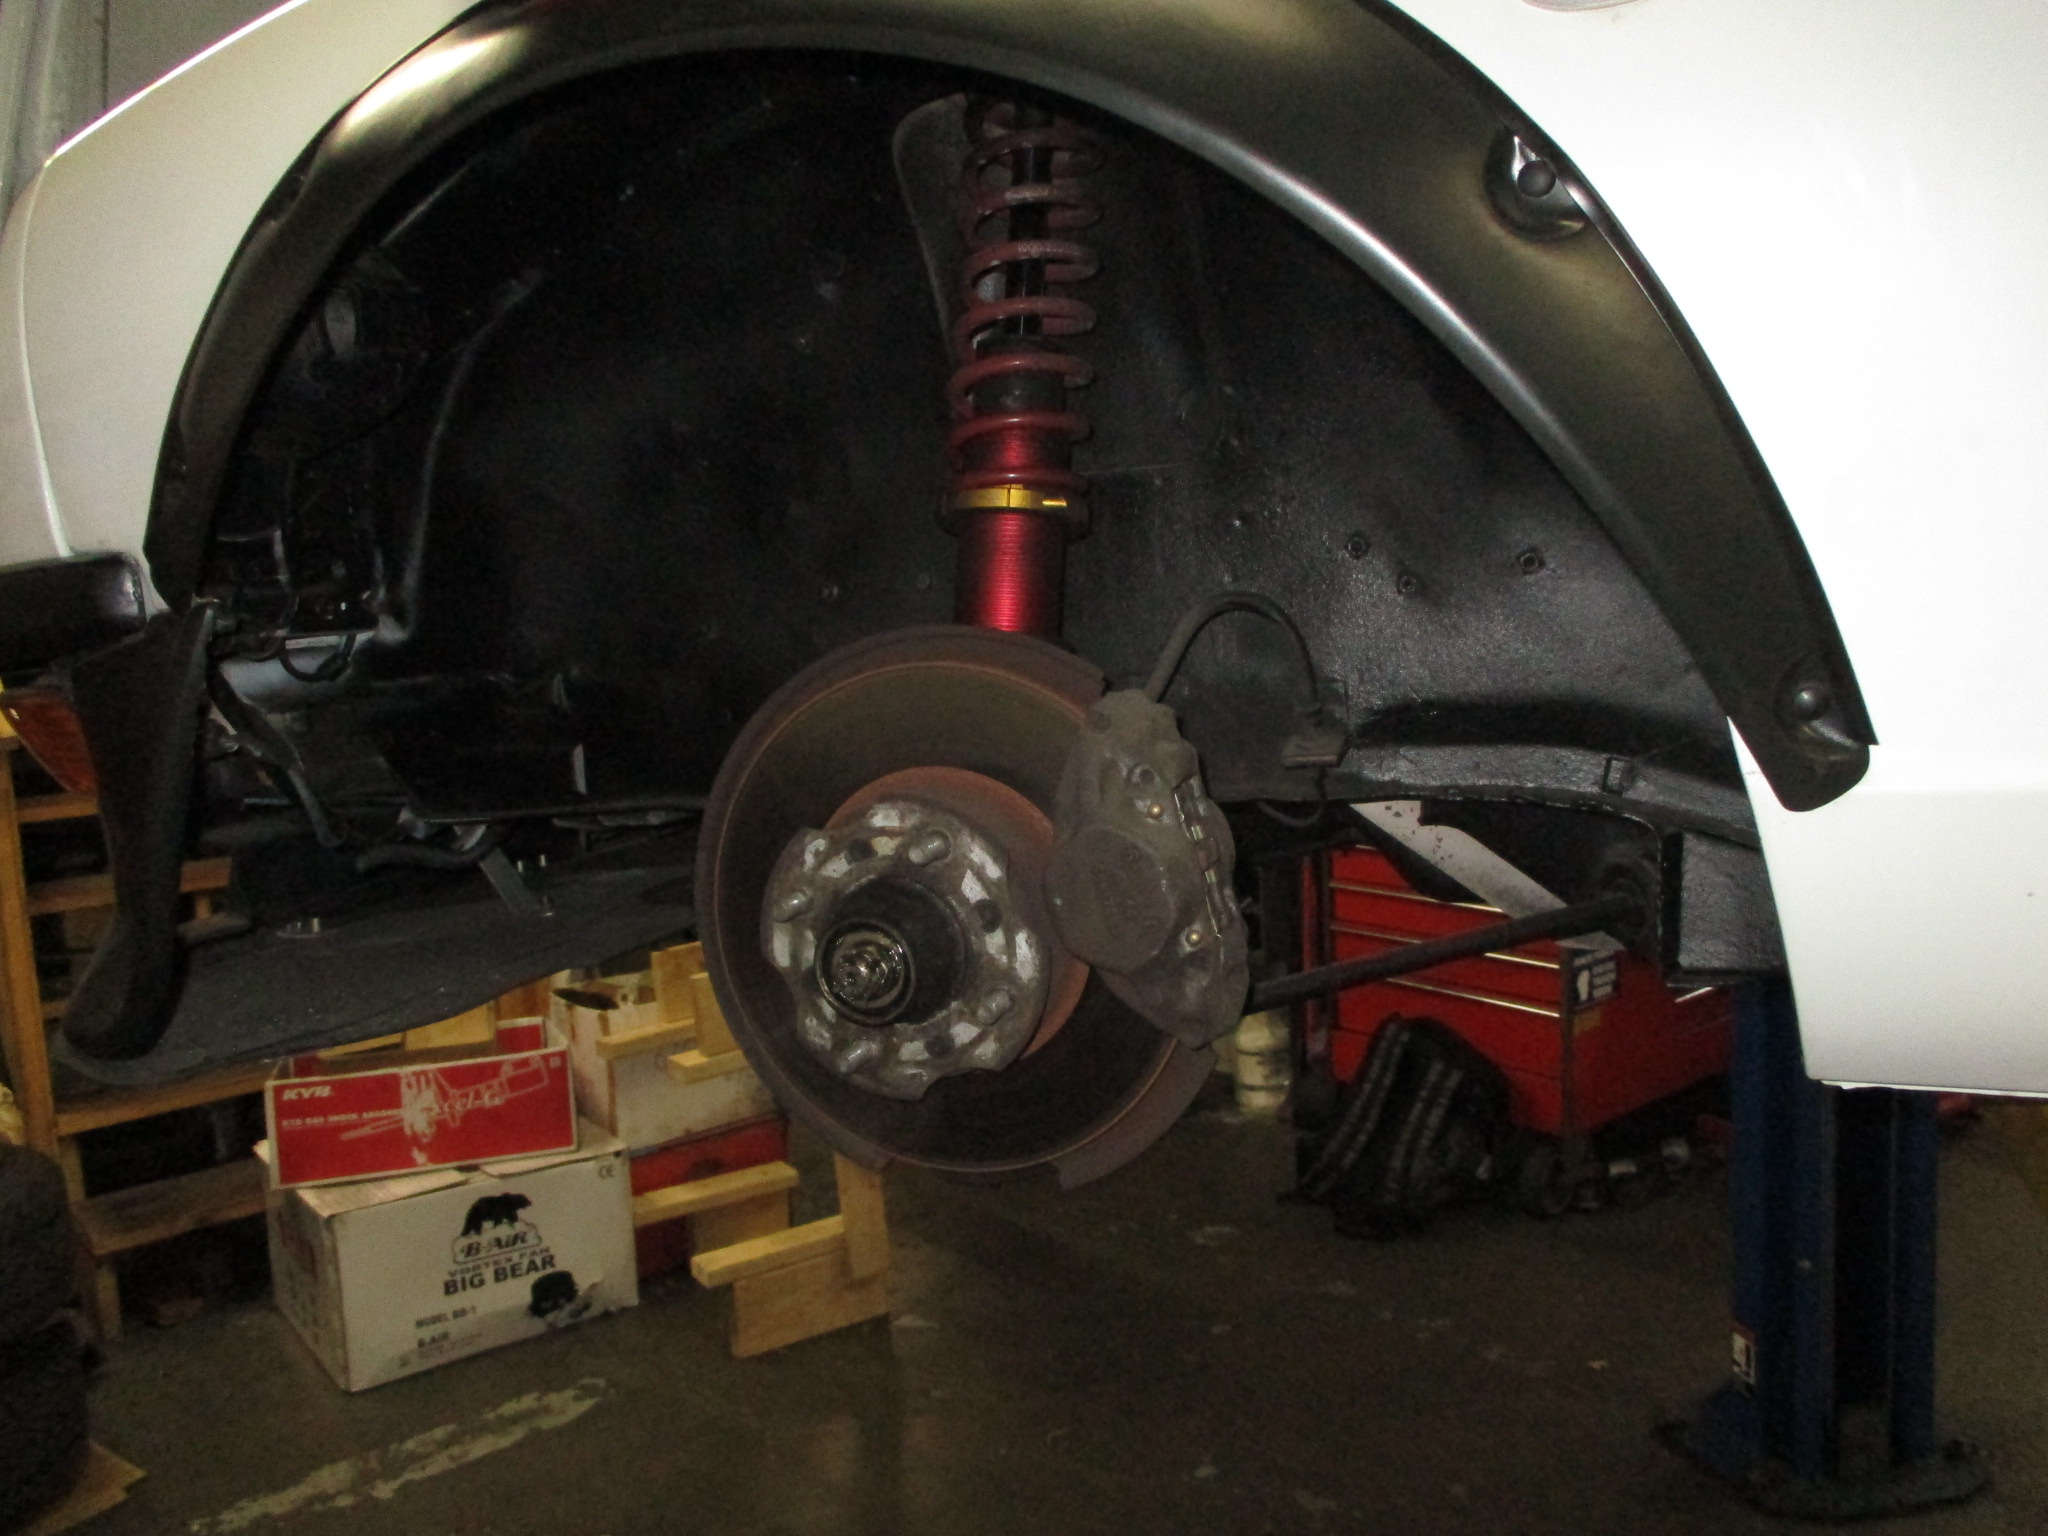
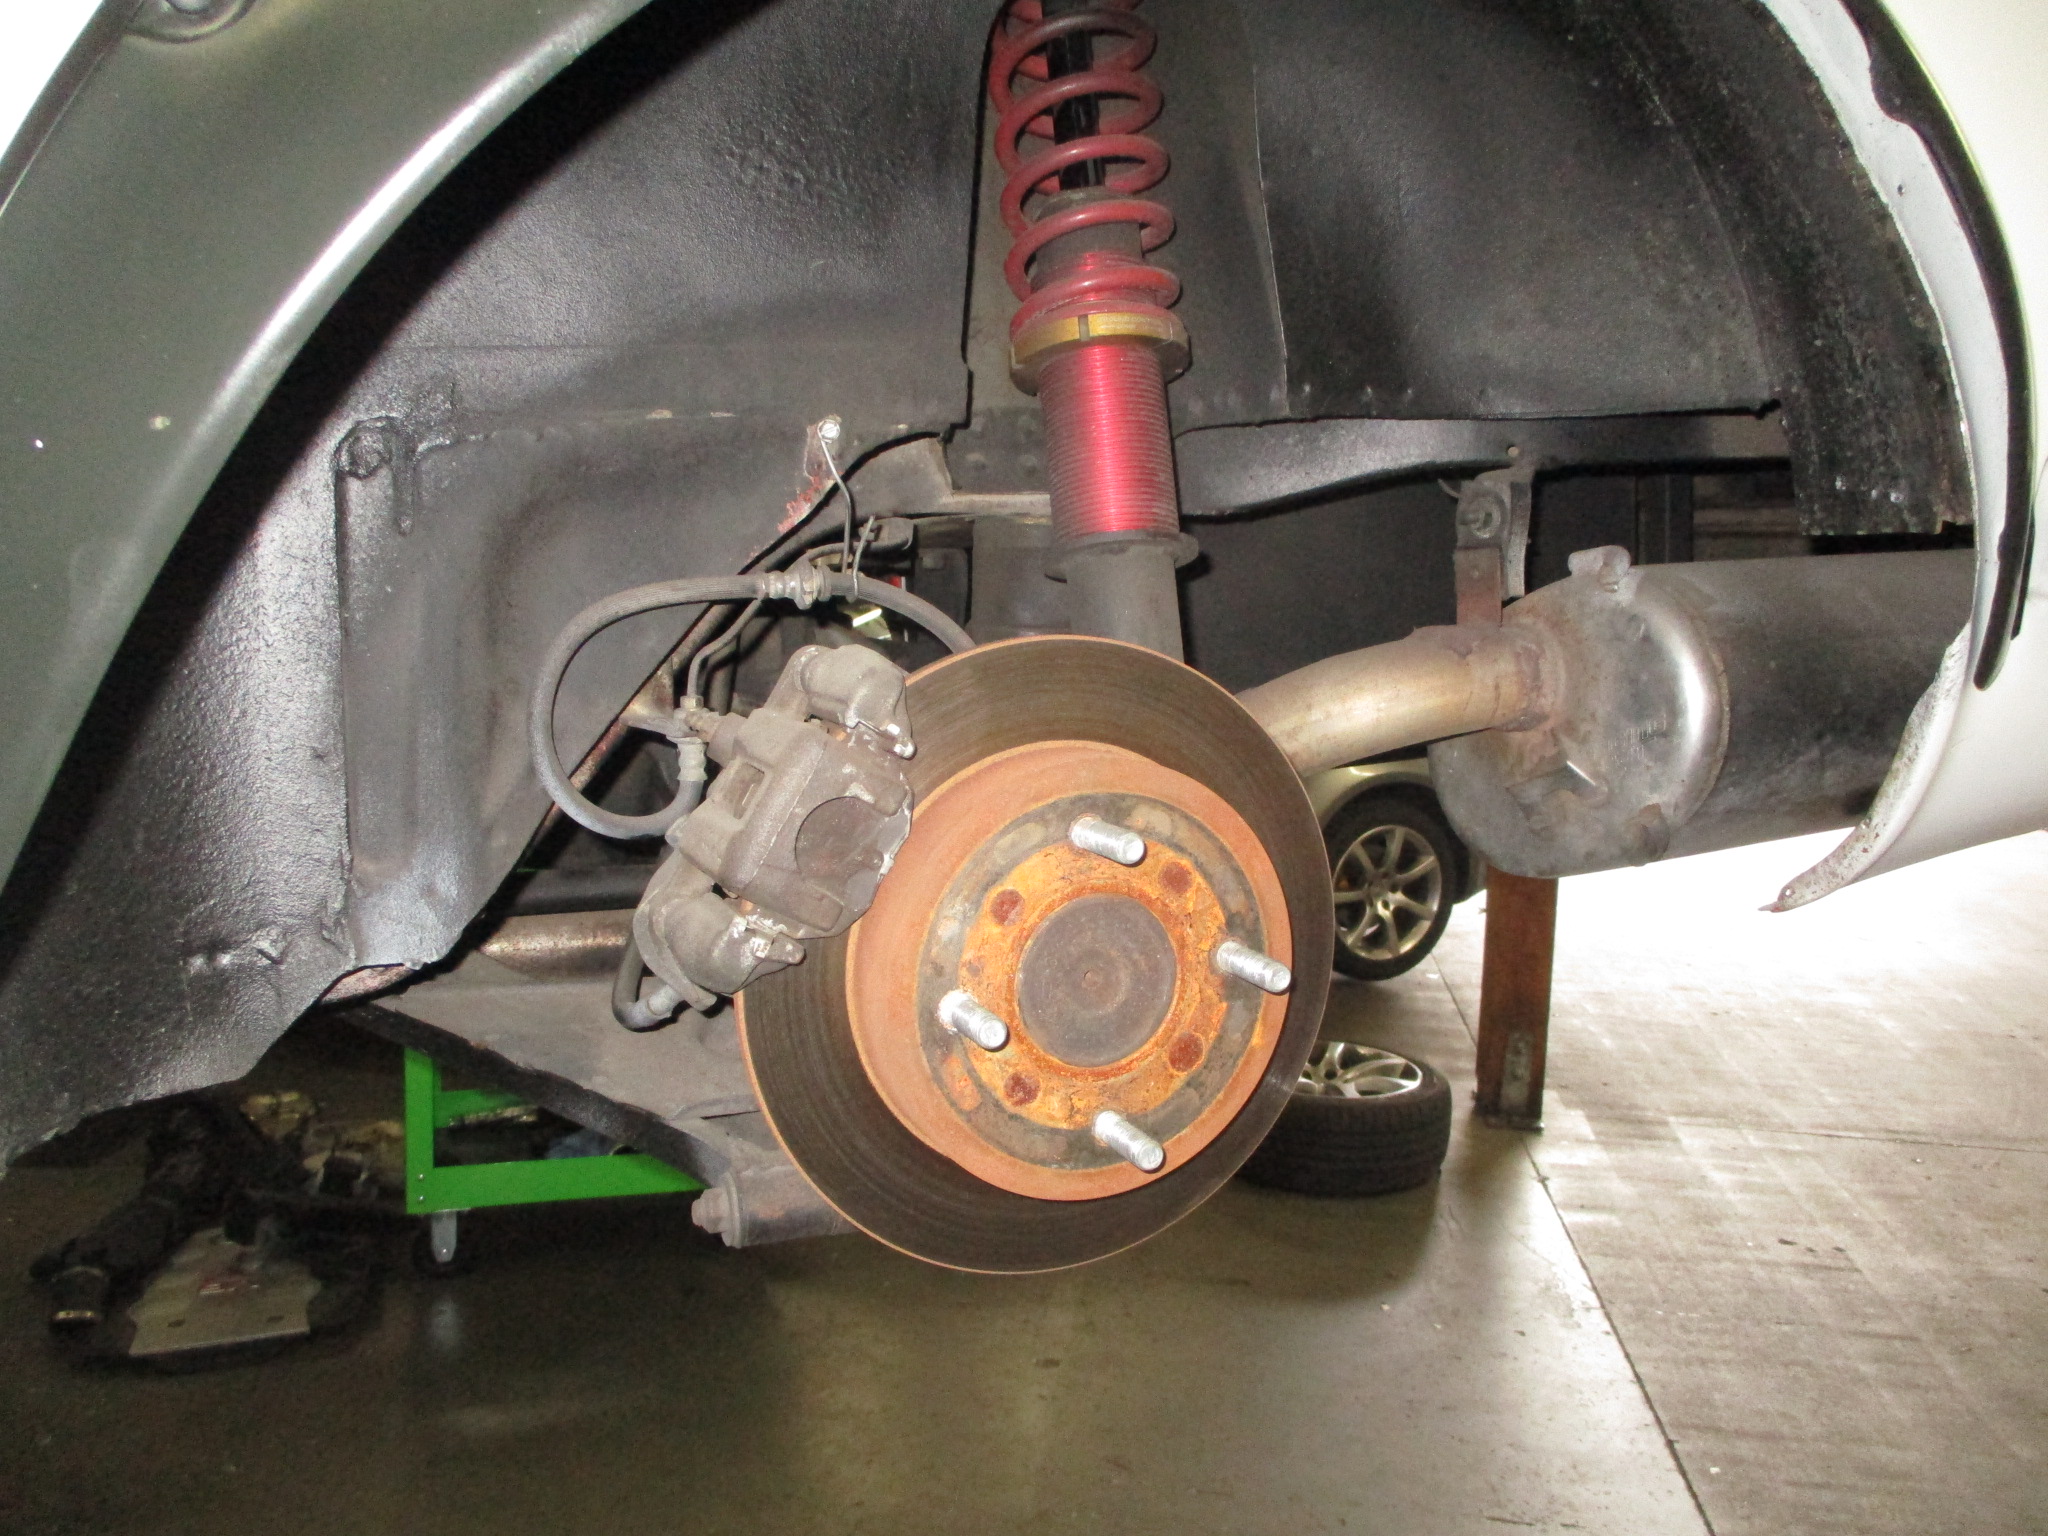
At the rear, the existing old-school disc setup was replaced with our ZCG Big-Brakes. Factory handbrake functionality IS retained!
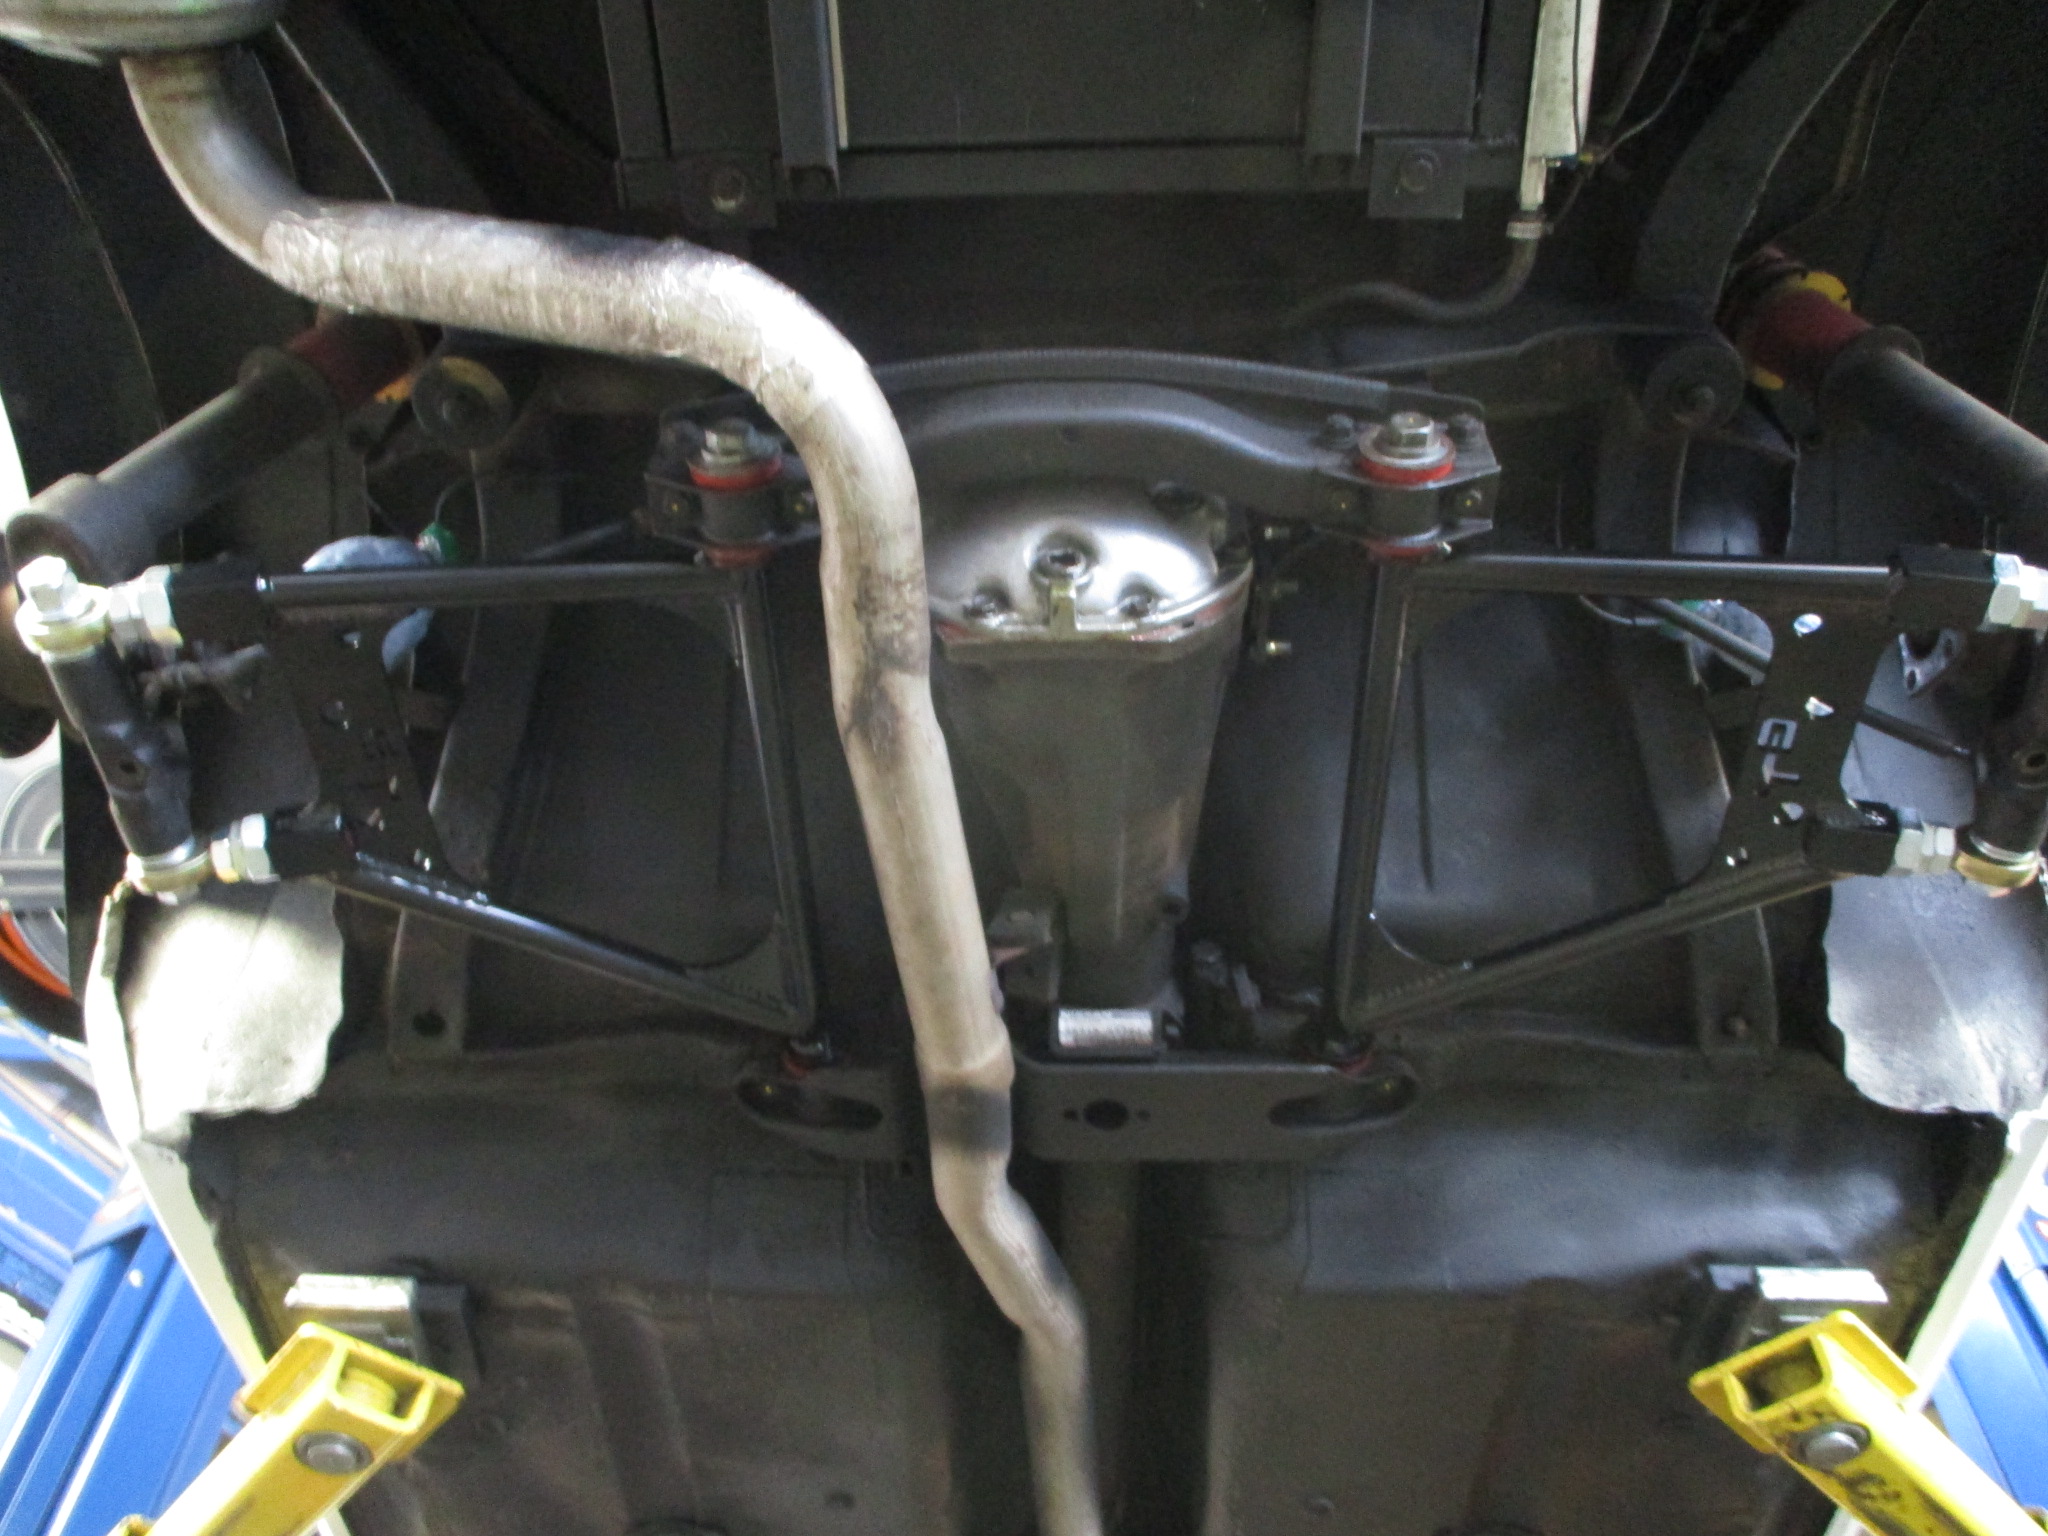
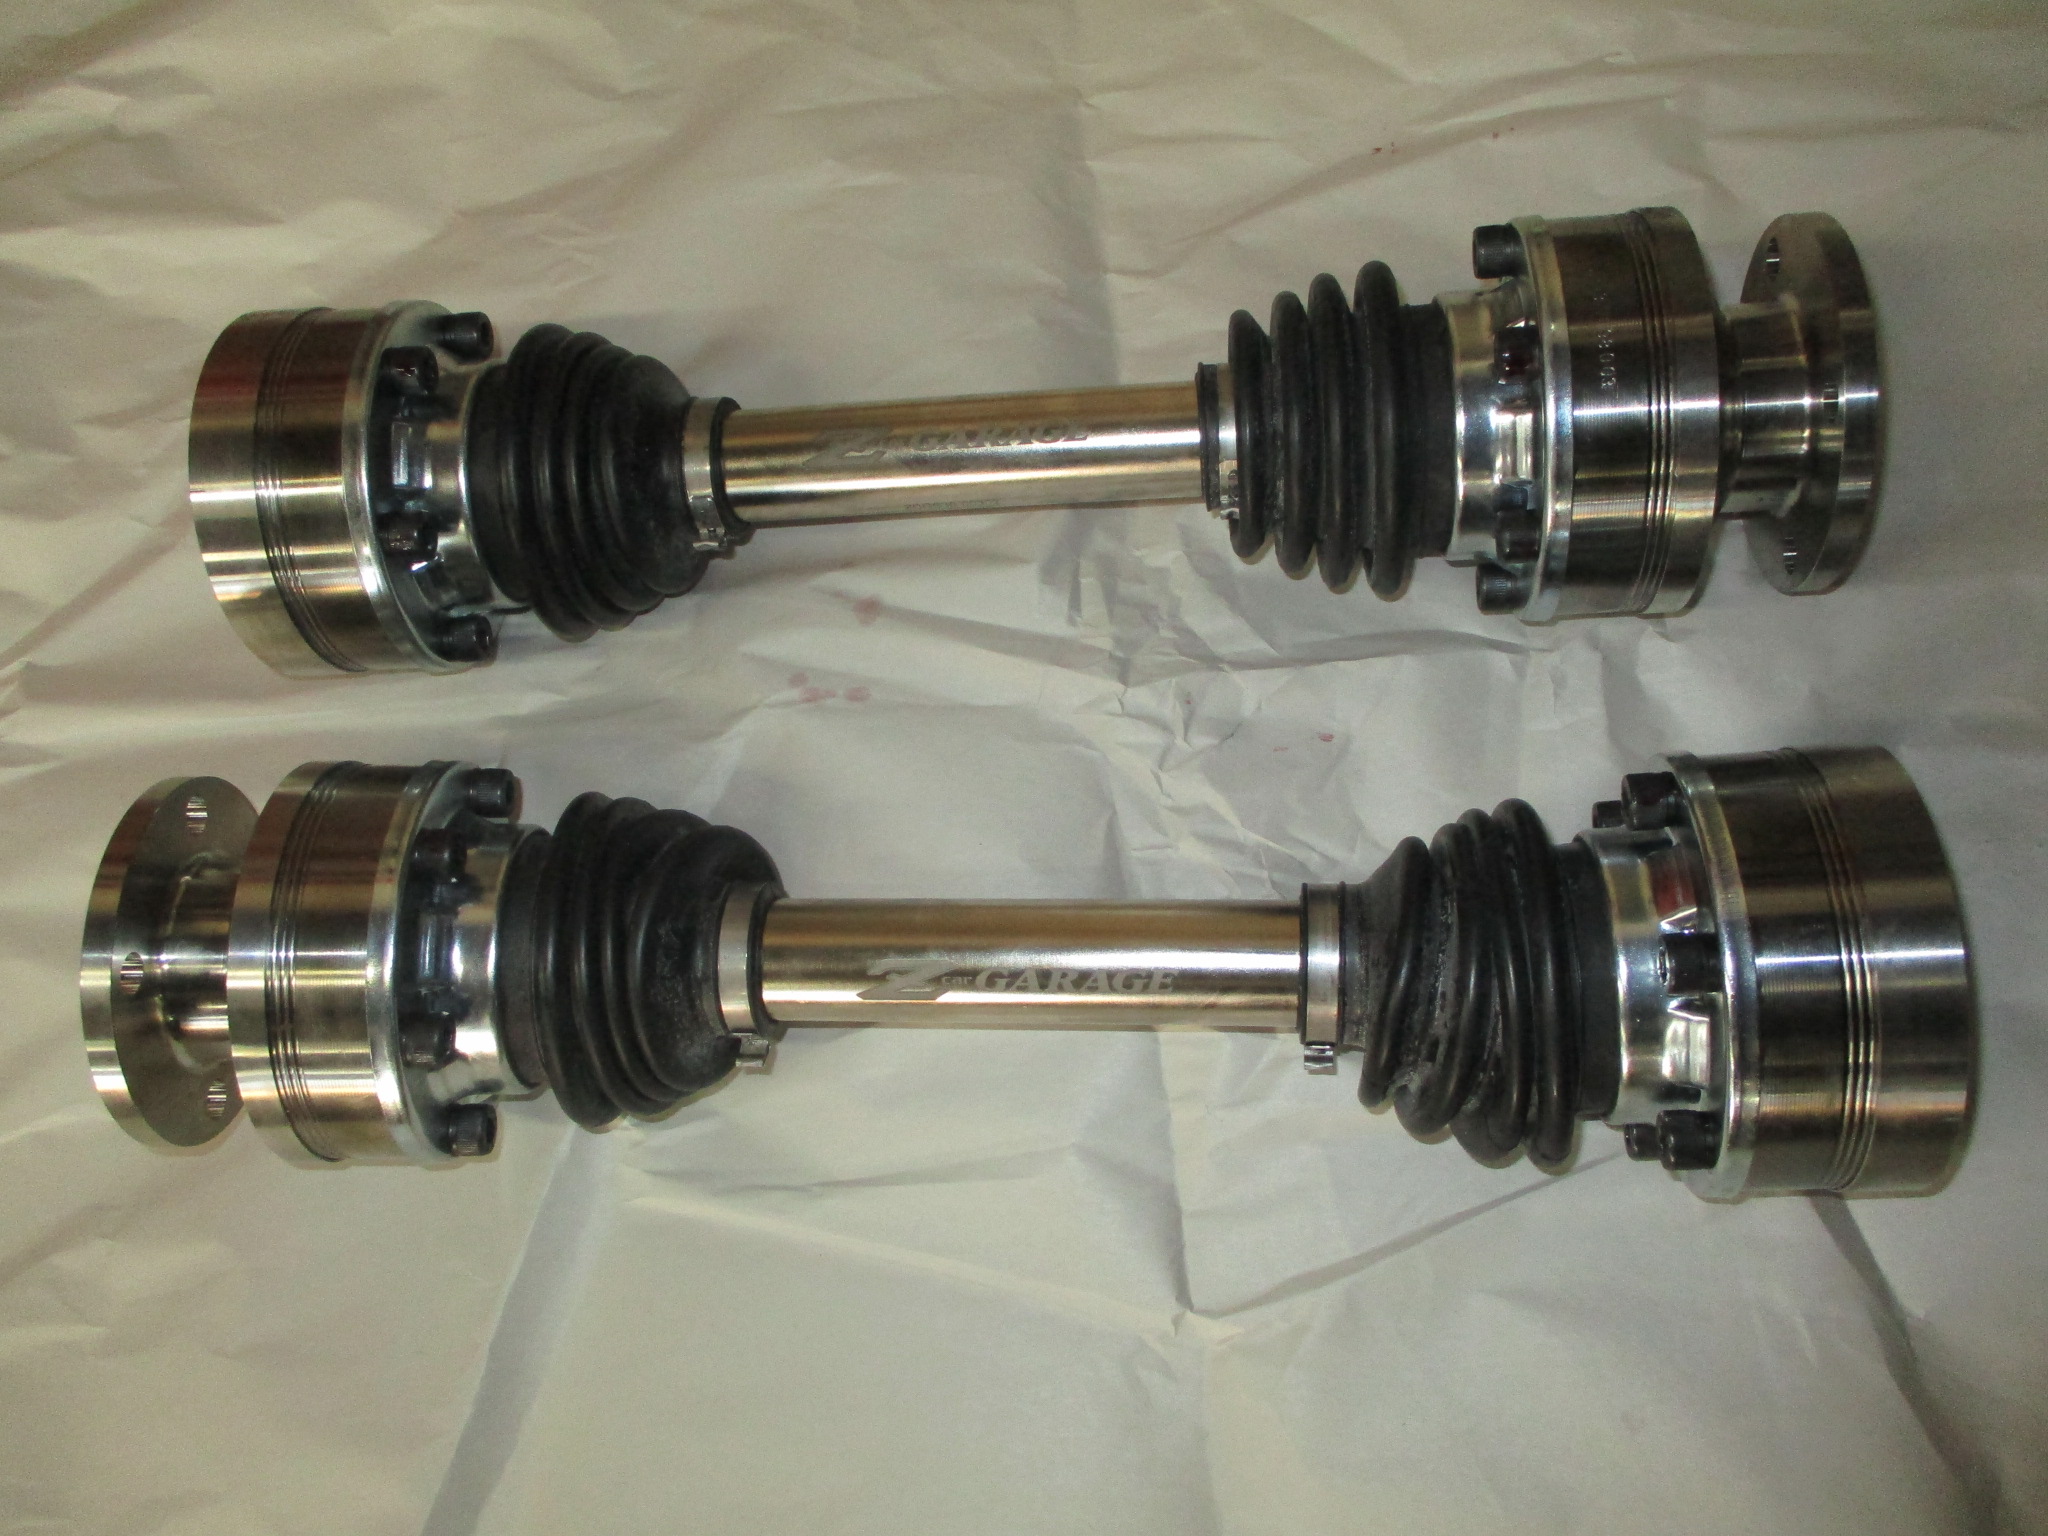
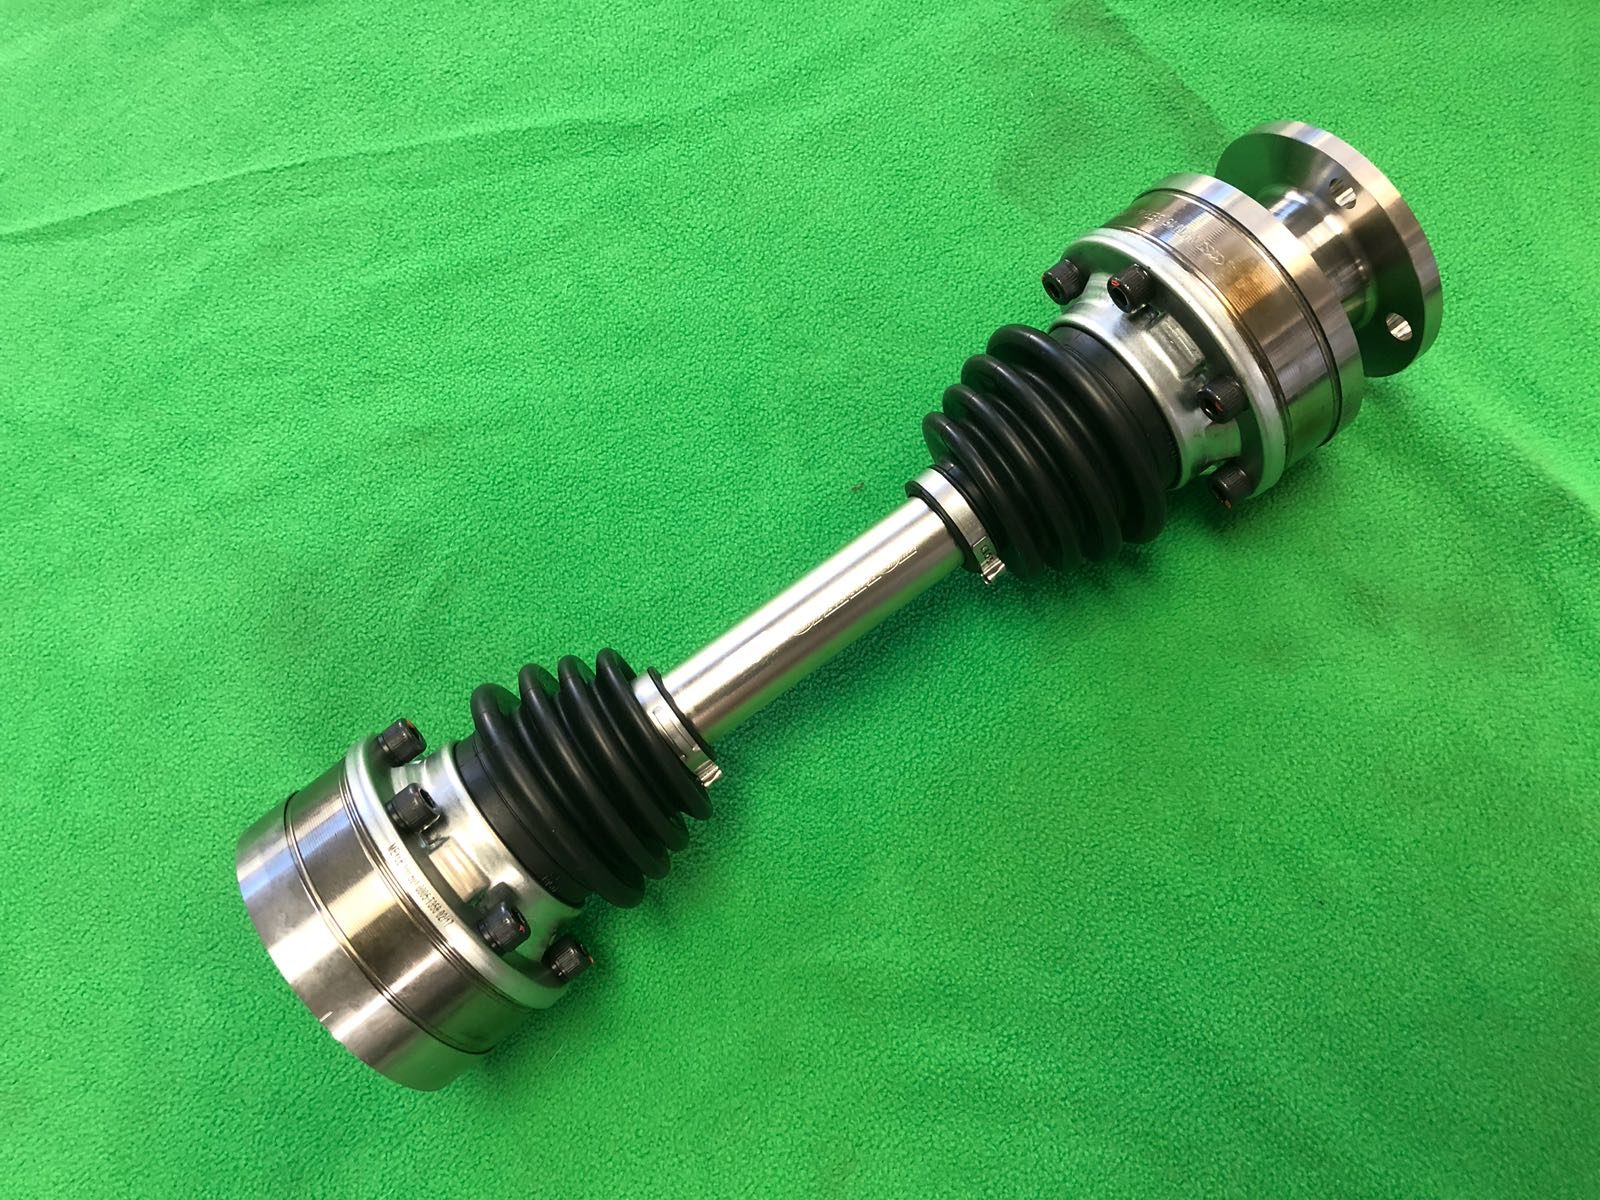
Our Z Car Garage CV Axles help transmit power to the ground and ensure smoother operation compared to your standard half shafts. We have over 70 CV axle kits on customer cars and we are stoked with all of the positive feedback.
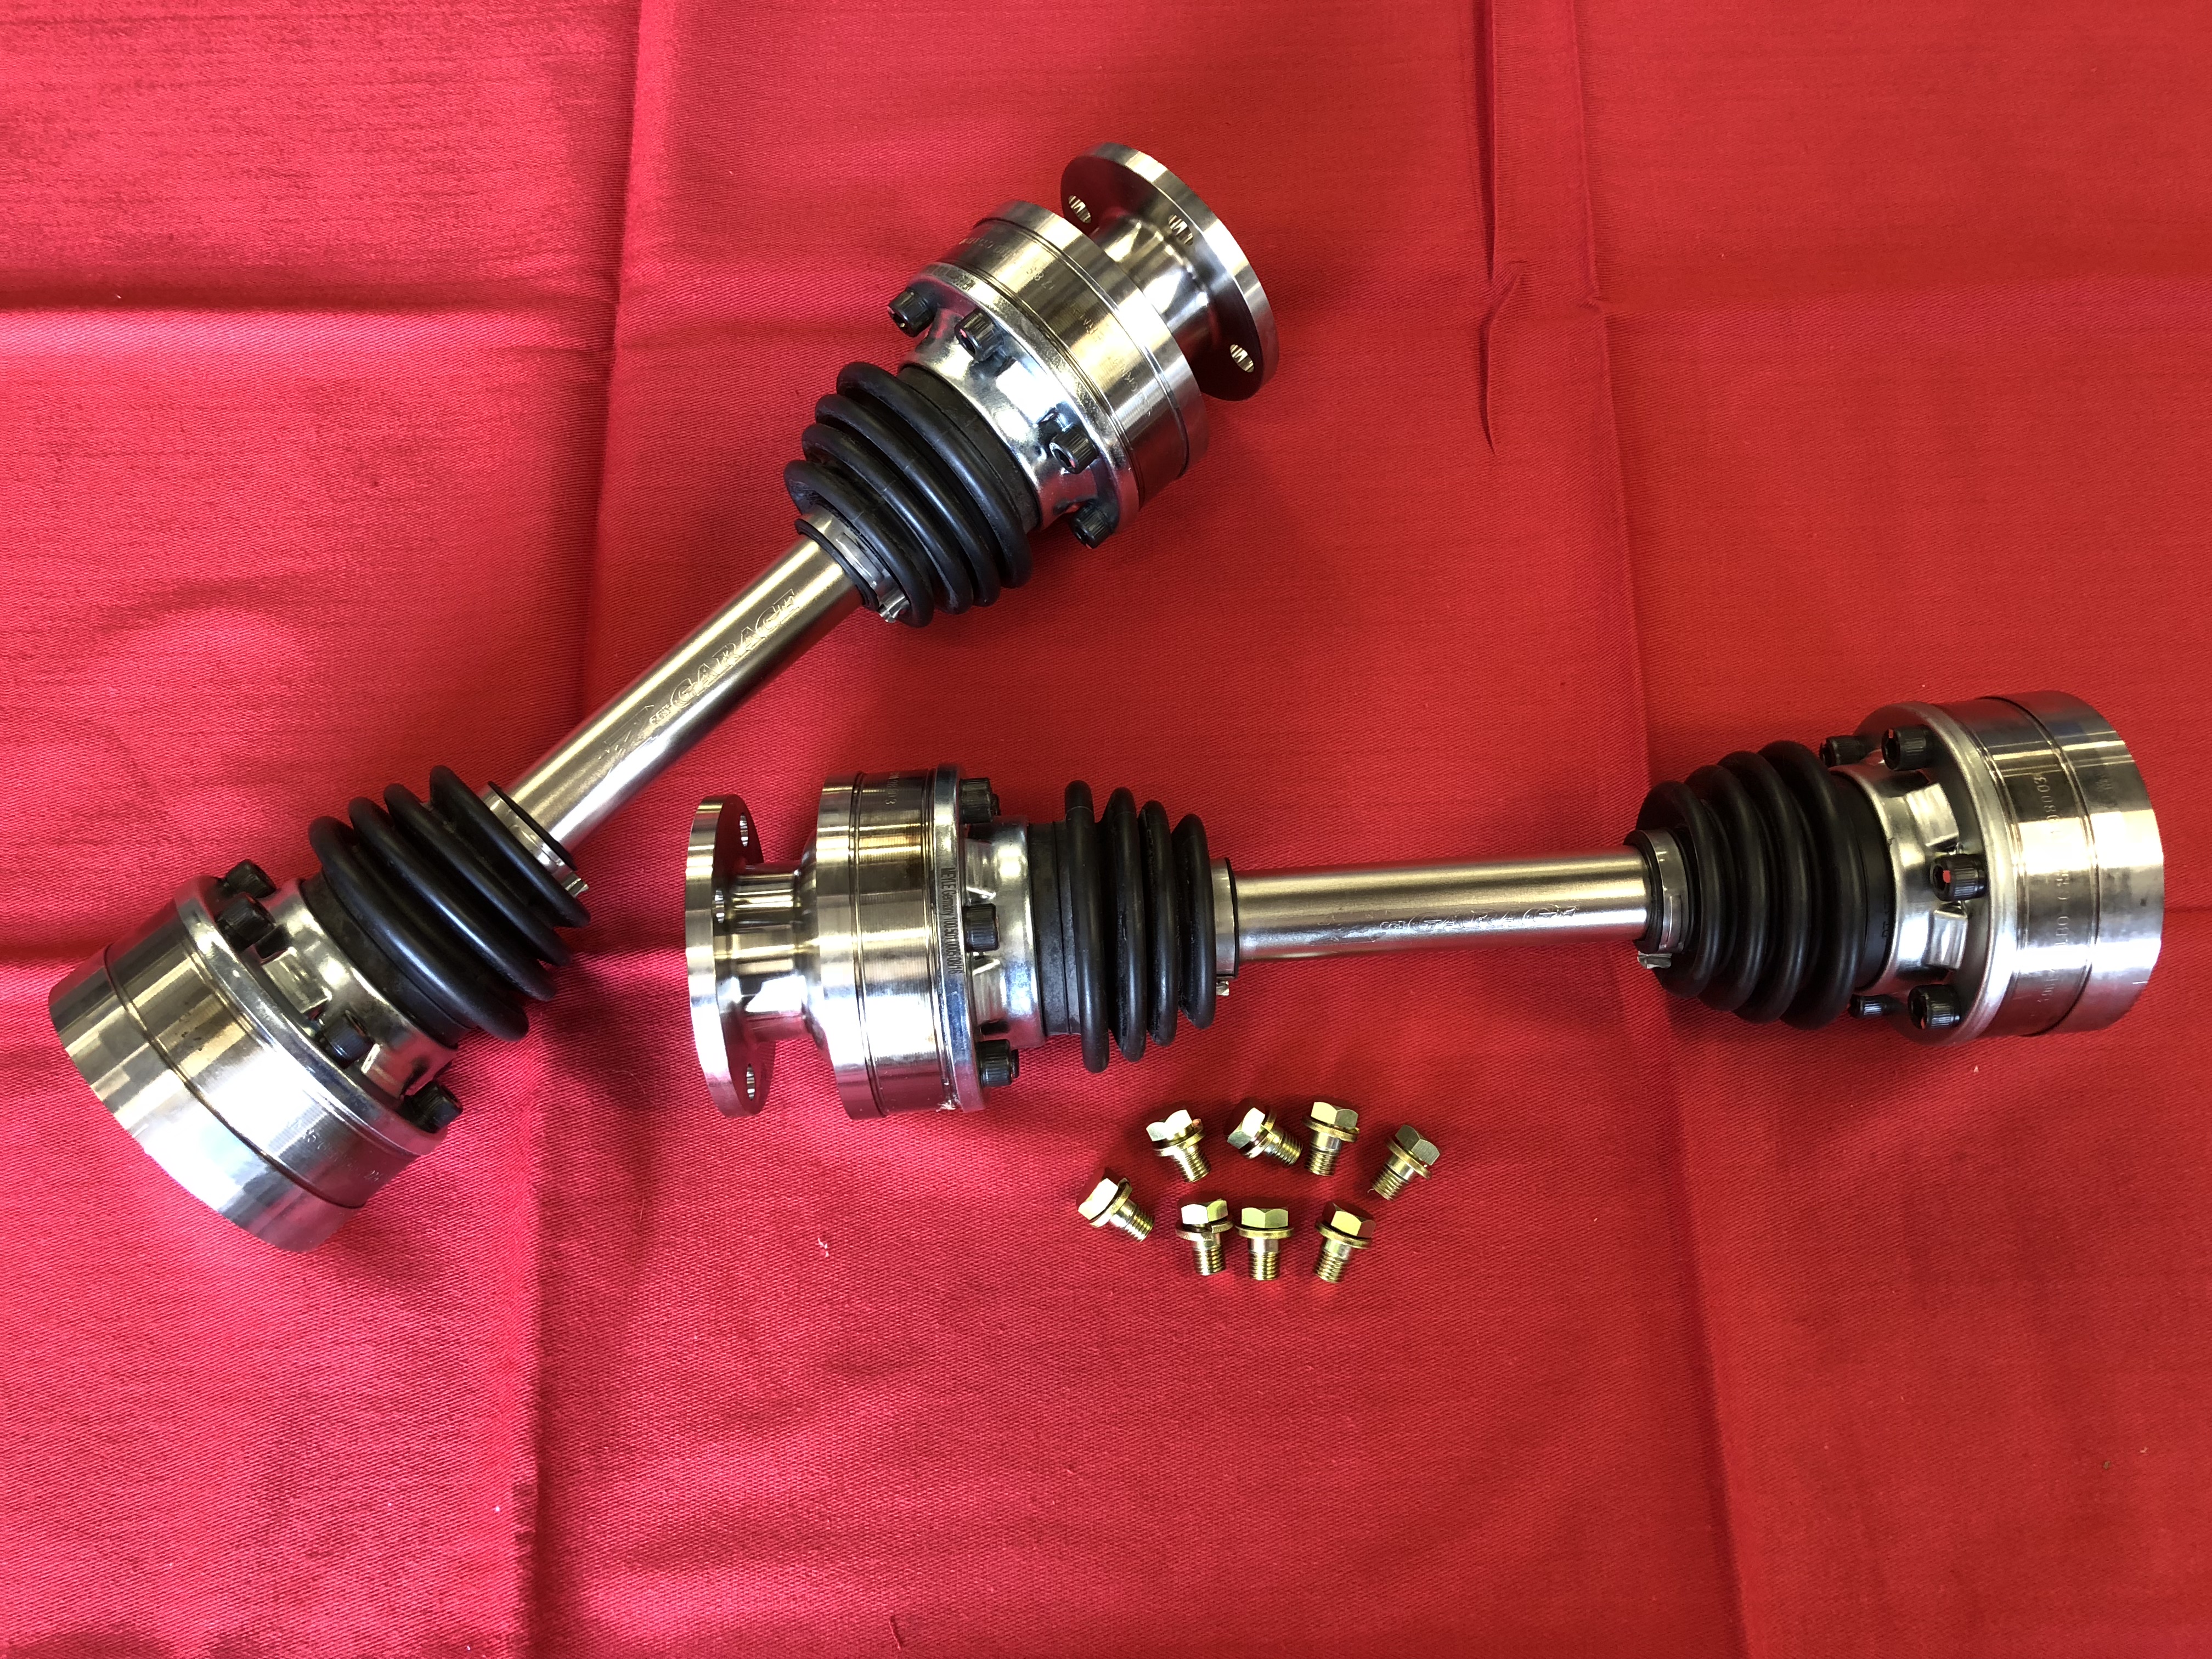
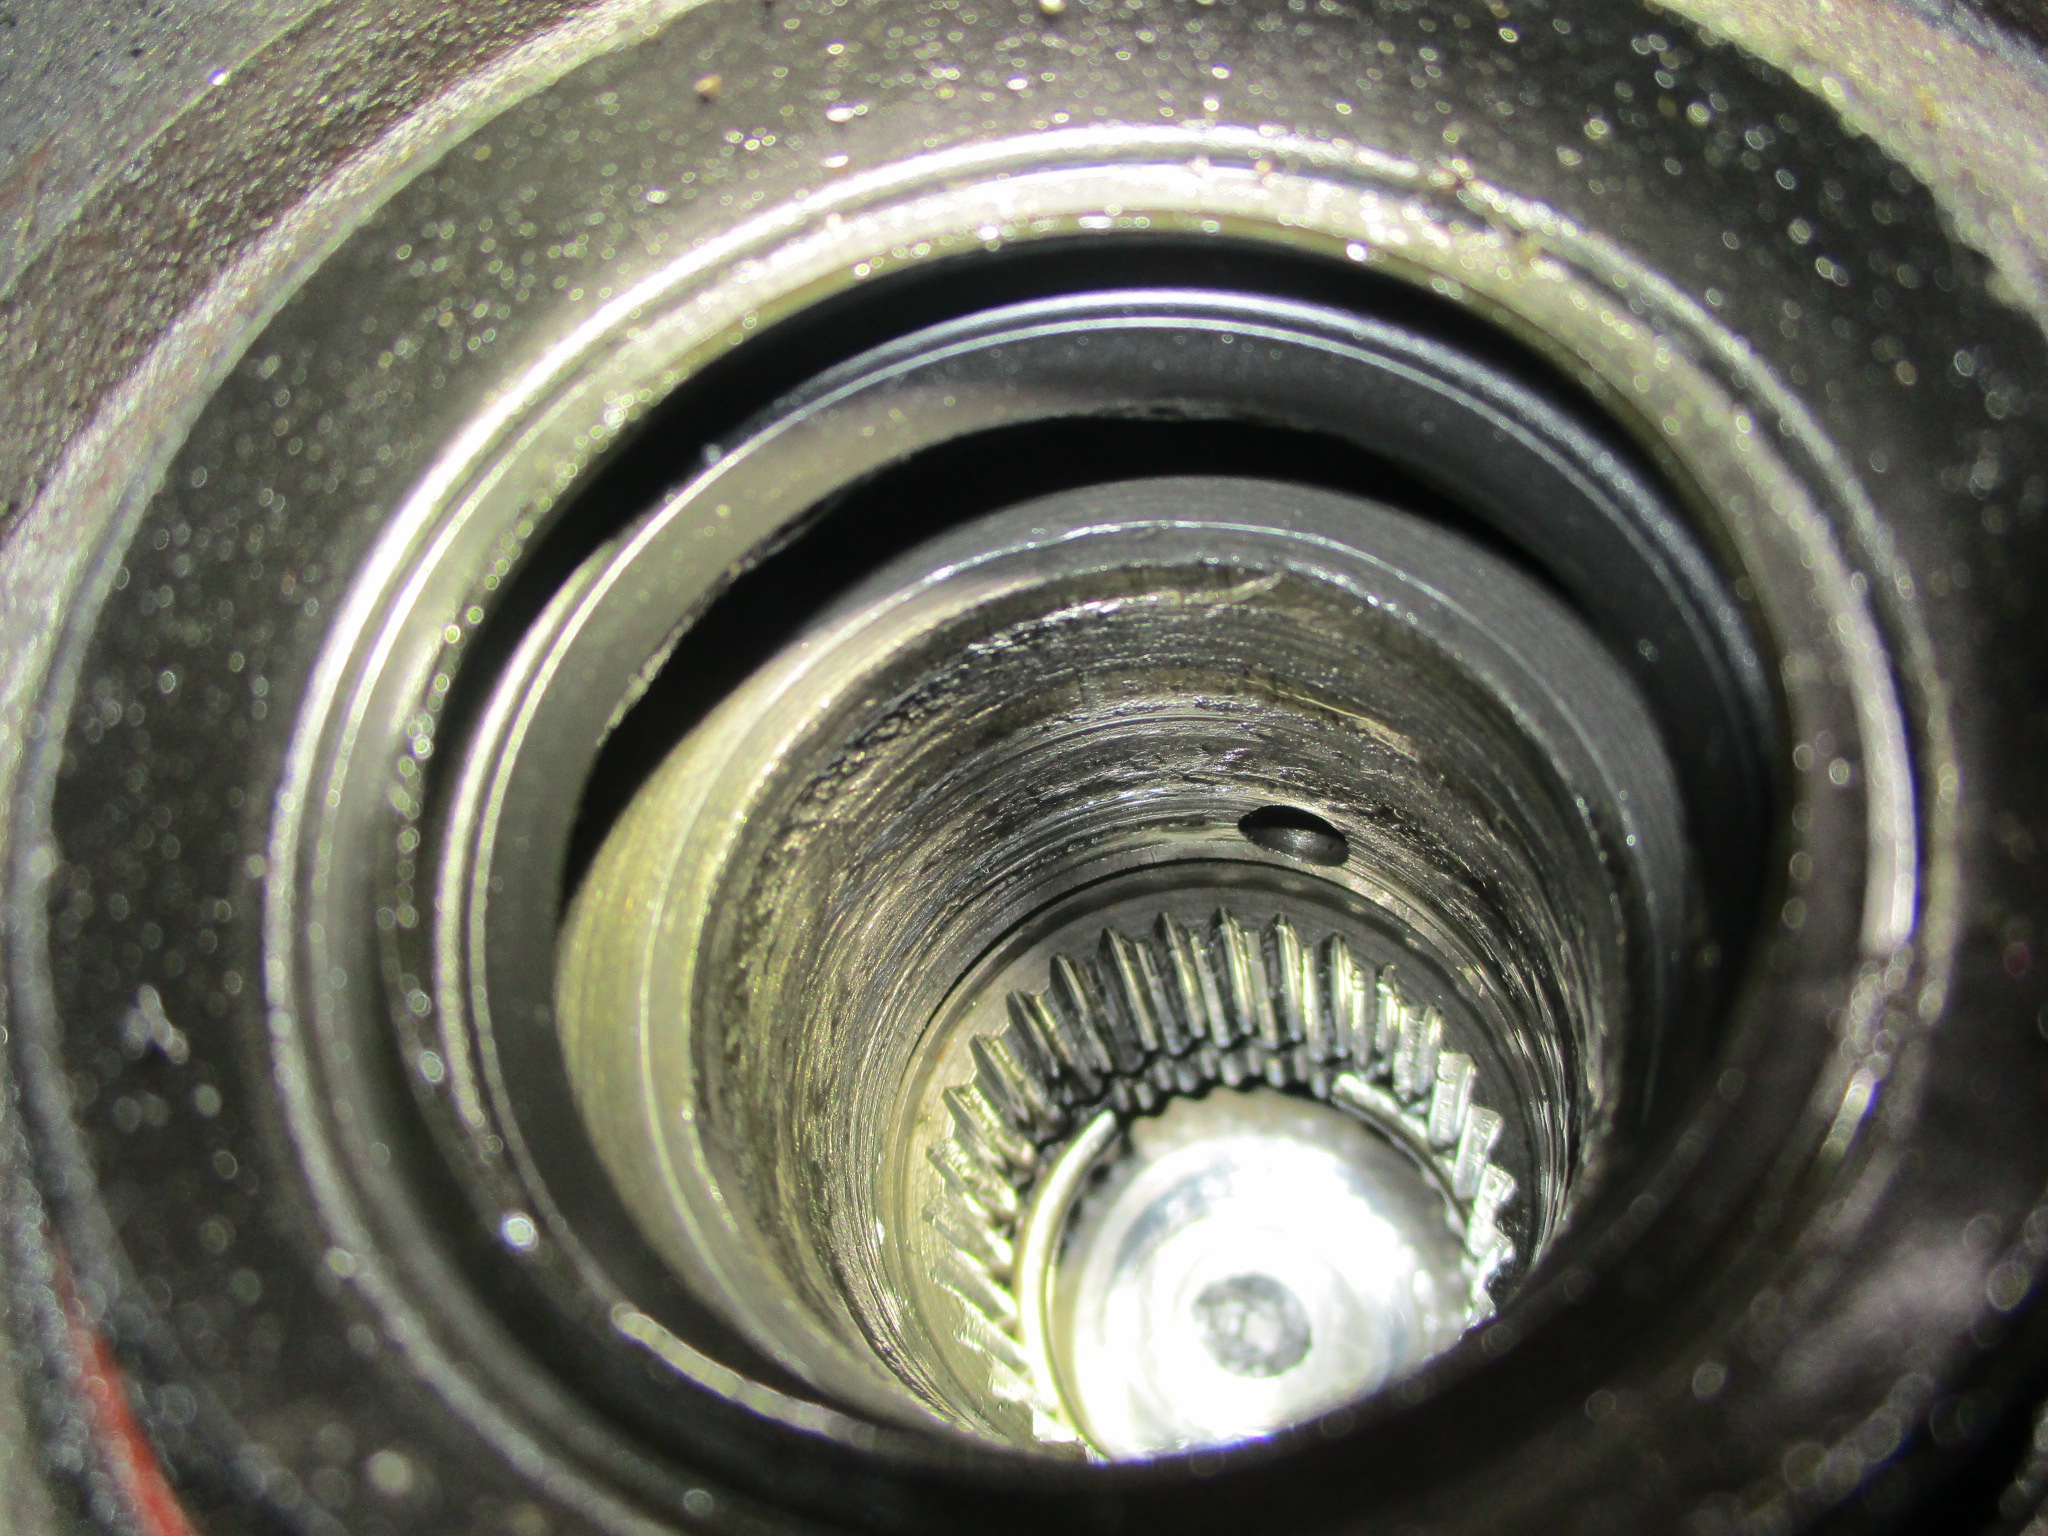
The differential area was a mess on Mel’s Z. We corrected the side-flange issues with his R200 and installed our CV axles. Stock half shafts (L) and ZCG units:
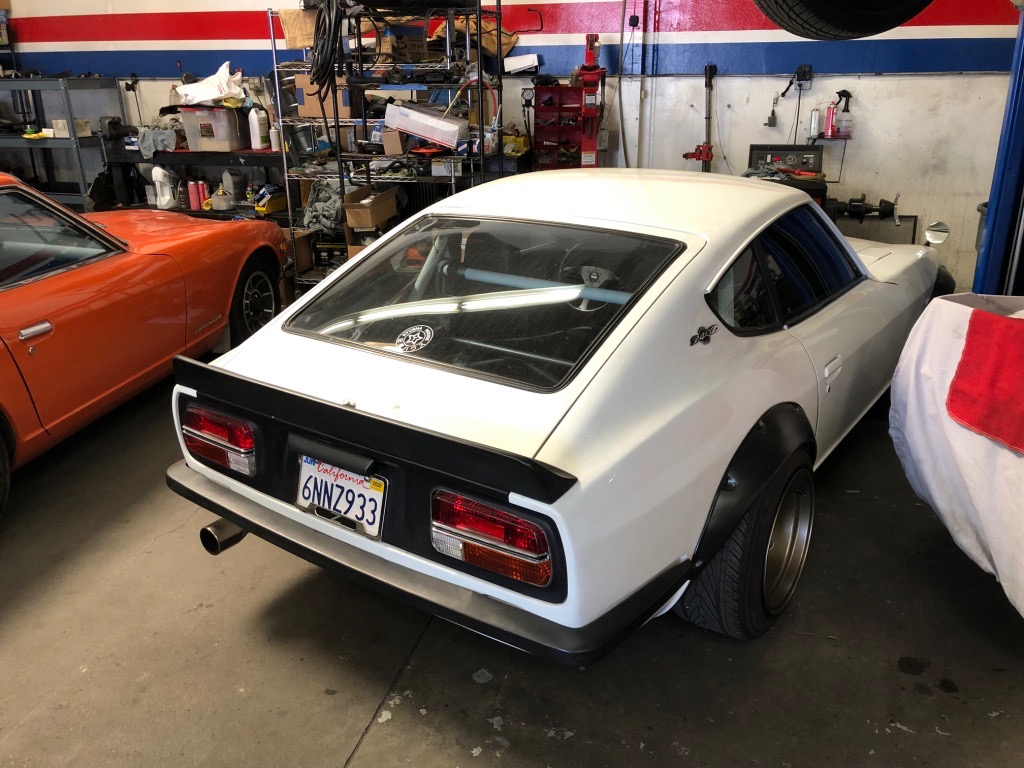
Vintage is Best!
Once running we performed a full alignment and dialed in the brakes. Mel’s initial feedback on the car made us happy:
“Well, I’m very happy how my car turned out after picking it up from ZCG. Hearing my baby runs on old school NA triple carbs is very heart warming, the ZCG Big-Brake kit is amazing, the CV axles are beefy and the suspension tweaks made a lot of difference on handling. I can’t thank Rob enough for what he did to my Z. It feels like a totally different car now (in a good way) compared to when I drop it off. Job well done ZCG! Thank you for taking care of my 240Z ZCG. 👍👏🙏”
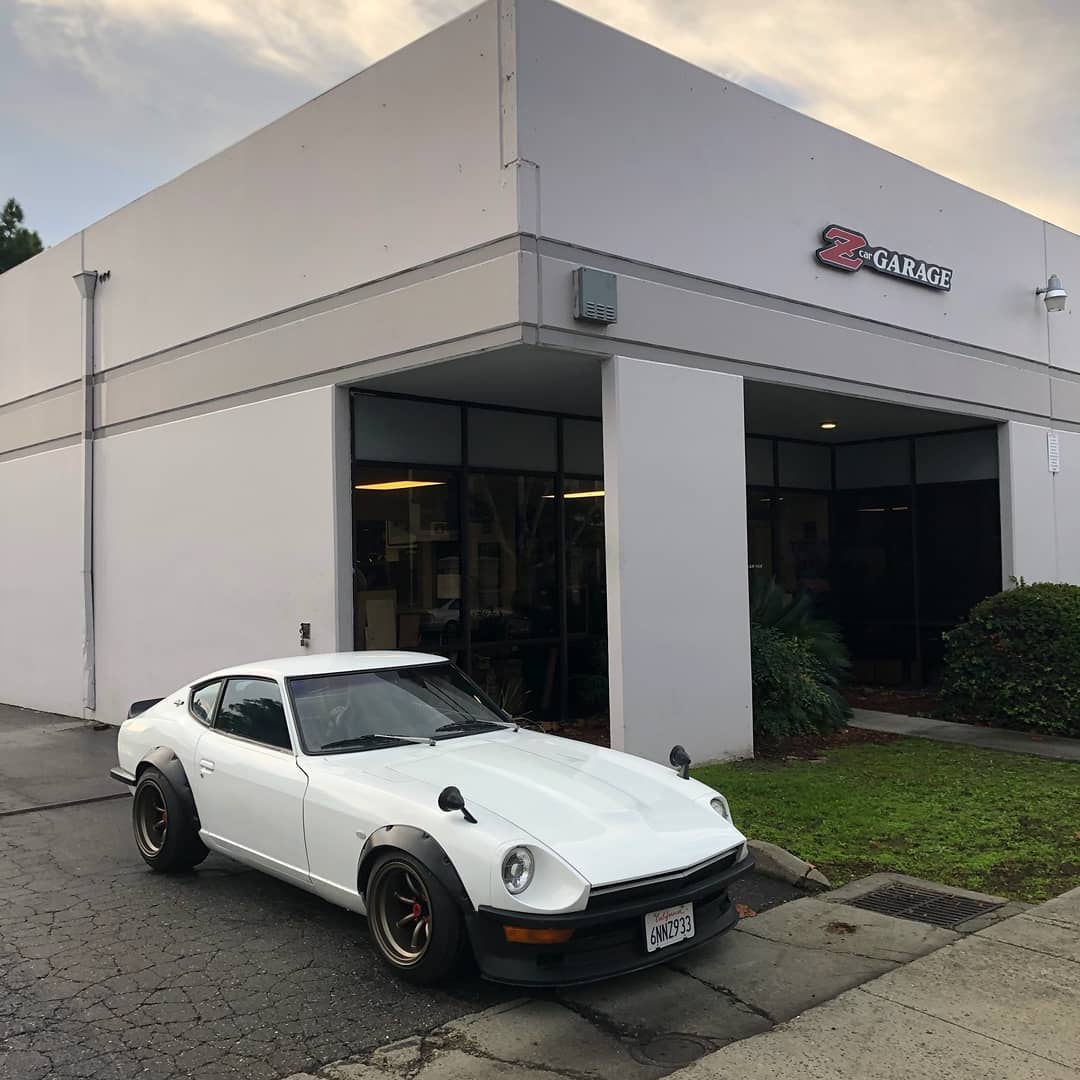
This was a very rewarding project and we are excited to see Mel’s Z evolve into a well-rounded sports car. He’s already thinking about his next upgrade…a 3.0 or 3.2L motor. Thanks for bringing your Z to us Mel! More pictures in the gallery below.
Long Live The Z!
…[read more]


